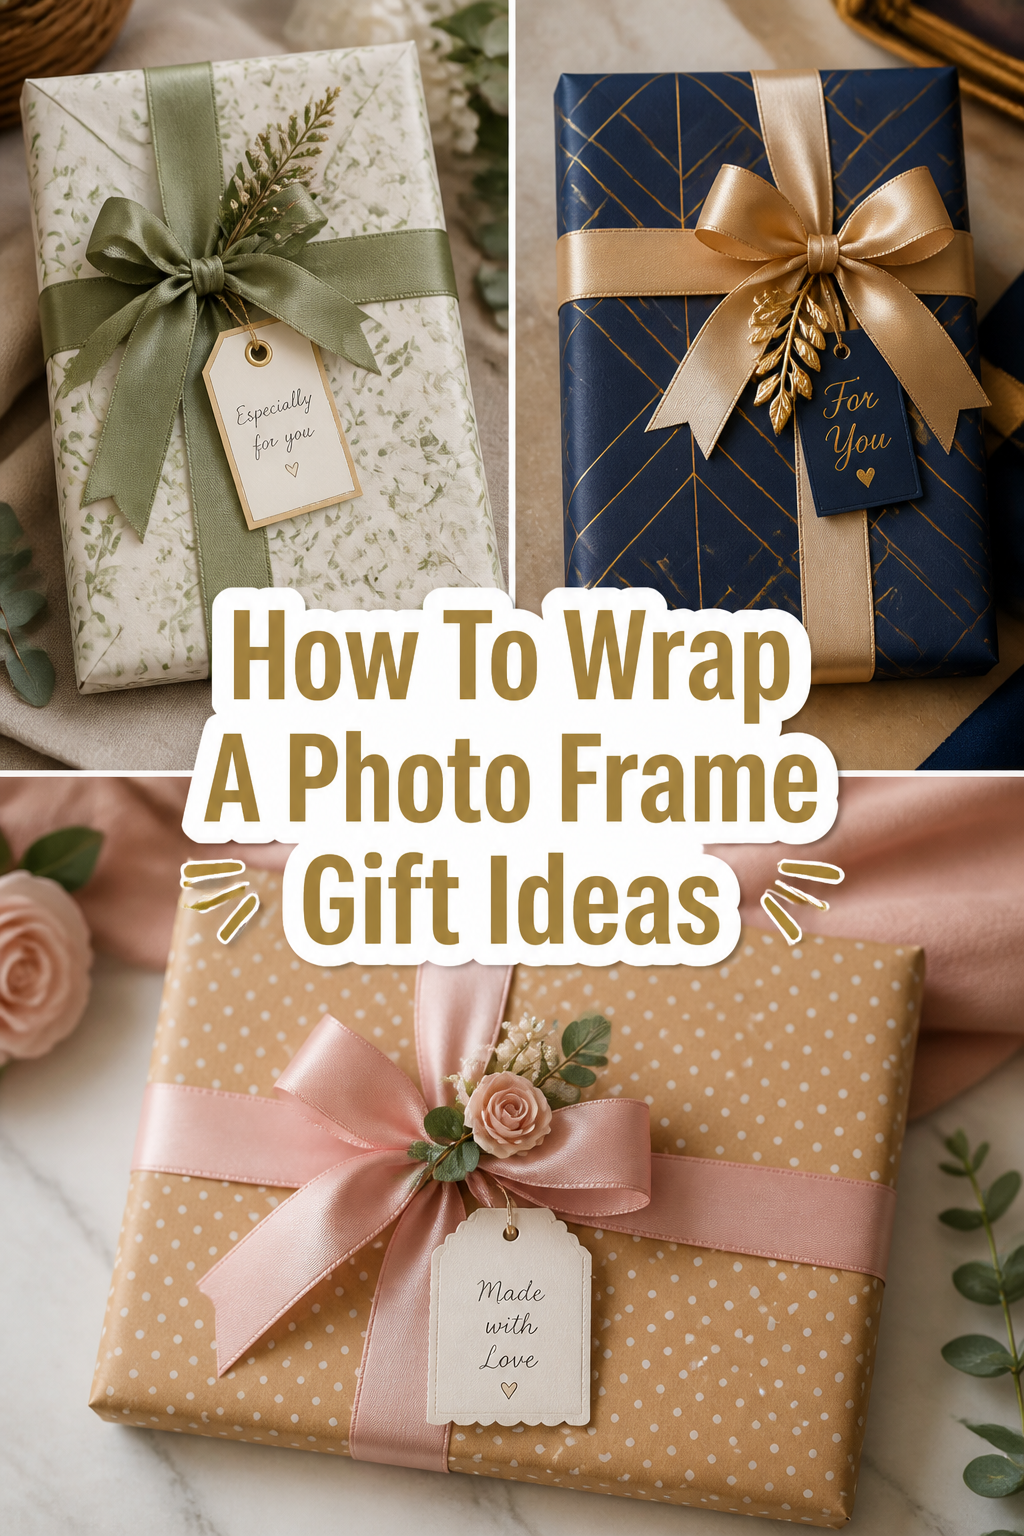
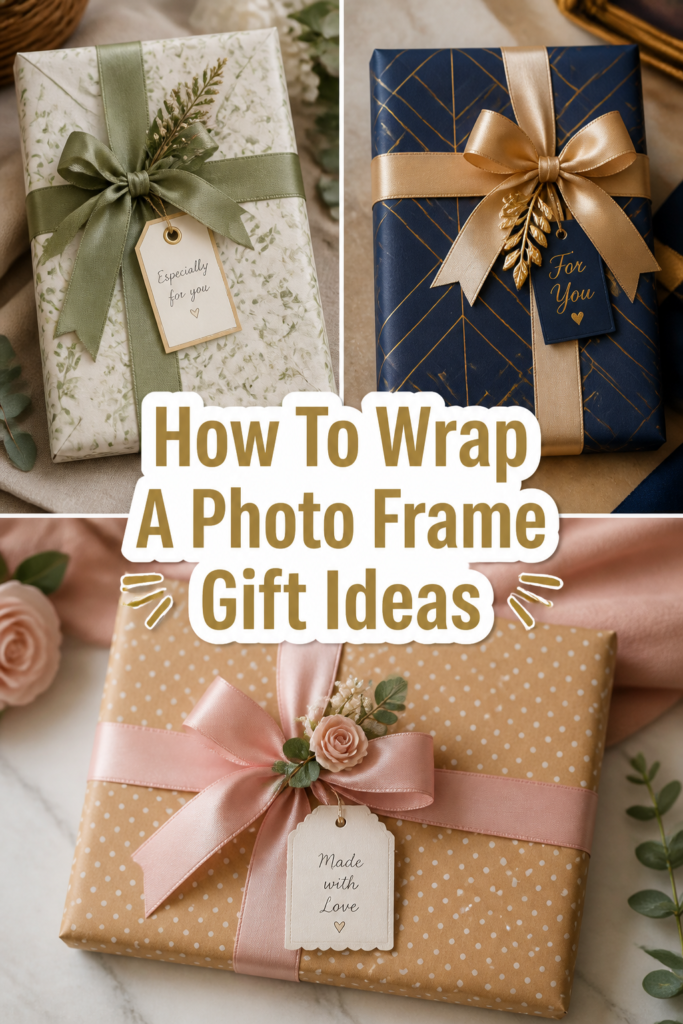
🖼️ How To Wrap A Photo Frame Gift Ideas
📋 The Event Planner's Essential Toolkit
Whether you're throwing a massive birthday bash or an intimate baby shower, the right tools make execution effortless. These are the 5 essential items that professional event coordinators and DIY party hosts consistently rely on to pull off flawless celebrations without the stress.
🎈 Electric Dual-Nozzle Balloon Pump
The absolute lifeline for creating those trending balloon arches and garlands that everyone loves. This dual-nozzle pump lets you inflate hundreds of balloons in a fraction of the time, saving your lungs and transforming hours of prep work into minutes.
🛡️ Command Clear Party Hooks & Strips
The secret to magazine-worthy venue decorations without losing your security deposit. Professional planners stock up on these clear, damage-free hooks to hang banners, string lights, and paper lanterns securely on walls and ceilings, removing cleanly when the party is over.
🧁 Wilton Tiered Cupcake & Dessert Stand
The easiest way to make a simple dessert table look professionally catered. This customizable, multi-tier display stand gives crucial height and dimension to your treats, effortlessly elevating the presentation of cupcakes, cookies, or appetizers at any gathering.
🚂 Heavy-Duty Collapsible Utility Wagon
The unsung hero of off-site parties, park birthdays, and trunk-or-treats. This rugged folding wagon hauls folding chairs, coolers, and mountains of decor from your car to the venue in one trip, completely eliminating the exhausting pre-party back-and-forth hauling.
📓 Clever Fox Event Planner Organizer
The ultimate command center for keeping your sanity intact while hosting. Dedicated sections for guest lists, budget tracking, vendor contacts, and day-of timelines ensure that not a single crucial detail falls through the cracks before the big day.
There’s a special magic in presenting a gift that truly shines, a moment of anticipation built by beautiful wrapping.
I remember struggling with my first oddly shaped frame, turning what should have been a joy into a wrestling match with paper and tape.
This guide shares all the creative secrets and practical tips I’ve gathered, ensuring your photo frame gifts are always cherished, Pinterest-perfect treasures.
Quick Overview
You’re about to discover how to transform a simple photo frame into an unforgettable gift, perfect for any celebration. We’ll cover everything from classic elegance to whimsical themes, making every wrap a work of art.
- Time needed: 15-45 minutes per frame (depending on complexity)
- Difficulty: Beginner to Intermediate
- What you’ll need: Wrapping paper, tape, scissors, ribbon, decorative elements
Step-by-Step Instructions
Step 1: Gather Your Creative Arsenal
Before you begin, lay out all your supplies. Think beyond basic paper; consider fabric scraps, maps, or even sheet music for unique textures.
Choose wrapping paper that complements the frame’s style and the recipient’s personality. A sleek, modern frame might suit minimalist paper, while a vintage piece loves floral or antique-inspired prints.
Have a variety of ribbons ready. Satin, grosgrain, twine, or even lace can add incredible depth and character to your gift.
Pro Tip: Select a color palette for your wrapping supplies that matches your party’s theme. For a baby shower, soft pastels and cute animal prints are perfect. For a holiday, rich reds, greens, and golds shine.
Step 2: Prepare the Frame for Its Grand Reveal
First, ensure the photo frame is clean and free of any dust or fingerprints. A quick wipe with a microfiber cloth makes a difference.
If the frame has sharp corners or delicate embellishments, consider adding a layer of tissue paper around it. This protects both the frame and your wrapping paper from tears.
Remove any price tags or labels. This small detail ensures a seamless and professional presentation.
Step 3: Measure and Cut with Precision
Lay your chosen wrapping paper face down on a flat surface. Place the photo frame in the center.
Bring one long edge of the paper up and over the frame, ensuring it overlaps by about an inch. This gives you enough paper for a clean seam.
Now, bring the other long edge over. Cut the paper, leaving enough to overlap the first edge by that same inch. For the short sides, measure so the paper extends just past the frame’s edge, about half its thickness.
Step 4: The Art of the Perfect Wrap
Position your frame on the paper. Bring one long edge over the frame and secure it with a piece of double-sided tape or a neatly folded visible tape strip.
Pull the opposite long edge tightly over the frame, ensuring there are no wrinkles. Secure this edge with tape, creating a smooth, taut finish.
For the short ends, fold the sides inward first, creating neat triangles. Then, fold the top flap down and the bottom flap up, securing both with tape for a crisp, tailored look.
Pro Tip: For oddly shaped frames, consider using a gift bag or creating a custom fabric wrap. A beautiful scarf can double as wrapping and an extra gift!
Step 5: Adorn with Ribbons and Bows
Now for the fun part: adding the ribbon! Choose a ribbon that contrasts or complements your paper. Wrap it around the frame lengthwise, then widthwise, creating a classic cross shape.
Tie a beautiful bow on the top, front, or even the side of the frame. Experiment with different bow styles – a simple knot, a classic bow, or even a multi-loop boutique bow.
You can also layer multiple ribbons of different widths and textures for a truly luxurious feel. Think a wide satin ribbon topped with a thin metallic one.
Step 6: Personalize with Thoughtful Details
This is where your gift truly becomes memorable. Attach a small sprig of fresh eucalyptus or a dried flower for a natural, elegant touch.
For a birthday, a miniature balloon or a tiny party hat can be adorable. For a baby shower, a small rattle or a pair of tiny booties tied to the ribbon is incredibly sweet.
Consider a personalized gift tag. Hand-lettered tags or custom-printed ones elevate the presentation. You can even include a small, framed photo of a shared memory inside the gift.
Pro Tip: For a holiday gift, tuck a small ornament into the ribbon. For a housewarming, a tiny key charm or a miniature house could be charming additions.
Step 7: Thematic Embellishments for Every Occasion
For a whimsical birthday, attach colorful pom-poms or confetti inside a clear cellophane layer over your paper. Imagine the delight!
A baby shower gift can feature little fabric cutouts of stars, clouds, or animals glued onto the paper. Soft pastels and gentle textures create a dreamy feel.
Holiday frames sparkle with glitter, tiny jingle bells, or even miniature pinecones. These small touches make a huge impact and fit the festive spirit perfectly.
Step 8: Add a Handwritten Card
No gift is complete without a heartfelt message. Choose a card that matches your wrapping style and theme.
Write a personal note that expresses your feelings and explains why you chose the frame. Mention a memory, a hope, or a loving sentiment.
A handwritten card adds warmth and sincerity, making your beautifully wrapped frame even more meaningful. It’s the final touch that truly connects with the recipient.
Common Mistakes to Avoid
Using Too Little Paper
Cutting your wrapping paper too short is a common pitfall. This leads to gaps, uneven seams, and a gift that looks rushed rather than thoughtfully prepared.
Always err on the side of generosity when cutting. A little extra paper can always be trimmed or folded neatly, but too little leaves you scrambling for solutions.
Ignoring the Frame’s Shape
Trying to wrap a round or unusually shaped frame like a rectangular box often results in a lumpy, awkward package. Not all frames are created equal.
Embrace the unique shape! For circles, consider a fabric wrap tied with a knot at the top, or place it in a beautiful gift bag with tissue paper bursting out.
Over-Decorating
While embellishments are wonderful, too many can make a gift look cluttered and overwhelming. The goal is elegance and charm, not chaos.
Choose one or two focal decorative elements that enhance the wrap, rather than distracting from it. Sometimes, less truly is more, allowing the beauty of the frame and paper to shine.
Skipping the Finishing Touches
A gift might be perfectly wrapped, but if the tape is messy, the ribbon is askew, or there’s no gift tag, it loses some of its sparkle. These small details matter.
Take an extra moment to smooth down all edges, ensure your bow is perfectly tied, and attach a beautiful gift tag. These final touches elevate your presentation to Pinterest-worthy status.
Troubleshooting
Wrinkled Wrapping Paper
If your paper seems to wrinkle easily, it might be too thin or you might not be pulling it taut enough. Use a heavier weight paper for a smoother finish.
When wrapping, always pull the paper firmly against the frame as you tape. For existing wrinkles, a gentle pass with a flat ruler or a soft cloth can sometimes smooth them out.
Bows That Don’t Look Right
Tying a perfect bow takes practice! If your bows are lopsided or floppy, try using a slightly stiffer ribbon, like grosgrain, which holds its shape better.
Alternatively, consider using pre-made bows or learning a simple trick: tie a basic knot first, then create two loops and tie them together as you would shoelaces. Adjust the loops to your desired size.
Gift Feels Too Plain
If your wrapped frame feels a bit understated, it’s easy to add flair. Think about texture and dimension. A simple sprig of greenery or a small charm can instantly elevate the look.
Layering different ribbons, adding a personalized wax seal, or even using a metallic pen to draw subtle patterns on plain paper can add that extra touch of magic and excitement.
Key Takeaways
- Thoughtful preparation, from cleaning the frame to selecting paper, sets the stage for a beautiful gift.
- Precision in measuring and cutting ensures a neat and professional wrap, avoiding common frustrations.
- Embrace creative embellishments like ribbons, natural elements, and themed charms to personalize your gift.
- A handwritten card adds a deeply personal touch, making your gift truly unforgettable and cherished.
- Don’t be afraid to experiment with different textures and materials to match the occasion and recipient’s style.
- Attention to detail, from crisp folds to perfectly tied bows, transforms a simple gift into a work of art.
Frequently Asked Questions
Can I wrap a frame without visible tape?
Absolutely! Double-sided tape is your best friend for a seamless look. You can also strategically fold paper edges and use a tiny dab of craft glue or a decorative sticker to hold them in place.
Another trick is to use ribbon to secure the paper. Wrap the ribbon tightly around the frame, ensuring it holds the paper edges down, then tie a beautiful bow.
What if my frame has an unusual shape?
For very irregular shapes, traditional wrapping paper can be challenging. Consider using soft fabric, like a silk scarf, which drapes beautifully and can be tied with elegant knots.
Alternatively, a decorative gift box or a sturdy gift bag can be a perfect solution. Fill the bag with coordinating tissue paper to add volume and excitement.
How do I make the gift look “Pinterest-worthy”?
Focus on a cohesive theme and color palette. Use high-quality materials, and pay attention to small details like crisp folds, layered ribbons, and unique embellishments.
Incorporate natural elements like fresh flowers, sprigs of herbs, or dried citrus slices. A handwritten tag and a wax seal can also add that extra touch of curated elegance.
Should I put a photo in the frame before wrapping?
It depends on the occasion and your relationship with the recipient. Placing a cherished photo of you both, or a picture related to the gift’s theme, adds immense sentimental value.
If you’re unsure, leaving it empty allows the recipient to choose their own special memory to display. You could also include a small, separate envelope with a photo to be added later.
Our Top Recommended Finds
- High-Quality Double-Sided Tape: Essential for a seamless, professional finish without unsightly tape marks. It makes all the difference for a clean look.
- Assorted Satin and Grosgrain Ribbons: A collection of beautiful ribbons in various widths and colors allows for endless creative combinations and luxurious touches.
- Decorative Gift Tags and Wax Seal Kit: These elevate your gift from simple to spectacular, adding a personalized and elegant flourish that recipients adore.
Unwrap the Joy of Giving
There’s such immense joy in crafting a gift that feels as special on the outside as it is on the inside. Each beautifully wrapped photo frame is more than just a present; it’s a piece of your heart, carefully adorned.
Imagine the smiles at birthdays, the coos at baby showers, or the warmth felt during holidays when your thoughtfully presented gift is unwrapped.
Now that you have all these delightful ideas and practical steps, it’s time to let your creativity sparkle. Pick up some beautiful paper, gather your ribbons, and start planning your next unforgettable gift.
Go ahead, make someone’s day truly magical with a frame wrapped with love and flair!