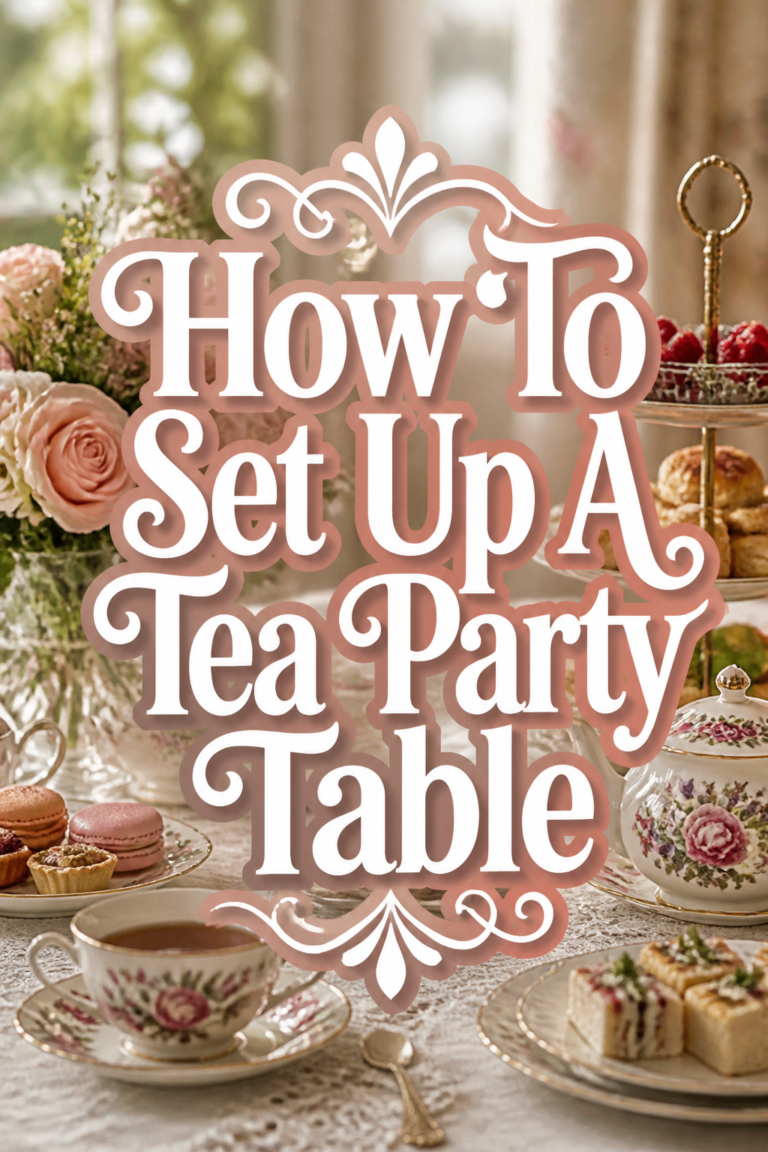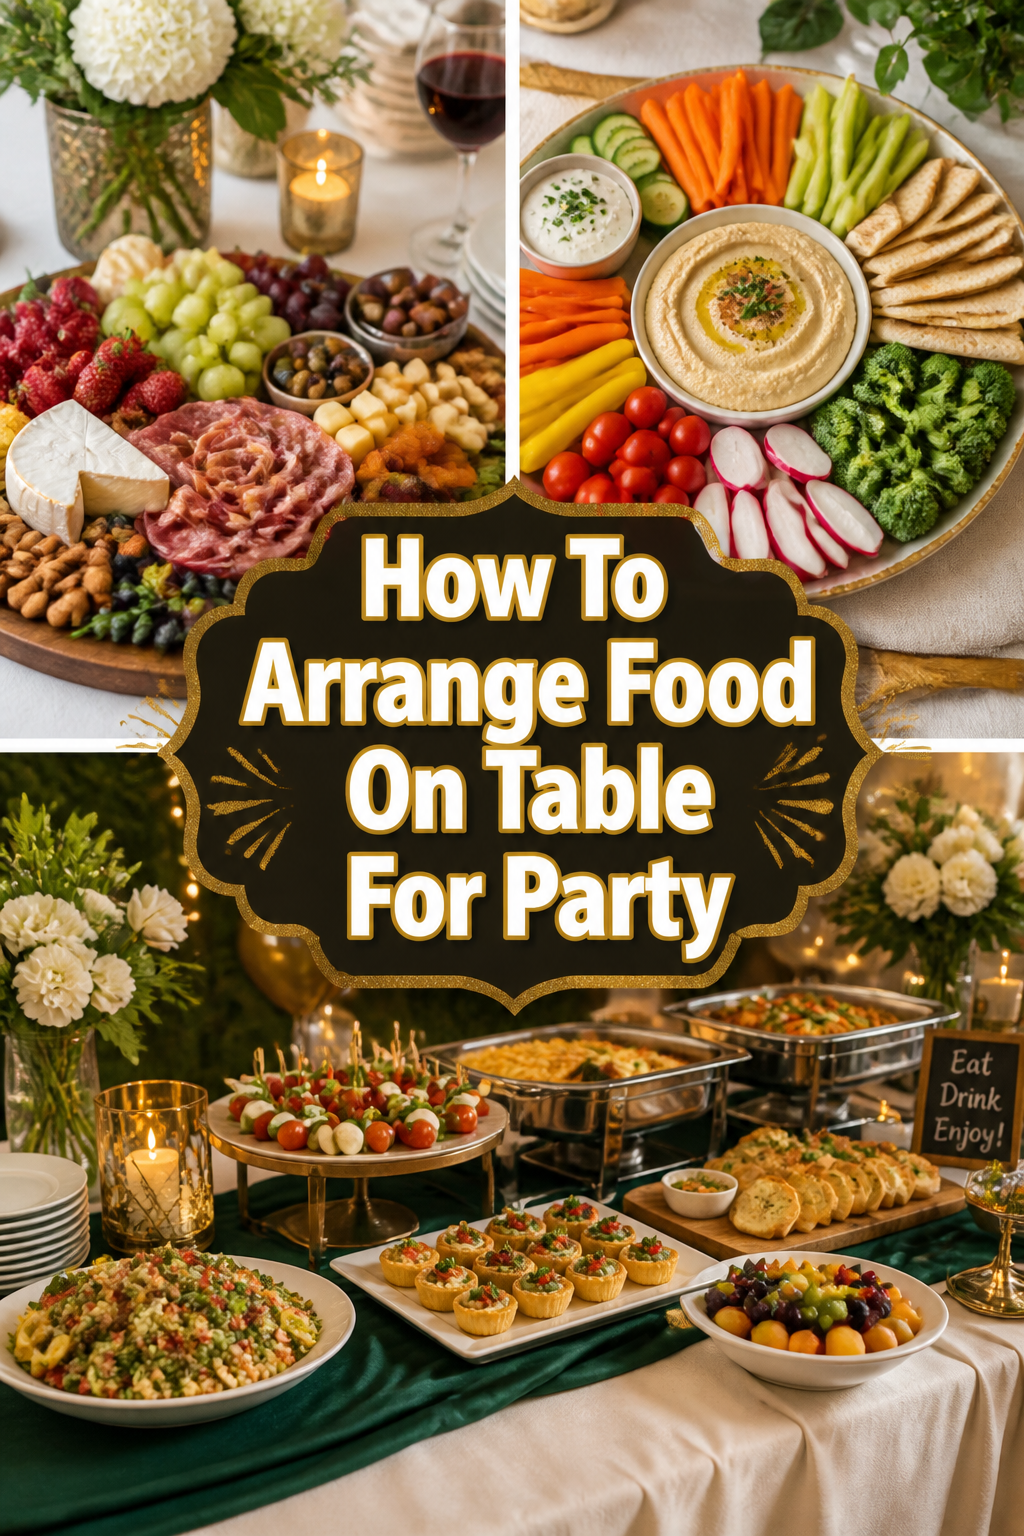
🥳 How To Arrange Food On Table For Party
📋 The Event Planner's Essential Toolkit
Whether you're throwing a massive birthday bash or an intimate baby shower, the right tools make execution effortless. These are the 5 essential items that professional event coordinators and DIY party hosts consistently rely on to pull off flawless celebrations without the stress.
🎈 Electric Dual-Nozzle Balloon Pump
The absolute lifeline for creating those trending balloon arches and garlands that everyone loves. This dual-nozzle pump lets you inflate hundreds of balloons in a fraction of the time, saving your lungs and transforming hours of prep work into minutes.
🛡️ Command Clear Party Hooks & Strips
The secret to magazine-worthy venue decorations without losing your security deposit. Professional planners stock up on these clear, damage-free hooks to hang banners, string lights, and paper lanterns securely on walls and ceilings, removing cleanly when the party is over.
🧁 Wilton Tiered Cupcake & Dessert Stand
The easiest way to make a simple dessert table look professionally catered. This customizable, multi-tier display stand gives crucial height and dimension to your treats, effortlessly elevating the presentation of cupcakes, cookies, or appetizers at any gathering.
🚂 Heavy-Duty Collapsible Utility Wagon
The unsung hero of off-site parties, park birthdays, and trunk-or-treats. This rugged folding wagon hauls folding chairs, coolers, and mountains of decor from your car to the venue in one trip, completely eliminating the exhausting pre-party back-and-forth hauling.
📓 Clever Fox Event Planner Organizer
The ultimate command center for keeping your sanity intact while hosting. Dedicated sections for guest lists, budget tracking, vendor contacts, and day-of timelines ensure that not a single crucial detail falls through the cracks before the big day.
I remember my first big party, a disaster of mismatched dishes and crowded platters. Over the years, I’ve learned that a beautifully arranged food table transforms a simple gathering into a truly magical event. This guide shares all my favorite tricks and tips to make your party spread unforgettable.

Quick Overview
Transform your party table into a stunning centerpiece that delights guests and makes hosting a breeze. You’ll learn to create visual appeal, manage flow, and add thoughtful touches for any celebration.
- Time needed: 2-4 hours (including prep, excluding cooking)
- Difficulty: Beginner
- What you’ll need: Serving dishes, platters, risers, tablecloths, decorations, labels, and of course, delicious food!
Step-by-Step Instructions
Step 1: Define Your Theme and Guest List
Every memorable party begins with a clear vision. Think about the occasion – a whimsical baby shower, a vibrant birthday bash, or an elegant holiday dinner. Your theme will guide all your subsequent choices, from colors to serving ware.
Consider your guest count carefully. This dictates the amount of food you’ll need and the size of your serving area. A smaller group might enjoy a cozy charcuterie board, while a larger crowd calls for multiple stations.
Step 2: Choose Your Table and Layout
Select a sturdy table that can comfortably hold all your food and decor. Consider placing it against a wall if you have limited space, or opt for an island if guests can circulate from all sides. A buffet-style setup works beautifully for most parties.
Think about the flow of traffic. Guests should be able to move easily from one end of the table to the other without bottlenecks. Plan where drinks, plates, and cutlery will be placed to avoid congestion.
Step 3: Elevate Your Presentation with Linens and Backdrop
Start with a foundational layer of beauty. Choose tablecloths that complement your party’s theme and color scheme. Layering different textures, like a crisp white base with a patterned runner, adds depth and sophistication.
A stunning backdrop immediately draws the eye. Hang fairy lights, a balloon arch, or a simple fabric drape behind your table. For a baby shower, a floral garland makes a sweet statement; for a birthday, a personalized banner is perfect.
Pro Tip: For a budget-friendly backdrop, use a large, patterned bedsheet or a collection of colorful scarves. Iron them first for a polished look!
Step 4: Create Visual Interest with Varying Heights
The secret to a dynamic food display lies in varying heights. Use cake stands, tiered platters, and even sturdy boxes hidden under tablecloths to lift certain dishes. This creates visual appeal and makes reaching food easier for guests.
Arrange your tallest items at the back or center of the table. Shorter dishes can then fill the spaces in front, creating a beautiful landscape of culinary delights. This technique is a cornerstone of Pinterest-worthy spreads.
Step 5: Master the Art of Platter Arrangement
Think about balance and symmetry, but don’t be afraid to embrace a little controlled chaos. Arrange food in an appealing way on each platter – a spiral of pinwheels, fanned-out slices of fruit, or a colorful mosaic of vegetables.
Consider the colors and textures of your food. Group similar colors together for a bold statement, or intersperse them for a vibrant, eclectic look. Garnish generously with fresh herbs, edible flowers, or citrus slices to add a professional touch.
Step 6: Strategically Place Your Food Items
Place main dishes and heavier items towards the beginning of the table. Lighter appetizers, salads, and desserts can follow. For a holiday feast, the turkey or ham might anchor the center, flanked by sides.
Group similar items together to make it easy for guests to navigate. Keep hot foods together on warming trays and cold items on ice or chilled platters. This thoughtful organization prevents confusion and keeps food at its best.
Step 7: Don’t Forget the Drinks and Utensils
Set up a dedicated drink station either on the main food table or nearby. This prevents spills and traffic jams around the food. Offer a variety of beverages, from sparkling water with fruit to a signature cocktail.
Arrange plates, cutlery, and napkins at the very beginning of the food line. For a more casual affair, consider rolling cutlery in napkins and tying them with a ribbon. This adds a charming, DIY touch.
Step 8: Incorporate Decorative Elements and Labels
This is where your theme truly shines! Scatter small decorative items like mini pumpkins for autumn, seashells for a summer party, or tiny baby shoes for a shower. Candles, small floral arrangements, or even themed figurines add personality.
Clear, stylish labels are a must, especially if you have dietary restrictions to consider. Hand-calligraphed cards or small chalkboard signs add a personal touch and help guests identify dishes with ease. For a birthday, you might label dishes with fun, celebratory names.
Step 9: Add Thoughtful Touches for Specific Celebrations
For a baby shower, consider a “wishes for baby” station near the food, using small cards and a decorative box. At a birthday party, integrate photos of the guest of honor throughout the table setting. Holiday tables can feature small, wrapped favors at each place setting or festive crackers.
Think about how guests will interact with the food. Provide small tongs, serving spoons, and spreaders for each dish. A small basket of wet wipes near the end of the table is always a welcome addition for messy finger foods.
Step 10: The Grand Reveal and Final Adjustments
Step back and admire your masterpiece! Before guests arrive, take a moment to survey the table. Are there any empty spots? Is everything easily accessible? Does it flow well?
Make any last-minute tweaks to ensure everything looks perfect. Adjust a napkin, straighten a label, or add an extra garnish. Your effort will be evident in every beautiful detail, making your party truly special.
Common Mistakes to Avoid
Overcrowding the Table
Trying to fit too many dishes onto one table makes it look cluttered and uninviting. Guests will struggle to serve themselves, and the beautiful presentation you’ve worked hard on will be lost. Prioritize your dishes and use a separate side table for overflow if needed.
Lack of Height Variation
A flat table spread looks monotonous and uninspired. All your delicious food blends into one plane, making it less appealing to the eye. Always use risers, cake stands, or stacked books to create visual interest and make your display dynamic.
Neglecting Labels and Utensils
Guests appreciate knowing what they’re eating, especially with dietary concerns. Not providing clear labels or enough serving utensils leads to confusion and awkward fumbling. Thoughtful labeling and ample serving tools enhance the guest experience significantly.
Ignoring Traffic Flow
Placing drinks, plates, and food in a haphazard manner can create bottlenecks and frustration. Guests will bump into each other and struggle to move through the serving area. Plan a logical path from plates to drinks to food, ensuring a smooth, enjoyable flow.
Troubleshooting
Running Out of Space on the Table
If your primary table feels too small, look for additional surfaces. A console table, a sturdy dresser, or even a covered folding table can serve as an overflow station for drinks, desserts, or additional appetizers. Use a matching tablecloth to tie it into your main setup.
Food Getting Cold (or Too Warm) Quickly
For hot dishes, invest in warming trays or chafing dishes, or consider using slow cookers on a “warm” setting. For cold items, place serving platters on beds of ice, or use chilled serving dishes. Keep replenishment dishes in the refrigerator until ready to swap out.
Unexpected Dietary Restrictions
Prepare a few versatile dishes that cater to common dietary needs, like a vibrant fruit platter or a simple green salad with dressing on the side. Clearly label all dishes with ingredients, especially those that are gluten-free, dairy-free, or vegetarian. This thoughtfulness goes a long way.
Key Takeaways
- Plan with purpose: Start with your theme and guest count to guide all decisions.
- Elevate your display: Use varying heights, beautiful linens, and a captivating backdrop.
- Organize for ease: Arrange food logically, group similar items, and ensure smooth traffic flow.
- Personalize with details: Incorporate themed decorations, clear labels, and thoughtful touches.
- Prioritize guest comfort: Provide ample utensils, drinks, and consider dietary needs.
Frequently Asked Questions
How can I make my food table look professional on a budget?
Start with simple, classic tablecloths in neutral tones. Use inexpensive risers like overturned bowls or books covered with fabric. Focus on colorful, fresh garnishes and handwritten labels. DIY backdrops using streamers or balloons are also very effective and budget-friendly.
What’s the best way to keep food fresh throughout the party?
For cold items, use platters placed over ice baths or chilled serving dishes. For hot dishes, chafing dishes, slow cookers on a warm setting, or insulated food carriers work well. Prepare smaller batches and replenish frequently to ensure everything stays at its best.
Should I put all the food out at once?
For most parties, it’s best to put out the main spread as guests arrive. However, consider holding back desserts or replenishments until later in the party. This keeps the presentation fresh and ensures that some items aren’t sitting out for too long.
How do I choose a color scheme for my party food table?
Let your theme be your guide! For a baby shower, soft pastels or gender-neutral greens and yellows are lovely. For a birthday, choose the guest of honor’s favorite colors or bright, celebratory hues. Holidays often have traditional palettes like reds and greens for Christmas, or oranges and browns for Thanksgiving.
Our Top Recommended Finds
- White Ceramic Serving Platters: A versatile set that acts as a blank canvas for any food and theme.
- Tiered Cake Stands: Essential for creating impressive height and visual drama on your table.
- Mini Chalkboard Labels with Stands: Perfect for clearly identifying dishes with a touch of rustic charm.
Crafting Unforgettable Moments, One Plate at a Time
Now that you have these practical steps, it’s time to unleash your inner party planner and create a food display that wows your guests. Imagine the delighted gasps, the compliments on your impeccable taste, and the joy of seeing everyone gather around your beautiful spread. Don’t just serve food; create an experience.
Start brainstorming your next celebration today! Whether it’s a cozy birthday brunch, a vibrant baby shower, or a grand holiday feast, these tips will help you style a table that’s not only delicious but also a feast for the eyes. Get inspired, get creative, and make your next party truly shine.