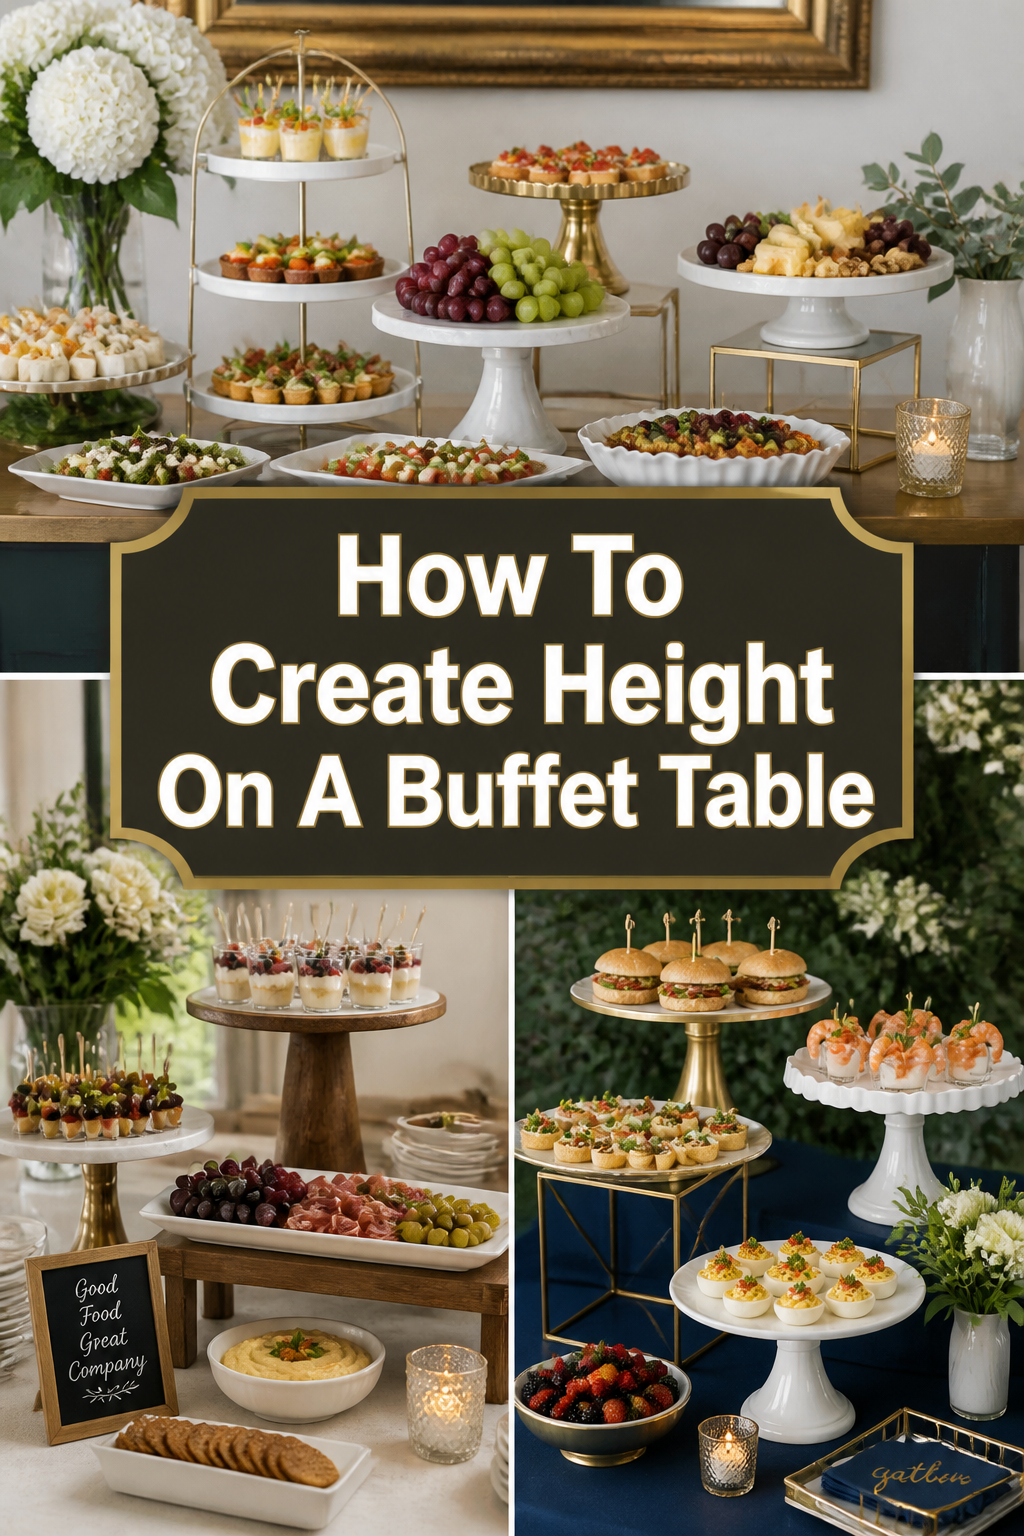
🥳 How To Create Height On A Buffet Table
📋 The Event Planner's Essential Toolkit
Whether you're throwing a massive birthday bash or an intimate baby shower, the right tools make execution effortless. These are the 5 essential items that professional event coordinators and DIY party hosts consistently rely on to pull off flawless celebrations without the stress.
🎈 Electric Dual-Nozzle Balloon Pump
The absolute lifeline for creating those trending balloon arches and garlands that everyone loves. This dual-nozzle pump lets you inflate hundreds of balloons in a fraction of the time, saving your lungs and transforming hours of prep work into minutes.
🛡️ Command Clear Party Hooks & Strips
The secret to magazine-worthy venue decorations without losing your security deposit. Professional planners stock up on these clear, damage-free hooks to hang banners, string lights, and paper lanterns securely on walls and ceilings, removing cleanly when the party is over.
🧁 Wilton Tiered Cupcake & Dessert Stand
The easiest way to make a simple dessert table look professionally catered. This customizable, multi-tier display stand gives crucial height and dimension to your treats, effortlessly elevating the presentation of cupcakes, cookies, or appetizers at any gathering.
🚂 Heavy-Duty Collapsible Utility Wagon
The unsung hero of off-site parties, park birthdays, and trunk-or-treats. This rugged folding wagon hauls folding chairs, coolers, and mountains of decor from your car to the venue in one trip, completely eliminating the exhausting pre-party back-and-forth hauling.
📓 Clever Fox Event Planner Organizer
The ultimate command center for keeping your sanity intact while hosting. Dedicated sections for guest lists, budget tracking, vendor contacts, and day-of timelines ensure that not a single crucial detail falls through the cracks before the big day.
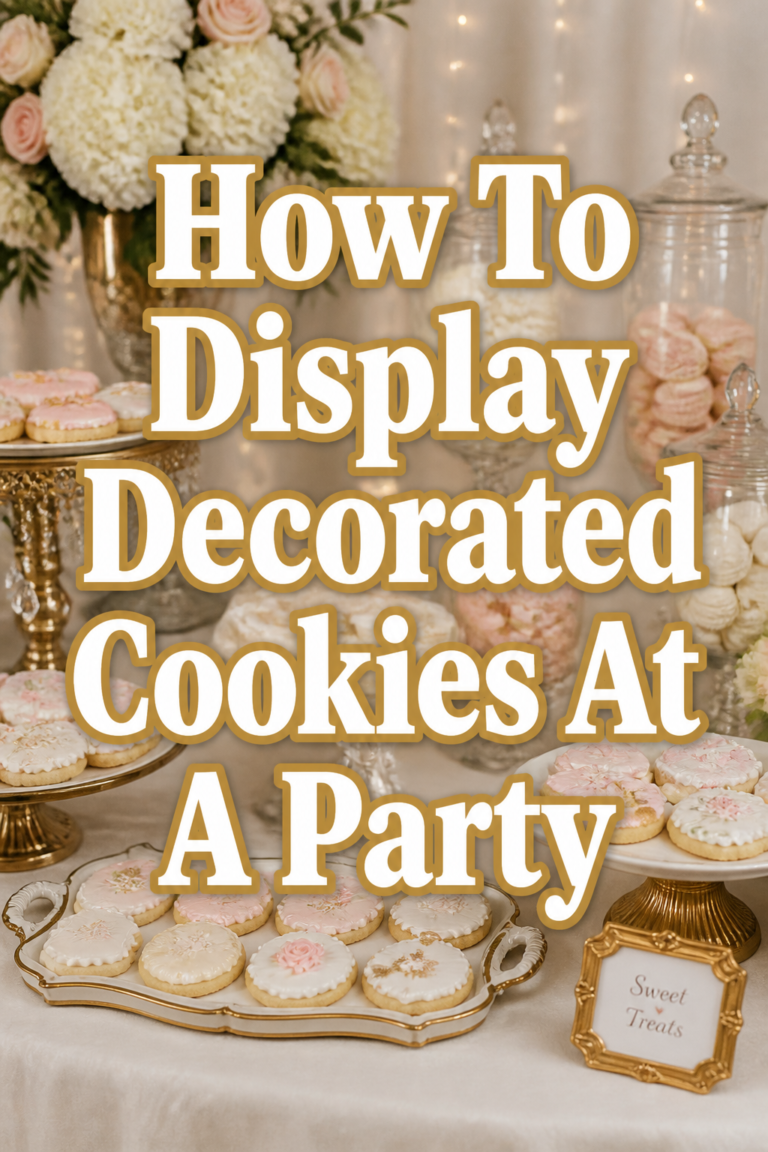
I remember hosting my very first baby shower for my best friend, feeling overwhelmed by the flat, uninspired look of my food spread. It just didn’t have that “wow” factor I envisioned.
Through countless celebrations, from birthdays to holiday feasts, I’ve discovered the magical secret to transforming any buffet from ordinary to absolutely spectacular. This guide is packed with those tried-and-true tricks, designed to make your next party truly shine.
Get ready to create memorable moments and stunning tablescapes that will have your guests talking!

Quick Overview
You’re about to transform your buffet table from a flat, two-dimensional spread into a dynamic, visually captivating masterpiece. This guide will walk you through simple steps to add depth and drama, making your food truly irresistible.
Step-by-Step Instructions
Step 1: Envision Your Dream Layout
Before you even think about placing a single dish, take a moment to imagine your ideal buffet. Consider the flow of your guests and how they will move around the table. What kind of foods will you be serving?
Sketch a rough diagram, mentally placing taller items at the back and center to create a natural visual anchor. This initial planning saves so much time and effort later on.
Pro Tip: Think about the “story” your buffet tells. Is it a rustic farm-to-table brunch, a whimsical fairy garden tea party, or an elegant holiday dinner? Let your theme guide your layout.
Step 2: Gather Your Height-Creating Treasures
Now for the fun part: collecting your risers! Look around your home first. Inverted sturdy bowls, stacks of books, wooden crates, and even clean, empty shoeboxes can be fantastic bases.
Cake stands are your best friend here, especially in varying sizes and heights. Don’t be afraid to mix materials like ceramic, wood, and metal for added texture.
Step 3: Drape with Delightful Linens and Fabrics
Once your risers are in place, it’s time to soften and unify the look with textiles. Use a beautiful tablecloth as your base layer. Then, strategically drape runners, scarves, or even a sheer piece of fabric over your risers.
This creates a seamless, elegant flow and hides any makeshift bases like cardboard boxes. Choose colors and textures that complement your party theme.
Step 4: Position Your Anchor Pieces
Start by placing your tallest serving dishes or decorative elements. These typically go towards the back or center of your buffet. Think about a beautiful floral arrangement, a multi-tiered dessert stand, or a large punch bowl.
These anchor pieces draw the eye upwards and establish the main focal points of your display. They set the stage for everything else.
Step 5: Arrange Food with Visual Purpose
It’s not just about raising dishes; it’s about how the food itself contributes to the height. Use serving platters with pedestals, tiered trays for cupcakes or appetizers, and tall glass dispensers for drinks.
Vary the height of your food presentation. A bowl of salad on a short stand, next to a platter of sandwiches on the table, creates interest.
Step 6: Integrate Charming Decorative Elements
This is where your buffet truly becomes Pinterest-worthy! Place small floral arrangements in bud vases at different heights. Scatter votive candles for a warm glow, or use string lights for a whimsical touch.
Themed props, like miniature pumpkins for autumn or tiny toy animals for a baby shower, add personality and charm. Think about edible decorations too, like fruit skewers in a tall vase.
Pro Tip: Don’t just decorate the table; consider the space above it. A banner, some balloons, or even a branch hanging above can extend the visual height beautifully.
Step 7: Create Inviting Visual Pathways
Imagine your guests’ eyes moving across the table. Use your risers and decorations to create a natural flow from one dish to the next. Group similar items together, but vary their heights.
Ensure there’s a clear path for guests to access the food easily, without feeling cluttered. This makes the experience enjoyable and stress-free.
Step 8: Harmonize with Your Party Theme
Every element on your buffet table should whisper (or shout!) your party’s theme. For a rustic birthday, use wooden crates and burlap runners. For a chic bridal shower, opt for elegant white cake stands and delicate lace.
Even the food itself can be themed! This consistency ties everything together beautifully and makes your table truly memorable.
Step 9: Step Back and Admire Your Creation
Once you think you’re done, take a few steps back. View your buffet from different angles, especially from where your guests will approach it. Does it look balanced? Is anything wobbly?
Make any necessary adjustments. Sometimes a slight shift in placement or adding one more small decorative item can make all the difference.
Common Mistakes to Avoid
Overcrowding the Table
A common pitfall is trying to fit too much onto one buffet table. This can make your beautiful spread look cluttered and overwhelming rather than inviting. Guests will struggle to find dishes and reach for food.
Instead, prioritize your dishes. If you have many items, consider using a separate smaller table for drinks or desserts. Allow ample space between serving dishes for plates and utensils.
Ignoring Stability and Safety
It’s easy to get caught up in aesthetics, but safety is paramount. Placing heavy dishes on flimsy risers or precariously stacking items can lead to spills and accidents. This is especially important if children are present.
Always ensure your risers are stable and can support the weight of the food. Use non-slip mats under bases if needed, and distribute weight evenly.
Lack of Cohesion and Theme
Using a random assortment of risers and decorations, without a unifying theme or color palette, can make your buffet look disjointed. It loses that polished, put-together feel. Your guests might not understand the vision.
Before you begin, choose a theme and a complementary color scheme. Stick to it throughout your selection of risers, linens, and decorative elements to create a harmonious look.
Troubleshooting
Wobbly Risers
If your carefully placed riser feels unstable, don’t panic! First, check if the surface it’s on is completely flat. Sometimes a slight unevenness in the table itself can be the culprit.
For quick fixes, place a non-slip mat (like a shelf liner or a piece of rubber matting) under the base. You can also discreetly wedge small pieces of cardboard or felt under one side to stabilize it. Always ensure any heavy dishes are on the most secure risers.
Running Out of Space
You’ve added height, but now your table feels too full. This often happens when you have more dishes than anticipated. The solution is often to go even more vertical or to expand horizontally.
Consider adding a second, smaller table nearby for drinks or desserts, alleviating pressure on the main buffet. Use truly multi-tiered serving pieces to condense several items into one footprint, freeing up valuable surface area.
The Look Feels Too Busy
Sometimes, in the quest for height and decoration, a buffet can start to feel overwhelming to the eye. There might be too many colors, too many patterns, or simply too many small items vying for attention.
Step back and remove one or two decorative items. Simplify your color palette to two main colors and an accent. Sometimes, less is genuinely more, allowing your beautiful food to be the star.
Key Takeaways
Frequently Asked Questions
How high should my risers typically be?
A good range for risers is generally between 4 to 12 inches. Varying these heights creates dynamic visual interest, but ensure the tallest items are still easily accessible to guests. You want variety, not a towering obstacle course.
Can I use cardboard boxes as risers?
Absolutely! Cardboard boxes are fantastic, affordable risers. The trick is to ensure they are sturdy enough to hold your dishes and then completely cover them with tablecloths, fabric, or decorative paper. This hides their humble origins beautifully.
What if my buffet table is already quite small?
When space is limited, going vertical is even more important! Focus on using taller, multi-tiered serving pieces like cupcake stands, three-tier platters, and tall drink dispensers. This maximizes your available surface area without expanding horizontally.
How do I make a tall buffet safe for children?
For buffets where children will be serving themselves, place heavier, more stable dishes on lower risers or directly on the table. Keep hot items and delicate decorations out of reach. Ensure all risers are extremely sturdy and won’t topple easily if bumped.
Our Top Recommended Finds
Your Next Celebration Awaits: Elevate Every Moment!
Now that you’re armed with these simple, creative strategies, you’re ready to transform any occasion into a truly unforgettable celebration. Imagine the delighted gasps from your guests as they approach your beautifully styled buffet.
Don’t wait for a special occasion; start dreaming up your next party spread today! Gather those hidden treasures from your home, sketch out a vision, and let your creativity take flight. Your next gathering is just waiting to be elevated, literally and figuratively.