🥧 How To Package A Pie For A Gift
📋 The Event Planner's Essential Toolkit
Whether you're throwing a massive birthday bash or an intimate baby shower, the right tools make execution effortless. These are the 5 essential items that professional event coordinators and DIY party hosts consistently rely on to pull off flawless celebrations without the stress.
🎈 Electric Dual-Nozzle Balloon Pump
The absolute lifeline for creating those trending balloon arches and garlands that everyone loves. This dual-nozzle pump lets you inflate hundreds of balloons in a fraction of the time, saving your lungs and transforming hours of prep work into minutes.
🛡️ Command Clear Party Hooks & Strips
The secret to magazine-worthy venue decorations without losing your security deposit. Professional planners stock up on these clear, damage-free hooks to hang banners, string lights, and paper lanterns securely on walls and ceilings, removing cleanly when the party is over.
🧁 Wilton Tiered Cupcake & Dessert Stand
The easiest way to make a simple dessert table look professionally catered. This customizable, multi-tier display stand gives crucial height and dimension to your treats, effortlessly elevating the presentation of cupcakes, cookies, or appetizers at any gathering.
🚂 Heavy-Duty Collapsible Utility Wagon
The unsung hero of off-site parties, park birthdays, and trunk-or-treats. This rugged folding wagon hauls folding chairs, coolers, and mountains of decor from your car to the venue in one trip, completely eliminating the exhausting pre-party back-and-forth hauling.
📓 Clever Fox Event Planner Organizer
The ultimate command center for keeping your sanity intact while hosting. Dedicated sections for guest lists, budget tracking, vendor contacts, and day-of timelines ensure that not a single crucial detail falls through the cracks before the big day.
There’s a special magic in baking a pie, especially when it’s meant for a loved one. I’ve always believed that a homemade gift, like a warm apple pie, carries a piece of your heart. Trust me, the presentation is just as important as the delicious filling inside.
This guide will help you create a truly memorable, beautifully packaged pie, ready for any celebration.
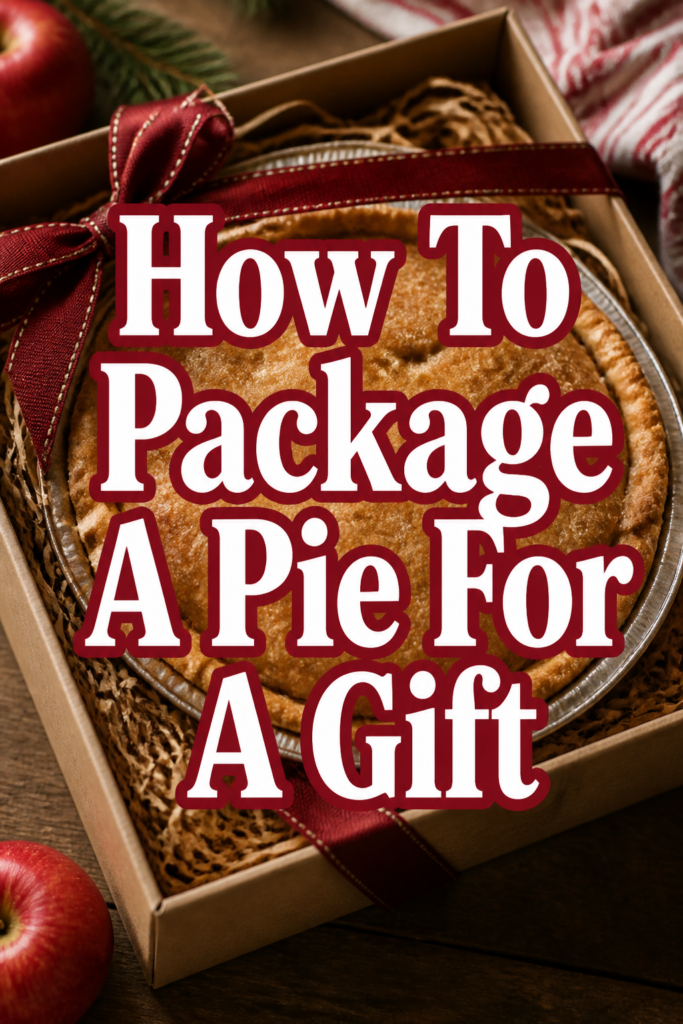
Quick Overview
Get ready to transform your delicious homemade pie into a stunning, Pinterest-worthy gift. You’ll learn how to secure your creation and add those charming, personalized touches that make all the difference. Imagine the delight on their face!
- Time needed: 45-75 minutes (including cooling time for pie, if applicable)
- Difficulty: Beginner to Intermediate
- What you’ll need: Pie, sturdy box or carrier, tissue paper, ribbon, gift tags, optional decorative elements
Step-by-Step Instructions
Step 1: Choose Your Pie & Packaging Base
Begin by selecting the perfect pie for your occasion. A beautiful crust, whether lattice or crimped, is always a wonderful starting point. Ensure your pie is completely cooled before packaging to prevent condensation.
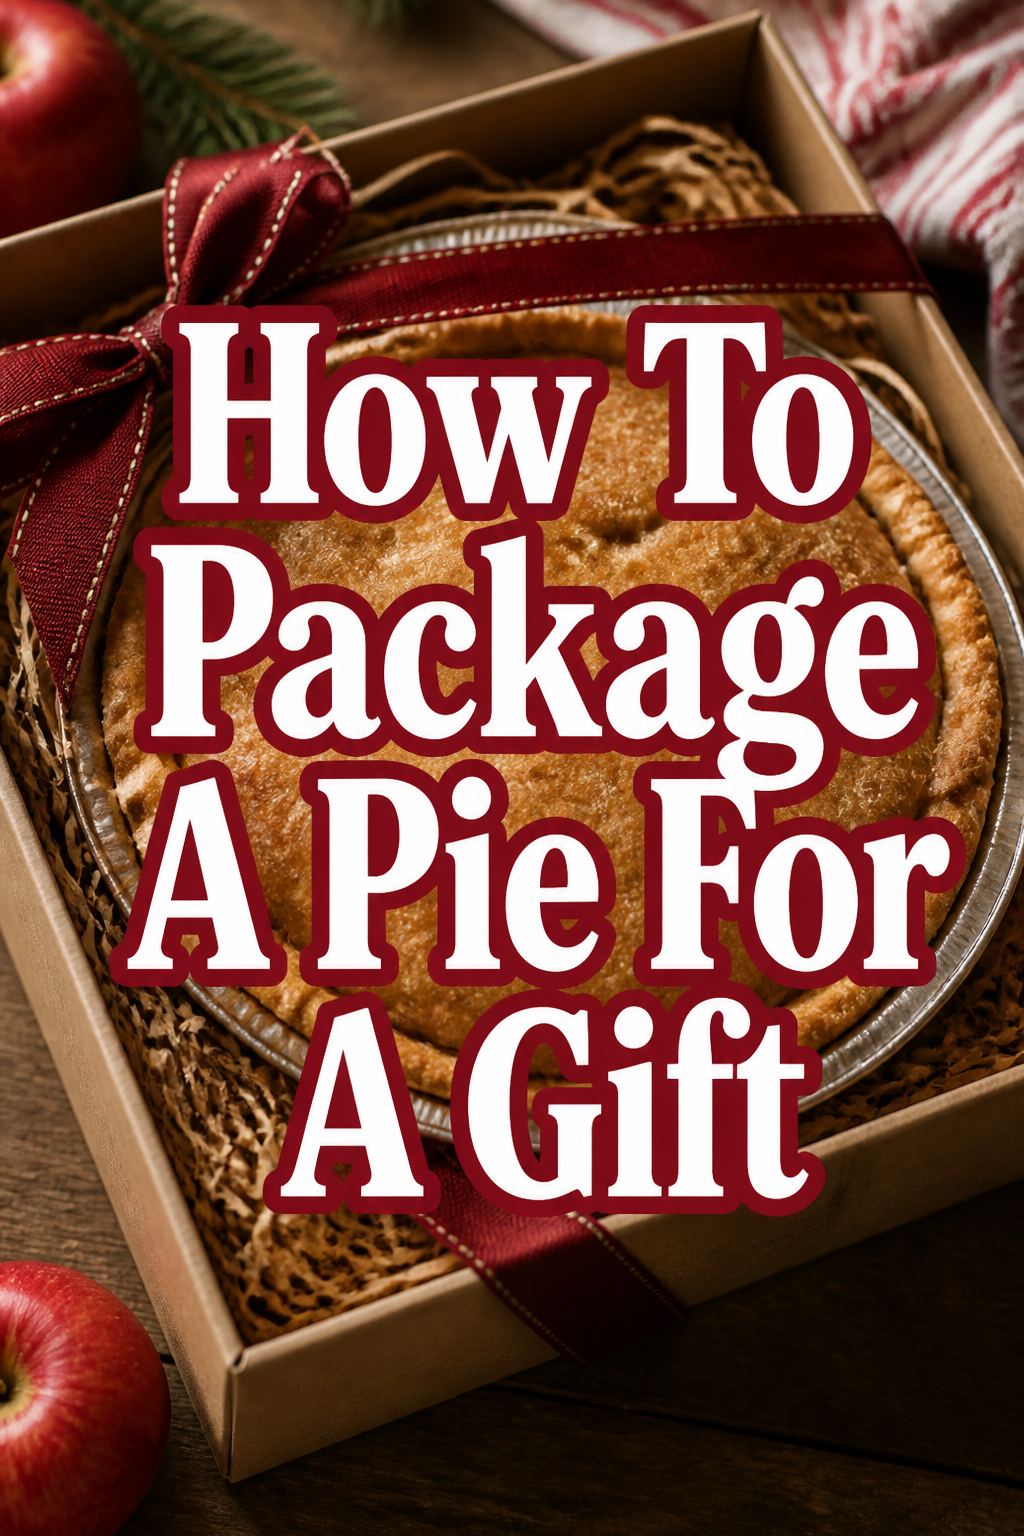
Next, find a sturdy pie box or carrier. These come in various sizes and materials, from simple cardboard to elegant clear plastic. Measure your pie’s diameter and height to ensure a snug, secure fit.
A box with a window can showcase your pie’s beauty immediately. For rustic charm, a plain Kraft paper box is ideal for customization. Consider reusable carriers if your recipient loves to bake too.
Pro Tip: For a truly show-stopping gift, consider baking your pie in a beautiful ceramic pie dish that can be part of the gift itself! Just ensure your chosen carrier can safely accommodate the dish’s weight and size.
Step 2: Secure the Pie for Transport
Once your pie is cool, it’s time to make sure it won’t shift during its journey. This step is crucial for maintaining its pristine appearance. Place a non-slip mat or a piece of crumpled tissue paper at the bottom of the box.
Carefully center your pie within the box. If there’s any significant gap around the edges, gently tuck more crumpled tissue paper or strips of cardboard to prevent movement. This creates a cushion and keeps the pie snug.
For extra stability, especially for larger or heavier pies, consider using a piece of double-sided tape on the bottom of the pie plate to adhere it to the box base. This provides a very secure hold. Ensure the tape is easily removable so the recipient can lift the pie out without damage.
Step 3: Select Your Theme & Color Palette
This is where the magic of personalization truly begins! Think about the celebration: a cheerful birthday, a cozy holiday gathering, or a sweet baby shower. Let the event inspire your decorative choices.
Choose a color palette that complements your theme. For a baby shower, soft pastels or gender-specific blues and pinks are lovely. Holiday pies might feature deep reds, greens, and golds.
A rustic wedding gift could use natural linen ribbons and kraft paper tags. A vibrant birthday calls for bright, playful colors and patterns. Consistency in your theme makes the whole package feel cohesive and intentional.
Step 4: Add Charming Wraps & Ribbons
Now for the fun part: adding layers of visual appeal. Start by lining the bottom of your pie box with a sheet of patterned tissue paper or a decorative doily. This adds an immediate touch of elegance when the box is opened.
Choose ribbons that match your chosen theme and color palette. Satin ribbons offer a luxurious feel, while jute twine or burlap ribbon lends a rustic touch. Grosgrain ribbons provide a classic, structured look.
Tie your ribbon around the entire box, creating a beautiful bow on top. You can crisscross two ribbons for a more elaborate design. Consider layering different textures or widths of ribbon for added interest.
Step 5: Craft a Personalized Tag or Label
A handwritten tag transforms a gift from lovely to truly heartfelt. This is your chance to add a personal message. Hand-cut tags from cardstock or use pre-made labels.
Write a sweet note, the occasion, or even the pie flavor on the tag. Attach it directly to the ribbon with a small hole punch or use a mini clothespin. This adds a charming, DIY touch.
For a baby shower, include “A Sweet Treat for the Sweetest Arrival.” For a birthday, “Wishing You a Slice of Happiness!” A holiday pie could simply say “Baked with Love.”
Step 6: Include Thoughtful Embellishments
Elevate your pie package with small, decorative accents. These details are what make your gift Pinterest-worthy and truly memorable. Think about what would delight your recipient.
For a fall pie, tuck a few faux maple leaves or a small cinnamon stick under the ribbon. A baby shower pie might feature a tiny plastic baby bottle or a miniature rattle attached to the tag. For Christmas, a sprig of evergreen or a small ornament would be perfect.
Consider adding a small sprig of fresh herbs like rosemary for a savory pie, or a few edible flowers for a delicate touch. Just make sure any fresh elements are food-safe and won’t wilt quickly. These little extras show you went the extra mile.
Step 7: Prepare for Presentation & Delivery
Before you head out, do a final check of your beautifully packaged pie. Ensure all ribbons are secure and embellishments are firmly attached. This prevents any last-minute mishaps.
If you’re transporting the pie a long distance, place the box in a larger, flat-bottomed bag or cooler. This prevents it from tipping over in the car. Keep the pie level at all times.
For warm pies, ensure they are still slightly warm but not hot enough to create condensation. For chilled pies, an insulated carrier with an ice pack placed next to the box (not on top) can help maintain temperature.
Step 8: Final Touches & Presentation
The moment of presentation is key! Hand over your pie with a warm smile and perhaps a little story about baking it. This adds to the personal connection.
Arrange the pie on a serving table, if possible, allowing its beauty to shine. Ensure the recipient knows any special instructions, like “serve warm” or “refrigerate after opening.”
Watching someone’s face light up as they receive your thoughtful, handmade gift is the ultimate reward. You’ve not just given them a pie; you’ve given them an experience.
Common Mistakes to Avoid
Loose Pie Placement
A common pitfall is placing the pie loosely in a box that’s too large. This allows the pie to slide around during transport, potentially damaging the crust or decorations. Always choose a box that fits snugly, or use filler materials like crumpled tissue paper to secure it. Ensuring your pie is stable prevents disappointment upon arrival.
Over-Decorating
While embellishments are wonderful, too many can make the package look cluttered rather than elegant. An excessive amount of ribbon, multiple charms, or overly busy patterns can detract from the pie itself. Aim for a balanced, curated look where each element enhances the overall design without overwhelming it.
Forgetting Practicalities
It’s easy to get caught up in aesthetics and forget about the practical aspects of gifting a pie. Consider the transport distance, temperature control, and how the recipient will easily open the box and serve the pie. Neglecting these details can lead to a messy or inconvenient experience for the gift receiver.
Skipping Personalization
A pie without a personal touch can feel less like a gift and more like a store-bought item. Forgetting a handwritten tag or a thoughtful note misses an opportunity to connect with the recipient. Always include a message that makes the gift uniquely yours and tailored to the occasion.
Troubleshooting
Pie Is Sliding Inside the Box
If your pie is shifting, even after initial placement, immediately stop transport. Open the box and add more crumpled tissue paper, clean kitchen towels, or even cardboard strips around the pie’s edges. You can also place a non-slip mat directly underneath the pie plate to provide better grip.
Decorations Getting Crushed
This often happens with delicate toppers or bows during transport. If possible, transport your pie in a larger, stable container where nothing can press against the top. For very fragile decorations, consider attaching them after arrival, or use a pie box with a clear dome lid that provides ample head space.
Presentation Feels Flat or Uninspired
If your packaged pie lacks that “wow” factor, revisit your theme and color palette. Add another layer of ribbon in a contrasting texture or color. Incorporate a small, themed embellishment like a dried orange slice or a tiny flower. A beautifully handwritten tag can also instantly elevate the look.
Key Takeaways
- Always ensure your pie is completely cooled before packaging to prevent condensation and soggy crusts.
- Select a sturdy, appropriately sized pie box or carrier for safe transport and presentation.
- Secure the pie firmly within its packaging using crumpled paper or a non-slip mat to prevent movement.
- Personalize your gift with a thoughtful theme, coordinating colors, and a handwritten message.
- Layer decorative elements like ribbons, tissue paper, and small embellishments for a “Pinterest-worthy” look.
- Prioritize practicality by considering transport, temperature, and ease of opening for the recipient.
Frequently Asked Questions
What’s the best type of box for a pie?
A sturdy cardboard pie box with a window is a popular and practical choice. It allows the recipient to see the beautiful pie inside while offering good protection. For a more elegant touch, clear plastic dome carriers work wonderfully, especially for delicate decorations.
How do I keep the pie fresh during travel?
For most pies, ensuring they are completely cooled before packaging is key. If the pie needs to stay chilled (like a cream pie), use an insulated carrier with an ice pack placed next to the pie box, not directly on it. For short trips, simply keeping it out of direct sunlight in a cool car is often sufficient.
Can I pre-assemble the box and decorations?
You can definitely pre-assemble the box and have your ribbons and tags ready. However, it’s best to place the pie inside and do the final ribbon tying and embellishment attachment just before gifting. This ensures everything looks fresh and pristine.
What if I don’t have a specific pie box?
No problem! You can use a sturdy gift box that’s slightly larger than your pie. Line it generously with tissue paper, then secure the pie as described in Step 2. You might need to build up the sides with more crumpled paper to prevent movement. A large, flat-bottomed gift bag can also work in a pinch.
Our Top Recommended Finds
- Sturdy Cardboard Pie Carriers: Look for ones with an auto-lock bottom for easy assembly and a clear window to showcase your beautiful bake.
- Assorted Satin Ribbon Set: A multi-color pack allows you to match any theme or occasion, adding a touch of elegance to every pie.
- Kraft Paper Gift Tags with Twine: These offer a classic, versatile base for your handwritten messages and pair well with almost any decorating style.
Your Next Sweet Creation Awaits!
You now have all the tools and inspiration to turn a simple pie into an extraordinary gift. Imagine the smiles, the joy, and the lasting memories you’ll create with your beautifully packaged masterpiece. Whether it’s for a birthday, a baby shower, a holiday, or just because, your thoughtful gesture will truly shine.
Don’t wait for a special occasion to share your baking talents. Start planning your next delightful pie package today! Let your creativity flow and spread a little extra sweetness in the world.