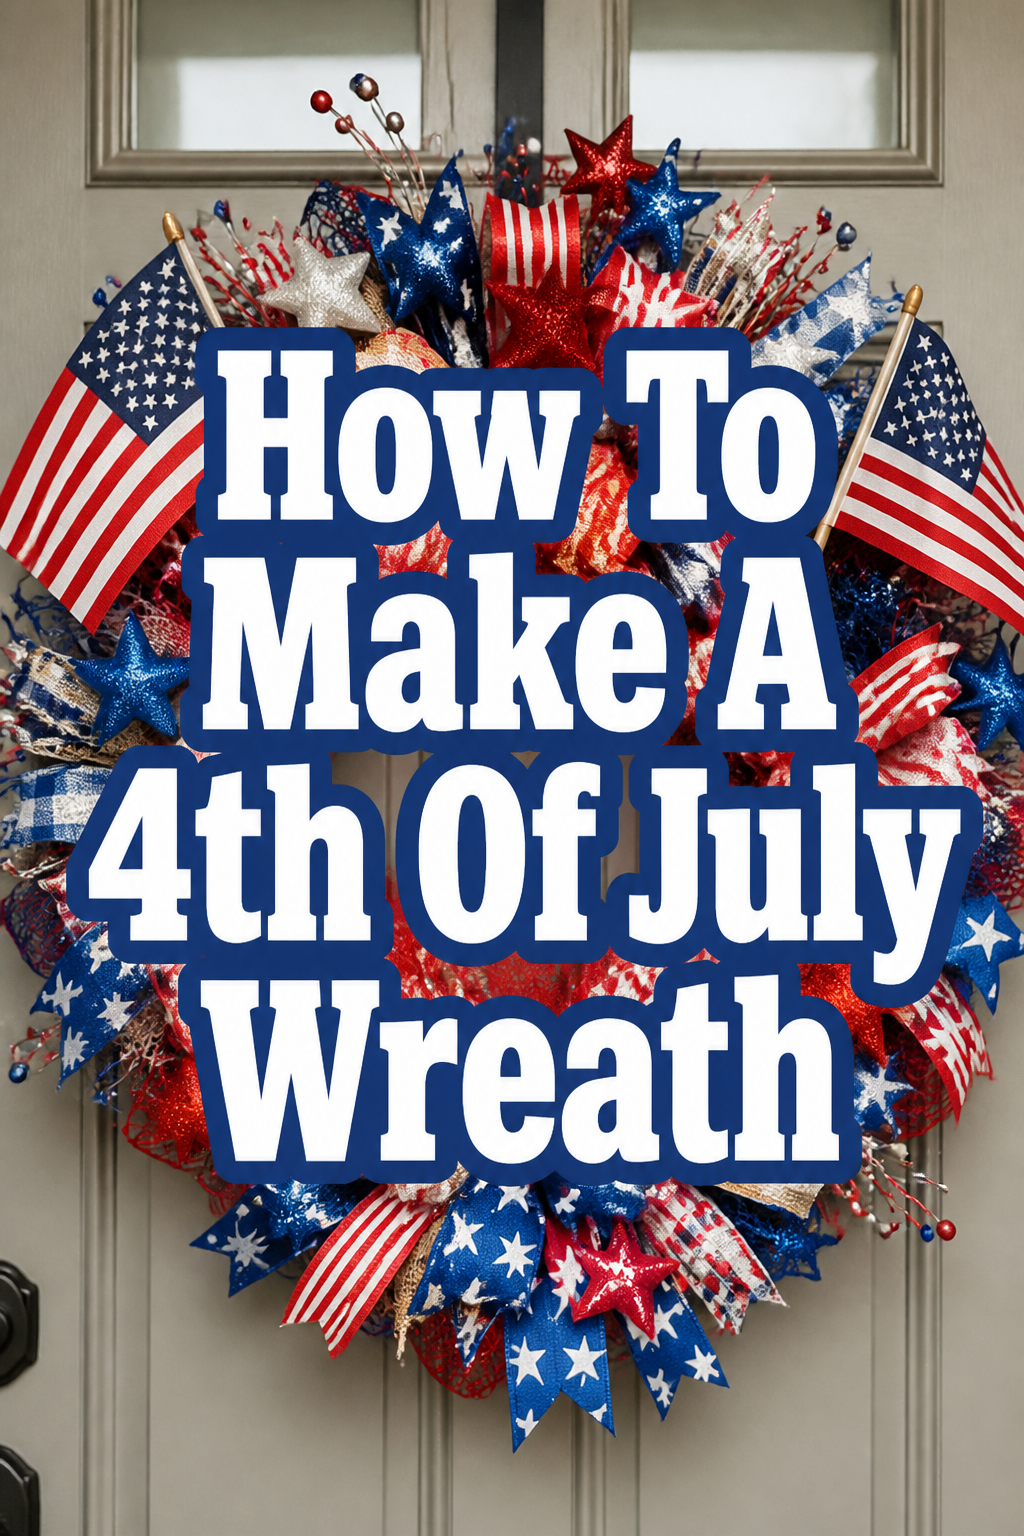
🎆 How To Make A 4th Of July Wreath
📋 The Event Planner's Essential Toolkit
Whether you're throwing a massive birthday bash or an intimate baby shower, the right tools make execution effortless. These are the 5 essential items that professional event coordinators and DIY party hosts consistently rely on to pull off flawless celebrations without the stress.
🎈 Electric Dual-Nozzle Balloon Pump
The absolute lifeline for creating those trending balloon arches and garlands that everyone loves. This dual-nozzle pump lets you inflate hundreds of balloons in a fraction of the time, saving your lungs and transforming hours of prep work into minutes.
🛡️ Command Clear Party Hooks & Strips
The secret to magazine-worthy venue decorations without losing your security deposit. Professional planners stock up on these clear, damage-free hooks to hang banners, string lights, and paper lanterns securely on walls and ceilings, removing cleanly when the party is over.
🧁 Wilton Tiered Cupcake & Dessert Stand
The easiest way to make a simple dessert table look professionally catered. This customizable, multi-tier display stand gives crucial height and dimension to your treats, effortlessly elevating the presentation of cupcakes, cookies, or appetizers at any gathering.
🚂 Heavy-Duty Collapsible Utility Wagon
The unsung hero of off-site parties, park birthdays, and trunk-or-treats. This rugged folding wagon hauls folding chairs, coolers, and mountains of decor from your car to the venue in one trip, completely eliminating the exhausting pre-party back-and-forth hauling.
📓 Clever Fox Event Planner Organizer
The ultimate command center for keeping your sanity intact while hosting. Dedicated sections for guest lists, budget tracking, vendor contacts, and day-of timelines ensure that not a single crucial detail falls through the cracks before the big day.
There’s nothing quite like the vibrant spirit of the Fourth of July, and creating your own festive decor truly elevates the celebration.
I remember years ago, struggling to find the perfect patriotic wreath that felt truly special. That’s when I decided to craft my own, discovering the immense joy and satisfaction of a DIY project that sparks celebration.
This guide will help you create a stunning, Pinterest-worthy Fourth of July wreath, making your home the talk of the neighborhood and setting the stage for unforgettable memories.
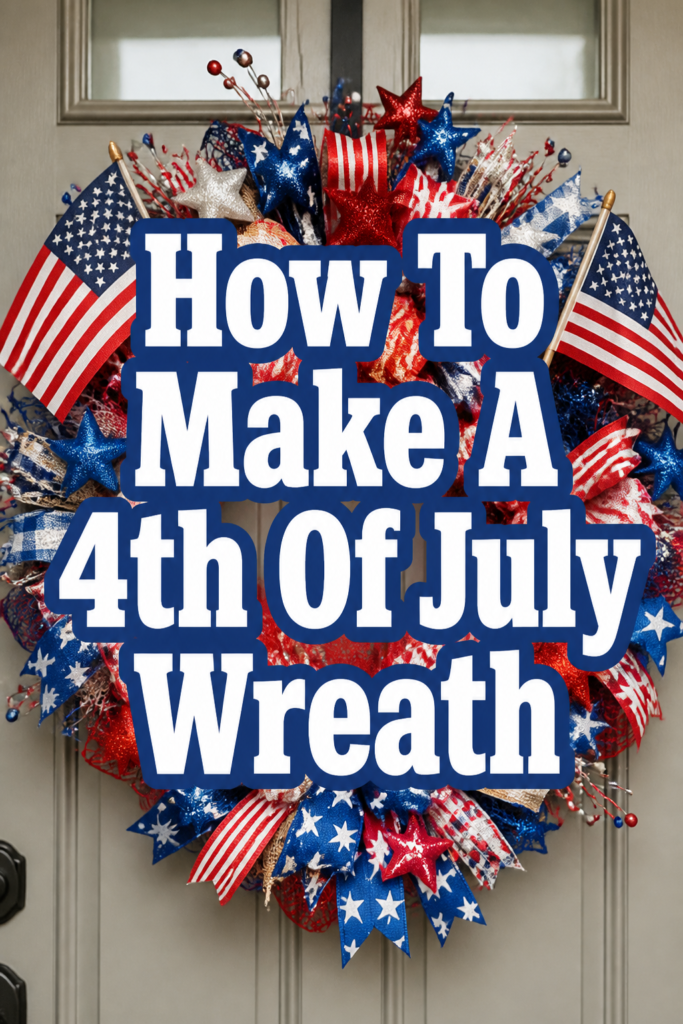
Quick Overview
You’re about to embark on a delightful creative journey, resulting in a beautiful, handcrafted wreath that perfectly captures the spirit of independence and joy. This project is designed to be enjoyable, adding a personal touch to your holiday festivities.
- Time needed: 1-2 hours (depending on complexity)
- Difficulty: Beginner
- What you’ll need: Wreath form, red/white/blue ribbons, faux flowers/embellishments, hot glue gun, scissors.
Step-by-Step Instructions
Step 1: Gather Your Patriotic Palette
Collect all your materials before you begin. A clear workspace and organized supplies make the creative process much smoother and more enjoyable.
Select ribbons in varying shades of red, white, and blue, considering different textures like satin, grosgrain, or burlap for visual interest. Choose faux flowers or berries that complement your color scheme, perhaps white hydrangeas, red poppies, or blue delphiniums to add a touch of natural beauty.
Pro Tip: Think about your overall party theme! If you’re going for a rustic picnic, choose burlap and distressed wood stars. For a chic backyard bash, opt for satin ribbons and glittery accents. This wreath can truly set the tone for your entire celebration.
Step 2: Prepare Your Wreath Form
Unpack your chosen wreath form, whether it’s a wire frame, a foam circle, or even a grapevine base. Each type offers a slightly different aesthetic and attachment method.
If using a wire form, you might want to wrap it entirely with a base layer of wide white ribbon first. This creates a clean canvas and prevents any wire from showing through your finished design, giving it a professional, polished look.
Step 3: Wrap with Ribbons
Attach the end of your widest ribbon to the back of the wreath form using hot glue or floral wire. Begin to wrap the ribbon tightly around the form, overlapping each section slightly as you go.
Continue wrapping until the entire form is covered, ensuring a smooth, even surface. Secure the final end of the ribbon at the back, creating a neat and tidy foundation for your embellishments.
Step 4: Layer Your Ribbons and Bows
Cut several lengths of your narrower red, white, and blue ribbons, varying their lengths for visual appeal. Create simple loops or small bows with these pieces.
Carefully hot glue these ribbon accents onto the base layer, scattering them around the wreath. This layering technique adds depth and dimension, making your wreath feel lush and full, ready for a dazzling display.
Pro Tip: For a truly Pinterest-worthy look, experiment with different ribbon patterns! Polka dots, stripes, or even subtle glitter ribbons can add a playful or elegant touch. Consider using wired ribbon for bows that hold their shape beautifully.
Step 5: Add Floral Flourishes
Trim the stems of your faux flowers and berries, leaving just enough length to attach them securely. Arrange them strategically around the wreath, creating focal points or a continuous flow.
Use hot glue to firmly attach each floral piece to the ribbon-wrapped form. Distribute the colors evenly, ensuring a balanced and harmonious design that evokes summer gardens and festive parades.
Step 6: Incorporate Patriotic Embellishments
Place your chosen patriotic elements like small American flags, wooden stars, or glittery firecrackers onto the wreath. These details really bring the Fourth of July theme to life.
Hot glue each embellishment into place, making sure they are secure and visually integrated with your ribbons and flowers. Consider clustering a few stars together or tucking mini flags between floral arrangements for impact.
Step 7: Create a Hanging Loop
Cut a generous length of sturdy ribbon, about 18-24 inches, in a coordinating color. Form it into a loop and hot glue or wire it securely to the top back of your wreath.
This loop will allow you to proudly display your finished masterpiece on your front door, wall, or even as a stunning centerpiece for your holiday table. Ensure it’s strong enough to hold the wreath’s weight.
Step 8: Final Touches and Fluffing
Inspect your wreath from all angles, gently fluffing ribbons and adjusting any elements that seem out of place. Ensure all pieces are firmly attached and secure.
Step back and admire your beautiful creation! This personalized touch will be a cherished part of your Fourth of July celebrations for years to come, sparking joy and conversation.
Common Mistakes to Avoid
Overcrowding Your Wreath
It’s easy to get excited and want to add every beautiful embellishment you find. However, too many elements can make your wreath look cluttered and lose its elegant appeal. Aim for balance and let each carefully chosen item have room to shine.
Instead of adding more, try to create visual interest through varying sizes and textures of fewer items. Sometimes, less truly is more, especially when aiming for that sophisticated, magazine-worthy look.
Insecure Attachments
A common pitfall is not securing elements firmly enough, leading to flowers or ribbons falling off over time. A wreath that sheds its decor isn’t just frustrating; it can also look messy.
Always use a generous amount of hot glue for each piece, pressing it firmly into place until cool. For heavier items, consider reinforcing with floral wire or pipe cleaners for extra durability, ensuring your wreath withstands the elements and time.
Ignoring Scale and Proportion
Using elements that are too large or too small for your wreath form can throw off the entire design. A tiny bow on a giant wreath or an enormous flower on a small one will look awkward.
Before gluing, lay out your embellishments on the wreath to visualize the arrangement. Ensure that the sizes of your ribbons, flowers, and flags are proportionate to the wreath form, creating a harmonious and aesthetically pleasing composition.
Troubleshooting
Wreath Looks Sparse or Unbalanced
If your wreath feels a bit empty or one-sided, don’t despair! This is a common creative hiccup. Often, it just needs a little strategic adjustment to achieve that full, celebratory look.
Try adding a few more loops of ribbon in different widths to fill gaps, or gently reposition existing flowers and embellishments. Sometimes, simply fluffing out your bows and ribbons can create the illusion of more volume and balance the design.
Ribbons or Embellishments Peeling Off
This usually indicates insufficient glue or improper application. Humidity or direct sunlight can also sometimes weaken glue bonds over time. It’s frustrating when your beautiful work starts to come undone.
Carefully reattach the loose items using fresh hot glue. Hold them firmly in place for a few extra seconds to ensure a strong bond. For outdoor wreaths, consider using a weather-resistant craft adhesive in addition to hot glue for added durability against the elements.
Difficulty Hanging the Wreath Evenly
If your wreath consistently hangs crooked, the hanging loop might be off-center or not strong enough. A lopsided display can detract from your hard work and the festive atmosphere you’re trying to create.
Check the placement of your hanging loop. It should be directly at the top center of the wreath. If it’s off, carefully remove and reattach it. You might also reinforce the loop with an extra piece of floral wire, ensuring it’s robust enough to support the wreath’s weight evenly.
Key Takeaways
- Preparation is Key: Gather all materials and organize your workspace for a smooth crafting experience.
- Layering Adds Depth: Use varying ribbon widths and textures to create a rich, full appearance.
- Secure Everything Firmly: Generous hot glue and optional floral wire ensure your embellishments stay in place.
- Balance is Beautiful: Distribute colors and elements evenly for a harmonious and professional look.
- Personalize Your Design: Let your unique style shine through in your choice of colors, patterns, and embellishments.
- Enjoy the Process: Crafting is a creative outlet; embrace the joy of making something beautiful for your celebrations.
Frequently Asked Questions
Can I use a different type of wreath form?
Absolutely! While wire and foam are popular, grapevine, straw, or even hula hoop forms can work beautifully. Each offers a unique texture and base for your design, allowing for different aesthetics. Just ensure your attachment methods are suitable for the chosen material.
How can I make my wreath durable for outdoor display?
For outdoor wreaths, use weather-resistant materials where possible. Opt for synthetic ribbons and faux flowers designed for outdoor use. Apply a UV-resistant clear spray sealant to the entire finished wreath to protect against sun fading and moisture, extending its vibrant life.
What if I don’t have a hot glue gun?
While a hot glue gun is ideal for speed and strong adhesion, you can use strong craft adhesive, floral wire, or even clear fishing line for attaching elements. Just be aware that drying times will vary, and some methods might require more patience and precision.
How can I store my wreath to last for years?
To preserve your beautiful wreath, store it in a cool, dry place away from direct sunlight. A dedicated wreath storage box or a large plastic tote will protect it from dust and damage. Placing tissue paper between layers of embellishments can also prevent crushing and maintain its shape.
Our Top Recommended Finds
- High-Temperature Hot Glue Gun: Essential for strong, quick bonds, making your crafting efficient and enjoyable.
- Assorted Wired Ribbons: Wired edges allow bows and loops to hold their shape perfectly, giving your wreath a professional finish.
- UV-Resistant Clear Spray Sealant: Protects your colors from fading and adds a layer of weather resistance for outdoor display.
Crafting Joy: Your Next Celebration Awaits!
You’ve just created a stunning Fourth of July wreath, a true testament to your creativity and spirit! This isn’t just a decoration; it’s a centerpiece of joy, ready to welcome guests to your memorable summer gatherings.
Imagine this beautiful wreath setting the scene for your backyard barbecue, a sparkling beacon of patriotism. The skills you’ve honed today are perfect for so many other celebratory projects.
Why not apply these techniques to create a whimsical birthday party wreath, adorning it with colorful balloons and streamers? Or perhaps a delicate baby shower wreath, featuring soft pastels and tiny plush animals, making it a cherished gift for new parents?
This is your invitation to infuse every special occasion with handmade beauty. From personalized gift tags to elegant table centerpieces, your hands now hold the power to craft unforgettable moments. Don’t wait—let this wreath be the first of many personalized touches that make your celebrations truly extraordinary!