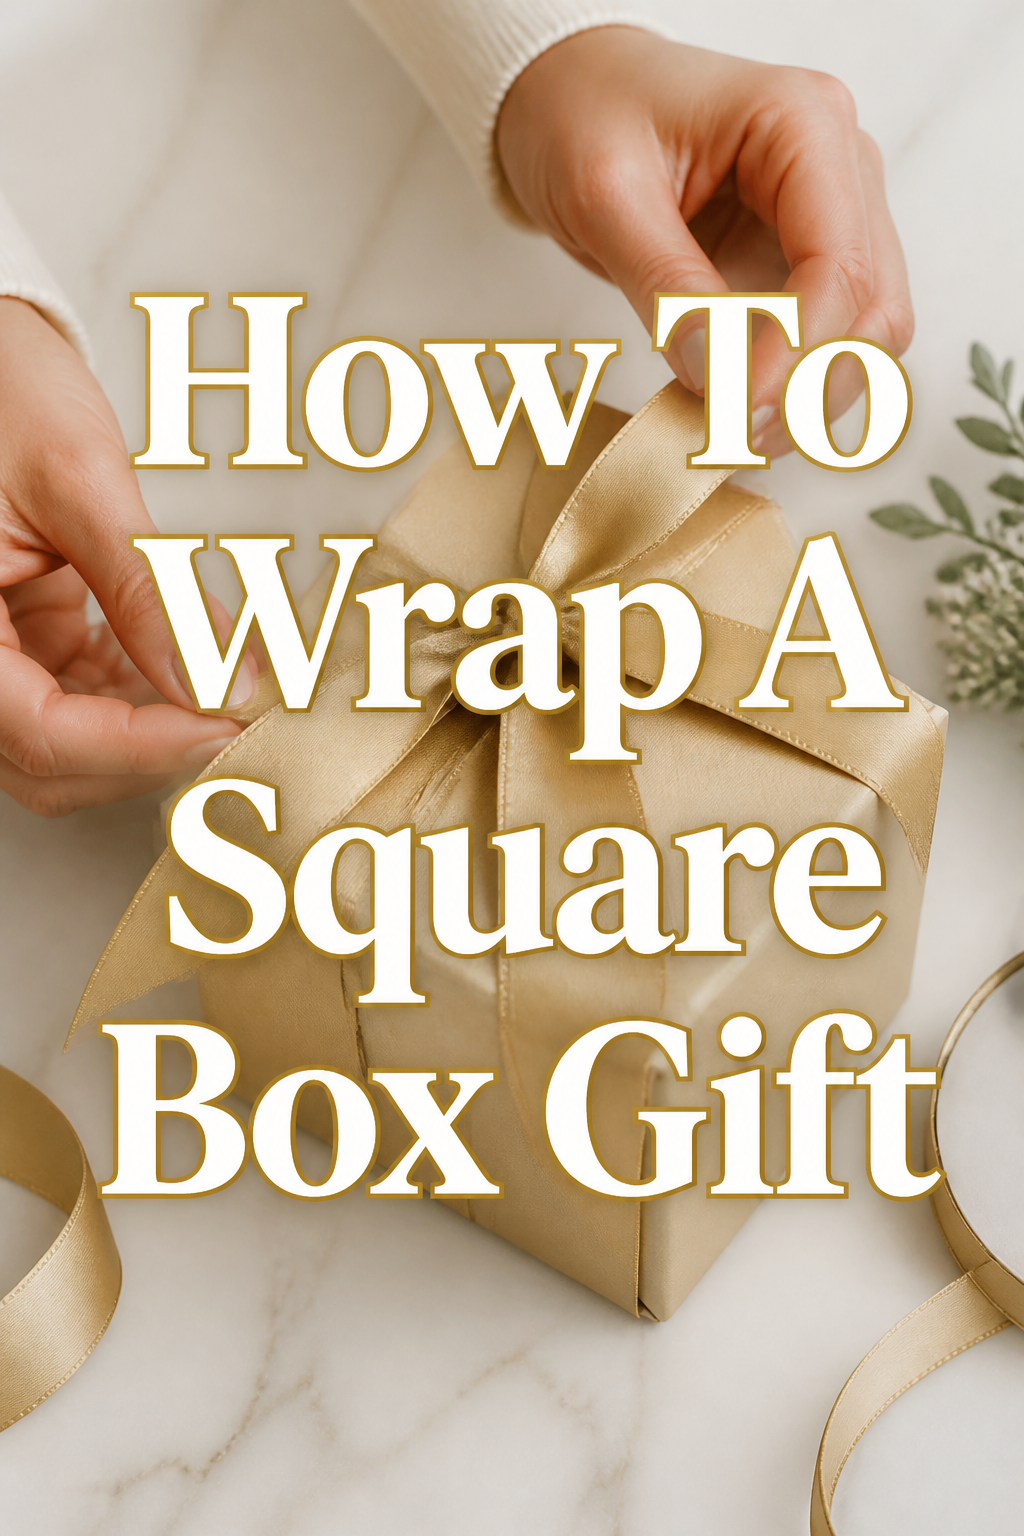
🎁 How To Wrap A Square Box Gift
📋 The Event Planner's Essential Toolkit
Whether you're throwing a massive birthday bash or an intimate baby shower, the right tools make execution effortless. These are the 5 essential items that professional event coordinators and DIY party hosts consistently rely on to pull off flawless celebrations without the stress.
🎈 Electric Dual-Nozzle Balloon Pump
The absolute lifeline for creating those trending balloon arches and garlands that everyone loves. This dual-nozzle pump lets you inflate hundreds of balloons in a fraction of the time, saving your lungs and transforming hours of prep work into minutes.
🛡️ Command Clear Party Hooks & Strips
The secret to magazine-worthy venue decorations without losing your security deposit. Professional planners stock up on these clear, damage-free hooks to hang banners, string lights, and paper lanterns securely on walls and ceilings, removing cleanly when the party is over.
🧁 Wilton Tiered Cupcake & Dessert Stand
The easiest way to make a simple dessert table look professionally catered. This customizable, multi-tier display stand gives crucial height and dimension to your treats, effortlessly elevating the presentation of cupcakes, cookies, or appetizers at any gathering.
🚂 Heavy-Duty Collapsible Utility Wagon
The unsung hero of off-site parties, park birthdays, and trunk-or-treats. This rugged folding wagon hauls folding chairs, coolers, and mountains of decor from your car to the venue in one trip, completely eliminating the exhausting pre-party back-and-forth hauling.
📓 Clever Fox Event Planner Organizer
The ultimate command center for keeping your sanity intact while hosting. Dedicated sections for guest lists, budget tracking, vendor contacts, and day-of timelines ensure that not a single crucial detail falls through the cracks before the big day.
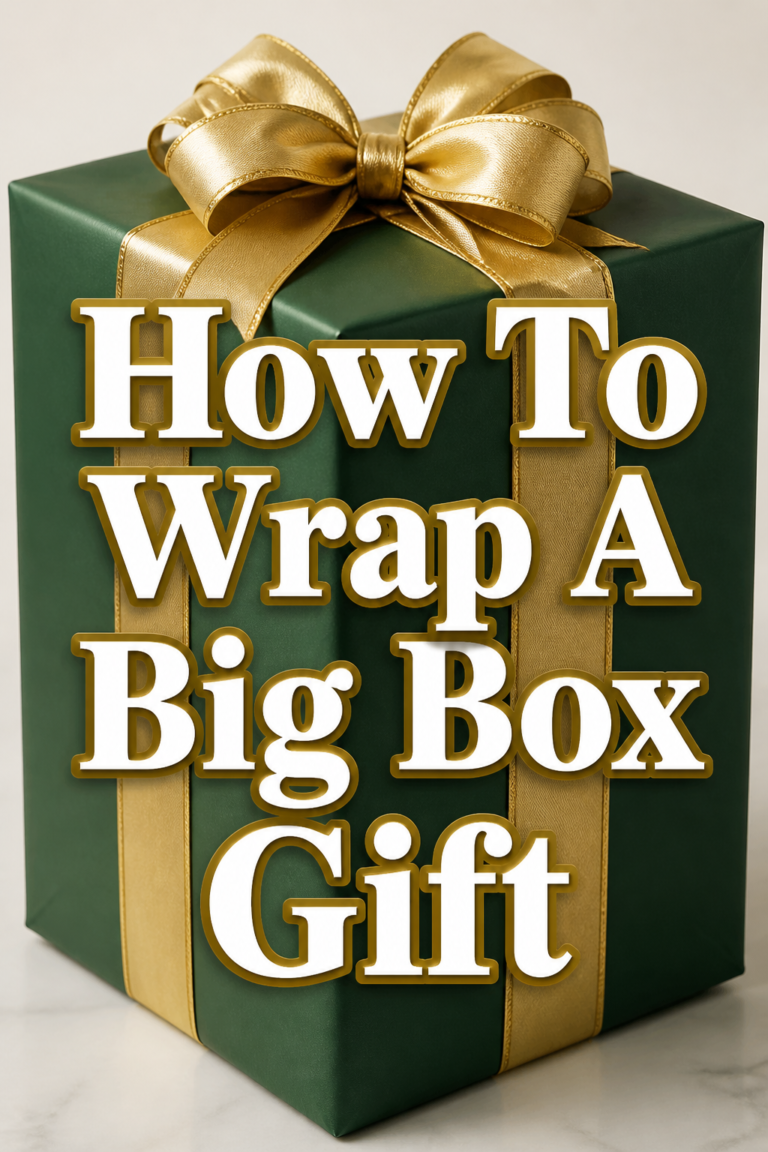
There’s a special magic in giving a beautifully wrapped gift. It transforms a simple present into an experience, building anticipation and joy even before the ribbon is untied. I’ve spent countless hours perfecting gift presentations for everything from intimate birthdays to grand holiday gatherings.
This guide shares all my favorite tricks, ensuring your gifts look stunning every time. You’ll soon be creating Pinterest-worthy packages that make every celebration unforgettable.
Quick Overview
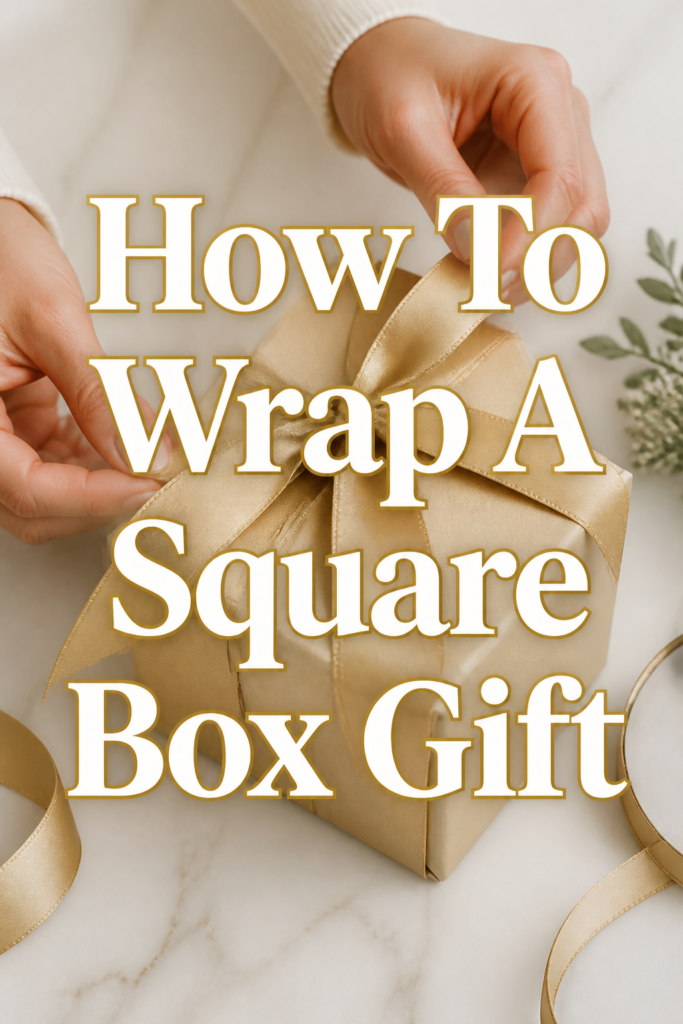
Get ready to transform your gift-giving with a touch of elegance and personal flair. This guide will walk you through creating perfectly wrapped square box gifts, suitable for any occasion. You’ll learn the techniques to make every present a work of art.
- Time needed: 10-20 minutes per gift (depending on embellishments)
- Difficulty: Beginner
- What you’ll need: Wrapping paper, scissors, tape, ribbon, gift tag
Step-by-Step Instructions
Step 1: Gather Your Supplies and Set the Scene
Collect all your materials before you begin. This includes your chosen wrapping paper, sharp scissors, double-sided tape (my secret weapon!), and any ribbons, tags, or decorative elements. Create a clean, flat workspace, perhaps with some festive music playing to get into the spirit.
Think about the recipient and the occasion. For a baby shower, soft pastels and delicate ribbons are lovely. A birthday calls for vibrant colors and playful patterns.
Pro Tip: Choose wrapping paper that complements your party theme. For a rustic wedding shower, brown kraft paper with twine and a sprig of eucalyptus is charming. For a New Year’s Eve party, metallic paper with glitter accents sets a dazzling tone.
Step 2: Measure and Cut Your Paper Precisely
Place your square gift box upside down in the middle of your wrapping paper. Bring one long edge of the paper up and over the box. It should overlap the opposite edge by about 1-2 inches. This ensures you have enough paper to cover the box completely with a neat seam.
Now, measure the width. Bring the short ends of the paper up to meet the sides of the box. You’ll want enough paper to cover about two-thirds of the box’s height on each side. Trim any excess paper, leaving just enough for a clean fold.
Step 3: Secure the Long Edges
Bring one long edge of the paper up to the center of the box. Use a small piece of double-sided tape to secure it. Next, fold the opposite long edge of the paper over about half an inch, creating a crisp, clean hem.
Pull this hemmed edge tightly over the first edge, ensuring the paper is snug against the box. Secure it with double-sided tape along the entire seam for an invisible finish. This creates a smooth, professional look.
Step 4: Fold the Sides for a Clean Finish
Turn the box so one of the unwrapped sides faces you. Push the paper inward on both sides of the box, creating two triangular flaps. These should naturally form neat angles against the box.
Fold down the top flap. Make sure it’s snug against the box and the edges are sharp. Secure it with a small piece of tape at the center.
Step 5: Create a Perfect Bottom Fold
Fold up the bottom flap. It should overlap the top flap slightly. Again, ensure the edges are crisp and straight.
Secure this bottom flap with double-sided tape, making the seam invisible. Repeat Steps 4 and 5 on the other unwrapped side of the box. You now have a perfectly wrapped square box.
Pro Tip: For a truly Pinterest-worthy holiday gift, use a classic red and green tartan paper. Add a sprig of fresh cedar or a cinnamon stick under the ribbon for an aromatic touch. It makes the unwrapping experience even more sensory and delightful.
Step 6: Add a Classic Ribbon Bow
Measure out a generous length of ribbon. It should be long enough to wrap around the entire box twice, with plenty left over for a beautiful bow. Place the center of the ribbon under the box, bringing the ends up to meet on top.
Cross the ends over, then thread them back under the box in the opposite direction. Bring them up again to meet on top. This creates a neat cross pattern on the top of the box.
Step 7: Tie a Beautiful Bow
Tie a simple knot with the ribbon ends on top of the box. Then, create two loops for your bow. Cross one loop over the other, just like tying your shoelaces.
Thread one loop through the space created by the cross. Pull gently to tighten, adjusting the loops until they are even and full. Trim the ribbon ends at an angle or in a “V” shape for a polished finish.
Step 8: Personalize with Embellishments and Tags
This is where your creativity truly shines! Attach a personalized gift tag, either store-bought or a DIY creation. For a baby shower, consider a handmade tag shaped like a tiny onesie or a stork.
Add small decorative elements. Think about a sprig of fresh greenery, a small ornament, a dried orange slice, or a tiny cluster of berries. For a birthday party, tie on a small balloon or a mini party hat.
Pro Tip: For a themed party, let the gift wrapping reflect the celebration. A mermaid-themed birthday could feature iridescent paper, shell embellishments, and sea-glass colored ribbons. A rustic bridal shower might use burlap ribbon, lace, and a small wooden initial charm.
Step 9: Consider Layering and Textures
Experiment with different textures. Layer a sheer organza ribbon over a wider satin one. Combine natural twine with a metallic thread for contrast.
For a luxurious feel, add a small fabric flower or a jeweled brooch to the ribbon. This elevates the gift, making it feel extra special and thoughtful.
Step 10: Create a Complete Gift Experience
Remember, the gift isn’t just the item inside; it’s the entire presentation. Think about how the gift will be received. A beautifully wrapped present adds to the excitement of any event.
Consider pairing your wrapped gift with a coordinating gift bag for smaller accompanying items or a handwritten card that matches the wrapping’s aesthetic. This creates a cohesive and memorable gifting experience.
Common Mistakes to Avoid
Using Too Little or Too Much Paper
Cutting your wrapping paper incorrectly is a common pitfall. Too little paper means unsightly gaps or a struggle to cover the box. Too much paper leads to bulky, messy folds and an amateurish look. Always measure carefully as described in Step 2.
Skipping the Hem on the Seam
Many people just tape down the raw edge of the paper. This often results in a jagged, unprofessional seam that can easily tear. Taking an extra moment to fold over the edge and create a crisp hem makes a huge difference in the overall neatness and durability of your wrap.
Not Taping Securely Enough
Flimsy tape jobs or using too few pieces of tape can lead to your wrapping unraveling before it even reaches the recipient. Use strong, good-quality tape, and don’t be shy about securing all seams and folds, especially the invisible double-sided tape on the main seam.
Ignoring the Power of a Good Ribbon
A beautiful ribbon can elevate even the simplest wrapping paper. Don’t just slap on any old ribbon. Choose one that complements the paper’s color and texture, and learn to tie a proper bow. A sad, flat bow detracts from an otherwise lovely presentation.
Troubleshooting
Wrinkled or Creased Paper
If your paper gets wrinkled during wrapping, gently smooth it out with your hand or a soft cloth. For stubborn creases, try carefully lifting the paper and re-smoothing it before re-taping. Next time, work on a larger, clear surface to minimize handling.
Ribbon Keeps Slipping Off
If your ribbon isn’t staying put, it might be too loose or the box surface is too slippery. Ensure you pull the ribbon tight when you initially wrap it around the box. You can also add a tiny dot of hot glue (very carefully!) or a small piece of double-sided tape to the underside of the ribbon where it crosses, to anchor it in place.
Awkwardly Sized Box
For boxes that are not perfectly square or have unusual dimensions, the standard wrapping method might be challenging. Consider using the “diagonal wrap” technique, which uses less paper and adapts better to irregular shapes, or simply place the item in a decorative gift bag. Sometimes, a beautiful bag is the best solution!
Key Takeaways
- Preparation is paramount: Gather all supplies and clear your workspace before you begin.
- Measure twice, cut once: Precise paper cutting ensures a clean, professional finish.
- Secure seams are essential: Use double-sided tape for invisible seams and a crisp look.
- Master the side folds: Neat triangular folds at the ends create that polished, store-bought appearance.
- Ribbons add elegance: A well-tied bow elevates any gift, transforming it into a statement.
- Personalize for impact: Embellishments and thoughtful tags make your gift truly unique and memorable.
Frequently Asked Questions
What kind of tape is best for gift wrapping?
Double-sided tape is a game-changer for seamless, professional-looking gifts. For general securing, clear Scotch tape works well. Avoid masking tape or duct tape, which are too visible and look unprofessional.
How do I make my bow look full and fluffy?
After tying your basic bow, gently adjust each loop by pulling the ribbon from the knot towards the ends, puffing them up. You can also use a wired ribbon, which holds its shape better. For extra volume, tie two separate bows and layer them on top of each other.
Can I wrap a gift without a box?
Yes, you can! For soft items like clothing or blankets, you can create a “furoshiki” style wrap using fabric, or simply roll the item tightly and secure it with ribbon. For oddly shaped items, a gift bag or a creative fabric wrap is often the best choice.
How can I make my gift wrapping more eco-friendly?
Opt for recycled or recyclable wrapping paper (avoid metallic or glitter papers). Use fabric wraps that can be reused, or decorative scarves. Embellish with natural elements like dried flowers, pinecones, or reusable ornaments.
Our Top Recommended Finds
- High-Quality Double-Sided Tape: Essential for invisible seams and a truly professional finish.
- Sharp Fabric Scissors: Using dedicated, sharp scissors for paper ensures clean, crisp cuts every time, preventing jagged edges.
- Assorted Wired Ribbons: Wired ribbons are fantastic for holding their shape, making it easier to create beautiful, voluminous bows.
Let Your Creativity Shine!
Now that you have the tools and techniques, it’s time to infuse your gifts with your unique style. Imagine a vibrant birthday party where each present is a burst of color and personality, or a serene baby shower adorned with gifts wrapped in gentle, comforting tones.
Think about the joy a perfectly presented holiday gift brings, reflecting the warmth and magic of the season. Your gifts are more than just items; they are expressions of love, care, and celebration. Start experimenting with different papers, ribbons, and embellishments today. Make your next gift a masterpiece that creates lasting memories and truly excites the recipient.