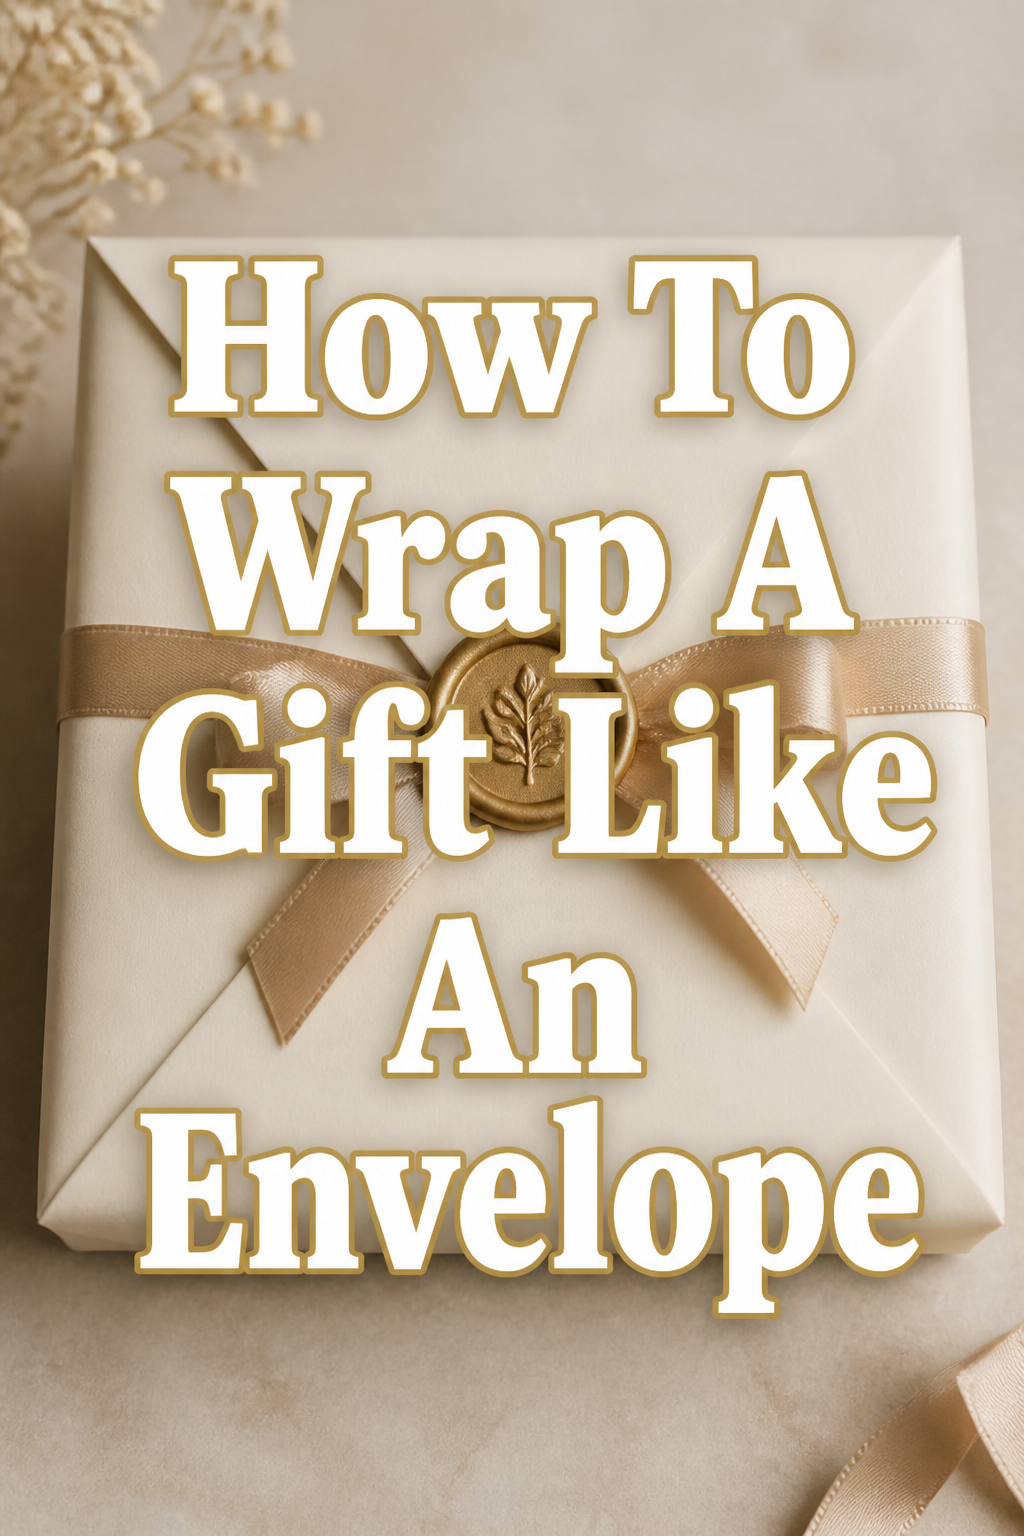
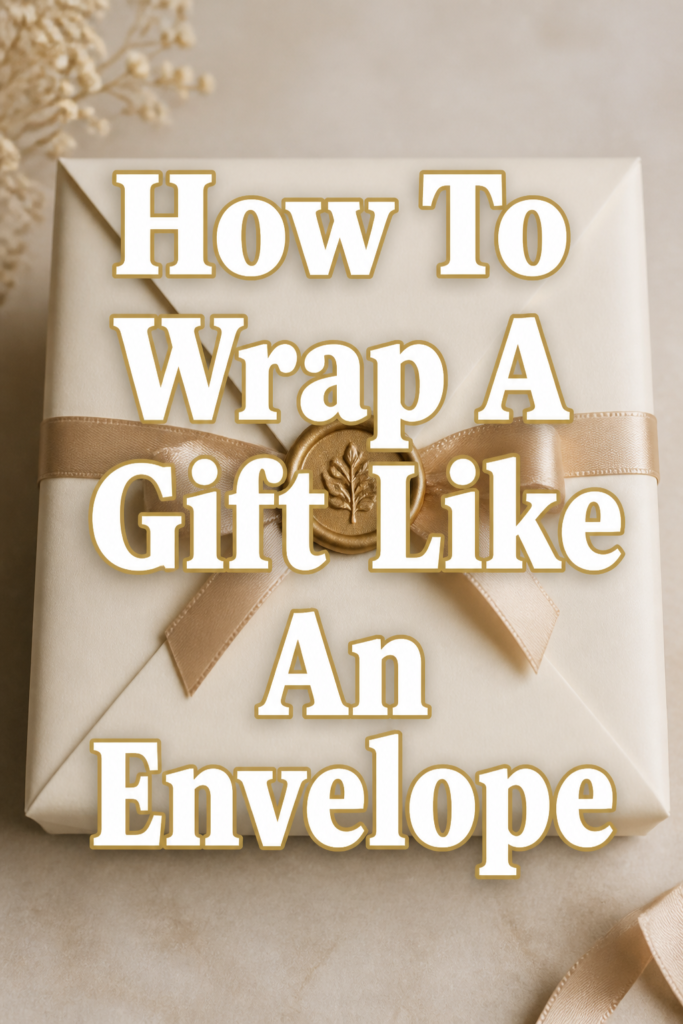
💌 How To Wrap A Gift Like An Envelope
📋 The Event Planner's Essential Toolkit
Whether you're throwing a massive birthday bash or an intimate baby shower, the right tools make execution effortless. These are the 5 essential items that professional event coordinators and DIY party hosts consistently rely on to pull off flawless celebrations without the stress.
🎈 Electric Dual-Nozzle Balloon Pump
The absolute lifeline for creating those trending balloon arches and garlands that everyone loves. This dual-nozzle pump lets you inflate hundreds of balloons in a fraction of the time, saving your lungs and transforming hours of prep work into minutes.
🛡️ Command Clear Party Hooks & Strips
The secret to magazine-worthy venue decorations without losing your security deposit. Professional planners stock up on these clear, damage-free hooks to hang banners, string lights, and paper lanterns securely on walls and ceilings, removing cleanly when the party is over.
🧁 Wilton Tiered Cupcake & Dessert Stand
The easiest way to make a simple dessert table look professionally catered. This customizable, multi-tier display stand gives crucial height and dimension to your treats, effortlessly elevating the presentation of cupcakes, cookies, or appetizers at any gathering.
🚂 Heavy-Duty Collapsible Utility Wagon
The unsung hero of off-site parties, park birthdays, and trunk-or-treats. This rugged folding wagon hauls folding chairs, coolers, and mountains of decor from your car to the venue in one trip, completely eliminating the exhausting pre-party back-and-forth hauling.
📓 Clever Fox Event Planner Organizer
The ultimate command center for keeping your sanity intact while hosting. Dedicated sections for guest lists, budget tracking, vendor contacts, and day-of timelines ensure that not a single crucial detail falls through the cracks before the big day.
I remember the first time I tried to make a gift feel truly unique, like a secret message just for the recipient.
The standard box wrap felt a little impersonal, and I longed for something that spoke of extra care and creativity.
That’s when I discovered the magic of envelope-style wrapping, and it completely transformed my gift-giving, making every present an experience.
Quick Overview
You are about to master a beautiful, sophisticated gift wrap technique that will elevate any present.
This method transforms a simple sheet of paper into an elegant envelope, perfect for flat or thin gifts, and it’s surprisingly simple to achieve.
- Time needed: 15-30 minutes (depending on your flair for embellishments!)
- Difficulty: Beginner
- What you’ll need: Wrapping paper, scissors, double-sided tape or glue, a ruler, and your chosen gift.
Step-by-Step Instructions
Step 1: Choose Your Paper and Gift
Select a beautiful wrapping paper that speaks to your event’s theme.
Consider a delicate floral for a baby shower, a shimmering metallic for New Year’s, or a vibrant pattern for a birthday celebration.
This technique works best for flat or relatively thin items like books, notebooks, gift cards, small clothing items, or even a collection of cherished photos.
Step 2: Measure and Cut Your Paper
Lay your chosen wrapping paper face down on a clean, flat surface.
Place your gift in the center of the paper, then measure and cut the paper so it is roughly three times the width of your gift and about one and a half times its length.
You want enough paper to create generous flaps, reminiscent of a classic letter envelope.
Pro Tip: For a birthday party with a whimsical forest theme, choose paper with subtle leaf patterns. Then, adorn the finished envelope with a tiny dried flower or a sprig of rosemary for an earthy, enchanting touch.
Step 3: Create the Bottom Flap
Fold the bottom edge of your paper up towards the center of your gift.
Ensure this flap covers about two-thirds of the gift’s length. Secure it with a small piece of double-sided tape to hold it in place temporarily.
This forms the base of your envelope, providing stability for the gift inside.
Step 4: Fold in the Sides
Bring the left side of the paper over the gift, folding it neatly so the edge aligns with the gift’s side.
Repeat this action with the right side of the paper, creating two overlapping panels.
These folds begin to define the envelope shape, giving it structure and form.
Pro Tip: For a sophisticated holiday gift, use a rich, jewel-toned paper. When folding the sides, make sure your creases are impeccably sharp by running a bone folder or the edge of a ruler along them. This creates a crisp, high-end finish.
Step 5: Secure the Sides
Unfold the sides slightly to reveal the edges of the gift.
Apply double-sided tape along the outer edge of one of the side flaps, then carefully press the other side flap over it, creating a seamless seam down the center or slightly off-center of your gift.
This step encloses your gift beautifully, much like sealing a precious letter.
Step 6: Form the Top Flap
Fold the remaining top portion of the paper down over the secured side flaps.
This top flap should create a clean, elegant triangle or a slightly rounded edge, depending on your preference and the paper’s size.
This is the iconic “envelope” closure that gives this wrap its charm.
Pro Tip: For a baby shower, consider a pastel paper with tiny stars or clouds. Cut the top flap into a gentle curve rather than a sharp triangle. You can then attach a small, soft pom-pom or a delicate ribbon bow to the tip of this curved flap, mimicking a sweet cloud or moon.
Step 7: Trim and Perfect the Flap
Trim the top flap if necessary to achieve a perfect, symmetrical point or curve.
You want it to sit neatly over the main body of the wrapped gift, without being too long or too short.
This attention to detail ensures a polished, professional look.
Step 8: Embellish Your Envelope
Decorate your newly wrapped “envelope” to match your celebration’s theme.
For a graduation party, use a wax seal stamp with the graduate’s initial. For a bridal shower, tie a satin ribbon around it, securing a small charm or a fresh bloom.
The possibilities are endless for making it uniquely yours.
Think about adding a handwritten calligraphy tag, a small sprig of eucalyptus, or a cluster of tiny faux pearls.
For a child’s birthday, perhaps a sticker of their favorite character or a handmade paper badge with their initial.
Step 9: Secure the Flap (Optional)
Decide if you want to permanently seal the flap or leave it open for easy access.
A small piece of double-sided tape, a decorative sticker, or a wax seal can secure it beautifully.
Alternatively, a simple ribbon tied around the entire package can hold the flap down while allowing for a grand reveal.
Common Mistakes to Avoid
Using Too Little Paper
Many people underestimate the amount of paper needed, especially for the generous flaps of an envelope wrap.
If your paper is too small, your flaps will be stubby and won’t create that elegant, overlapping effect.
Always err on the side of having too much paper; you can always trim it down, but you can’t add more.
Uneven Folds and Creases
Hasty or uneven folds can make your beautiful envelope look messy and unprofessional.
Take your time with each fold, using a ruler or bone folder to achieve crisp, straight lines.
Precision is key to the sophisticated look of this wrapping style.
Over-stuffing the Gift
This wrapping technique works best for flat or thin items.
Trying to wrap a bulky or irregularly shaped gift like an envelope will result in an awkward, lumpy package that loses its elegant appeal.
Save this method for gifts that naturally fit its sleek design.
Skipping Embellishments
While the envelope wrap is beautiful on its own, skipping embellishments means missing an opportunity to truly personalize the gift.
A simple ribbon, a unique tag, or a small decorative element can transform it from nice to truly memorable and Pinterest-worthy.
Troubleshooting
Flap Won’t Stay Down
If your top flap keeps popping up, the paper might be too stiff, or your initial folds weren’t pressed firmly enough.
Try applying a slightly larger piece of double-sided tape directly underneath the tip of the flap, or use a decorative sticker to hold it in place.
Alternatively, a thin ribbon tied horizontally around the entire gift will secure it elegantly.
Paper Tears When Folding
Tearing usually happens with very thin or low-quality paper, or if you’re trying to force a fold on a bulky item.
Ensure you’re using durable wrapping paper and that your gift is appropriately flat for this method.
Gentle, firm creases are better than sharp, aggressive folds.
Seams Look Messy
Messy seams often indicate that the paper wasn’t cut straight, or the tape wasn’t applied evenly.
Go back to Step 2 and ensure your paper is perfectly squared before you begin folding.
Use double-sided tape close to the edges of the paper to ensure a tight, clean seal.
Key Takeaways
- The envelope wrap is perfect for flat or thin gifts, adding an elegant touch.
- Precision in measuring and folding creates a crisp, professional finish.
- Double-sided tape is your secret weapon for clean, invisible seams.
- Embellishments are essential for personalizing and elevating the wrap to a truly memorable gift.
- Avoid rushing; take your time with each step for the best results.
- This technique makes every gift feel like a cherished, handwritten letter.
Frequently Asked Questions
Can I use this method for a gift card?
Absolutely! An envelope wrap is ideal for gift cards. You can even create a slightly smaller version to perfectly encase the card, making it feel like a tiny, precious letter. Imagine it tucked into a personalized mini envelope, perhaps for a “coffee date” birthday theme.
What kind of paper works best?
Medium-weight wrapping paper is perfect. It’s sturdy enough to hold its shape but flexible enough for crisp folds. Avoid very thin paper, which tears easily, or overly thick paper, which can be hard to crease neatly. Consider textured papers for an extra luxurious feel, perfect for a sophisticated anniversary celebration.
How can I make it truly unique for a baby shower?
For a baby shower, use soft pastel papers or charming animal prints. Instead of a traditional ribbon, tie a tiny strand of baby yarn around it, perhaps with a small wooden button or a felt cloud attached. You could even use a “baby footprint” stamp on the top flap for a sweet, personalized touch.
Is this suitable for a corporate gift?
Yes, with the right paper and embellishments, this wrap is incredibly sophisticated for corporate gifts. Choose a high-quality, solid-colored paper in a neutral or brand-appropriate tone. Secure the flap with a custom wax seal featuring your company logo or a tasteful ribbon in corporate colors. It speaks volumes about attention to detail.
Our Top Recommended Finds
- High-Quality Double-Sided Tape: Essential for invisible seams and a polished finish that holds everything together beautifully.
- Bone Folder or Ruler: For achieving impeccably crisp creases that elevate the entire presentation.
- Curated Ribbon Collection: A selection of satin, velvet, or grosgrain ribbons in various widths and colors to perfectly complement any theme or celebration.
Unfold Your Creativity: Beyond the Wrap
You’ve mastered the art of the envelope wrap, transforming a simple gift into a moment of anticipation and delight. But the magic doesn’t stop there.
This newfound skill is just the beginning of a journey into more thoughtful, beautiful celebrations. Imagine the joy of presenting a birthday gift wrapped like a cherished letter, or a holiday present that feels like a secret treasure.
Now, let your imagination soar! Think about how this technique can inspire other DIY party elements. Could you create matching envelope invitations for a tea party bridal shower, or personalized place cards for a festive dinner?
Start planning your next special event with this elegant wrap in mind. Gather your papers, ribbons, and a sprinkle of inspiration, and make every gift an unforgettable part of the celebration.