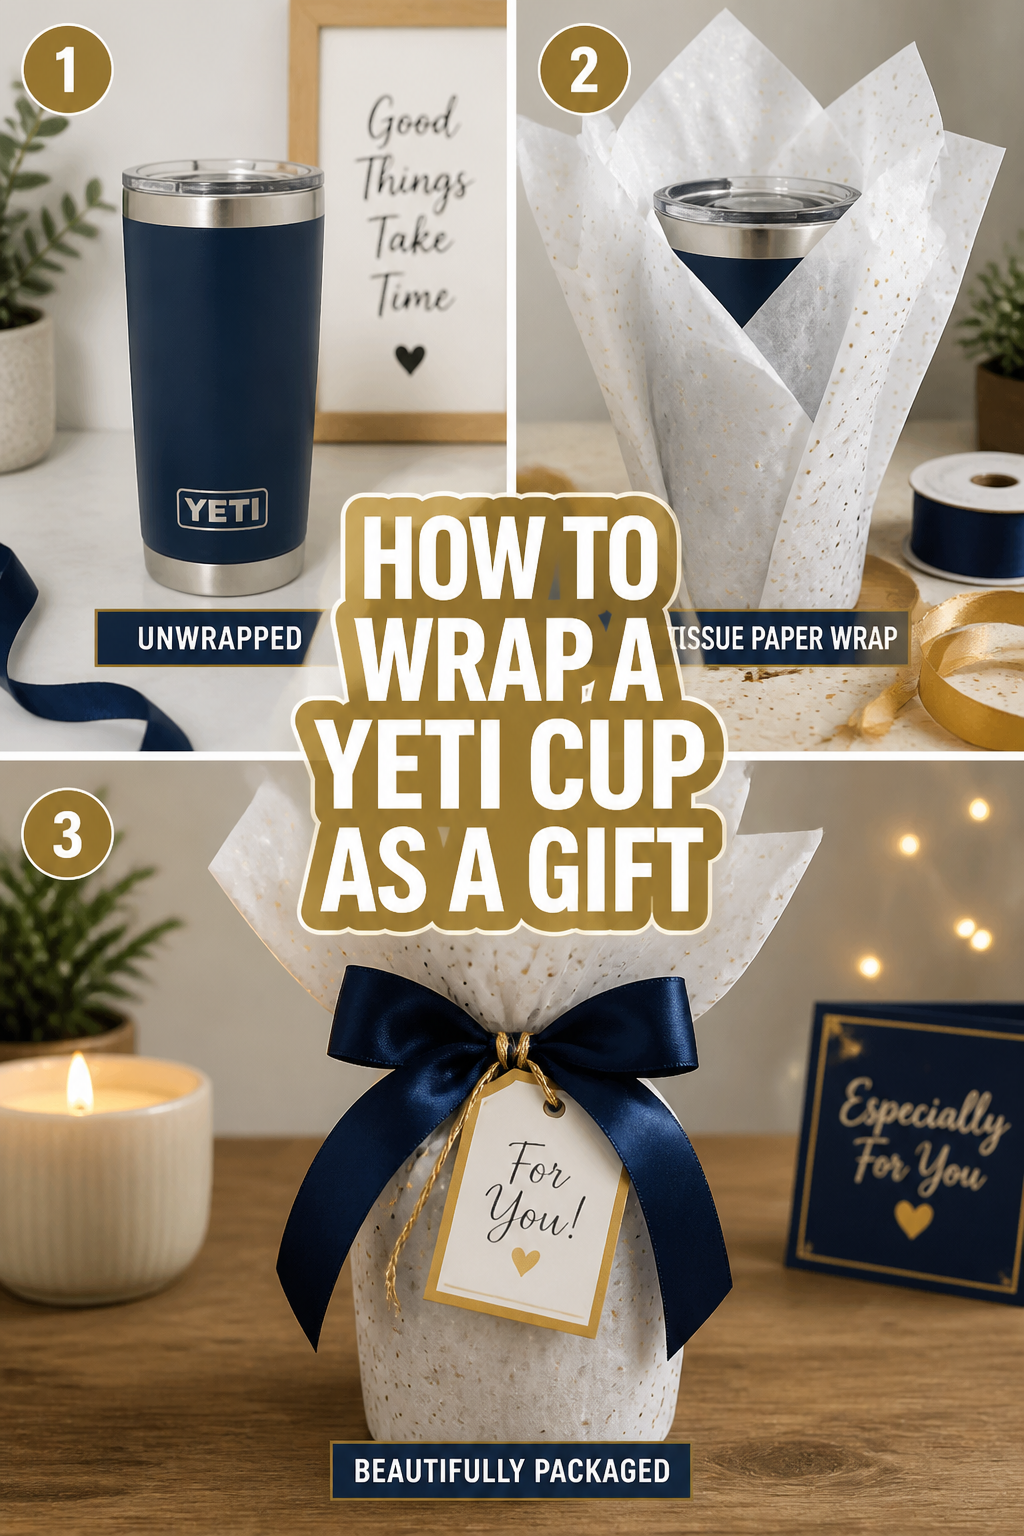
🎁 How To Wrap A Yeti Cup As A Gift
📋 The Event Planner's Essential Toolkit
Whether you're throwing a massive birthday bash or an intimate baby shower, the right tools make execution effortless. These are the 5 essential items that professional event coordinators and DIY party hosts consistently rely on to pull off flawless celebrations without the stress.
🎈 Electric Dual-Nozzle Balloon Pump
The absolute lifeline for creating those trending balloon arches and garlands that everyone loves. This dual-nozzle pump lets you inflate hundreds of balloons in a fraction of the time, saving your lungs and transforming hours of prep work into minutes.
🛡️ Command Clear Party Hooks & Strips
The secret to magazine-worthy venue decorations without losing your security deposit. Professional planners stock up on these clear, damage-free hooks to hang banners, string lights, and paper lanterns securely on walls and ceilings, removing cleanly when the party is over.
🧁 Wilton Tiered Cupcake & Dessert Stand
The easiest way to make a simple dessert table look professionally catered. This customizable, multi-tier display stand gives crucial height and dimension to your treats, effortlessly elevating the presentation of cupcakes, cookies, or appetizers at any gathering.
🚂 Heavy-Duty Collapsible Utility Wagon
The unsung hero of off-site parties, park birthdays, and trunk-or-treats. This rugged folding wagon hauls folding chairs, coolers, and mountains of decor from your car to the venue in one trip, completely eliminating the exhausting pre-party back-and-forth hauling.
📓 Clever Fox Event Planner Organizer
The ultimate command center for keeping your sanity intact while hosting. Dedicated sections for guest lists, budget tracking, vendor contacts, and day-of timelines ensure that not a single crucial detail falls through the cracks before the big day.
There’s something truly special about presenting a gift that’s wrapped with love and care. I’ve spent countless hours perfecting my gift-wrapping techniques, turning everyday items into works of art. You can trust this guide to transform your Yeti cup into a stunning, unforgettable present.

Quick Overview
This guide will empower you to wrap a Yeti cup beautifully, adding a personal touch that makes your gift truly shine. You’ll learn professional techniques to create a polished, “Pinterest-worthy” presentation. Get ready to elevate your gift-giving game!
- Time needed: 15-30 minutes (depending on desired complexity)
- Difficulty: Beginner to Intermediate
- What you’ll need: Wrapping paper, scissors, tape, ribbon, tissue paper, optional embellishments
Step-by-Step Instructions
Step 1: Gather Your Creative Arsenal
Before you begin, gather all your materials in one organized space. This makes the wrapping process smooth and enjoyable, like preparing for a fun craft session. Think about the recipient and the occasion as you choose your supplies.
Select high-quality wrapping paper that reflects the celebration.
Choose ribbons and bows that complement the paper’s design and color palette.
Ensure you have sharp scissors, double-sided tape, and tissue paper ready.
Pro Tip: For a birthday, pick vibrant, playful patterns. For a holiday, opt for elegant metallics or traditional festive designs. Matching your wrapping to a party theme adds an extra layer of thoughtfulness!
Step 2: Prepare Your Yeti for its Grand Reveal
The Yeti cup, with its unique cylindrical shape, presents a fun challenge. We’ll treat it like a precious jewel, ensuring it’s cushioned and ready for its stylish enclosure. This preparation step makes all the difference in the final look.
- Clean the Yeti cup thoroughly to remove any smudges or dust.
- Place the Yeti cup into a layer or two of coordinating tissue paper. Gently crumple the tissue to create a soft base, holding the cup upright.
- Secure the tissue paper around the base with a small piece of tape if needed, creating a stable, soft foundation.
Step 3: Measure and Cut Your Paper with Precision
Accuracy here prevents wasted paper and ensures a neat finish. Think of this as tailoring a custom outfit for your Yeti cup, where every measurement counts. A well-measured piece of paper is the secret to a sleek, professional wrap.
- Lay your chosen wrapping paper face down on a flat surface.
- Place the Yeti cup (already nestled in tissue paper) on its side at one end of the paper.
- Roll the cup along the paper once to determine the circumference. Mark this point, adding an extra inch for overlap.
- Stand the cup upright on the paper to measure its height. Add about 3-4 inches to the top and bottom for folding.
- Cut the paper cleanly along your marked lines.
Step 4: Execute the Cylindrical Wrap
This is where the magic begins, transforming a flat sheet into a perfectly fitted cover. Patience and gentle handling are key to achieving a smooth, wrinkle-free surface. Imagine you’re dressing the cup in its finest attire.
- Position the Yeti cup on its side near one long edge of your cut wrapping paper.
- Bring the paper up and around the cup, pulling it taut but not so tight that it tears.
- Overlap the edges by about an inch. Secure this seam with double-sided tape for an invisible finish, running it along the entire length.
- Smooth out any air bubbles or wrinkles as you go, ensuring a crisp, clean appearance.
Pro Tip: Using double-sided tape along the seam creates a much cleaner, more professional look than visible tape. It’s a small detail that makes a huge impact!
Step 5: Fold the Ends with Flair
This step is often the trickiest but also the most rewarding when done well. Creating neat, symmetrical folds elevates the entire presentation. Think of it as carefully pleating fabric to create a beautiful, finished edge.
- Stand the wrapped Yeti cup upright.
- Push down the paper on one end, creating four distinct creases around the cup’s base.
- Fold in two opposite sides, creating neat triangles.
- Fold the remaining two sides over these triangles, pulling them taut towards the center.
- Secure the final folds with double-sided tape, ensuring they lay flat and smooth.
- Repeat this process on the opposite end of the cup. For the open end, you might create a “starburst” fold by gathering the paper and securing it with ribbon, or you can use the same flat-fold technique.
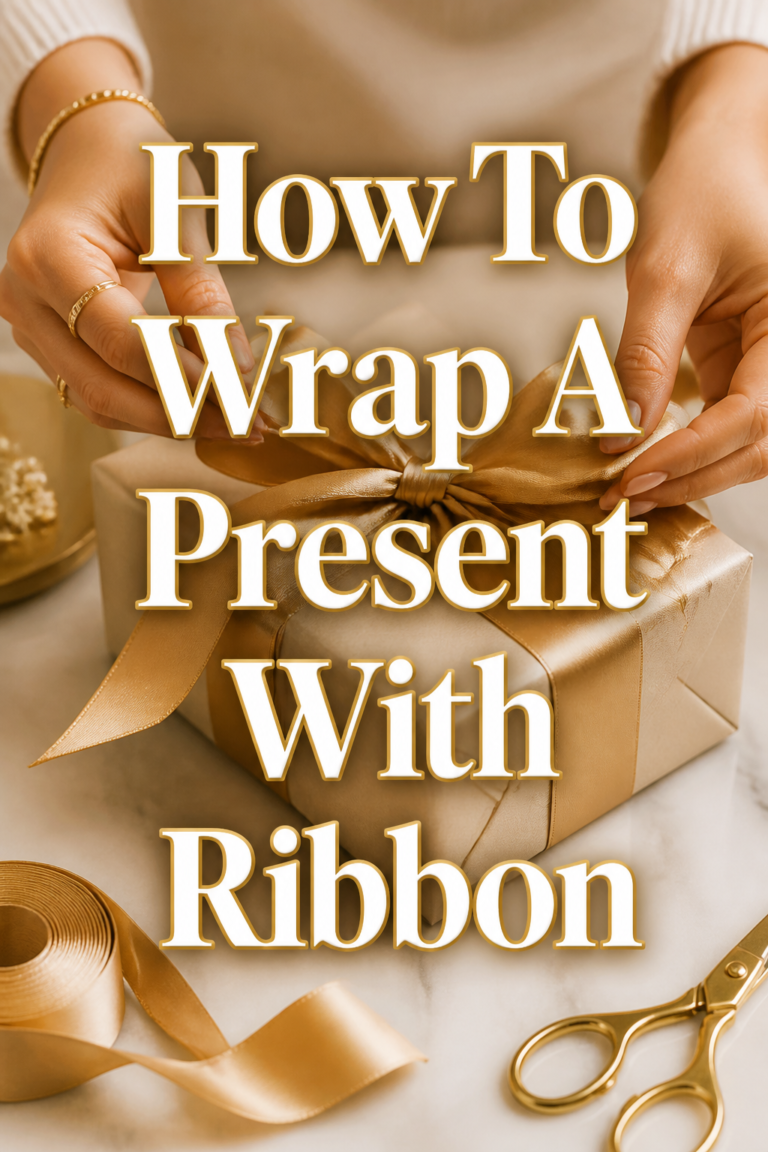
Step 6: Adorn with Ribbons and Bows
Now for the celebratory flourish! Ribbons and bows add elegance, color, and a sense of excitement. This is your chance to infuse personality and sparkle into your gift. Choose textures and widths that enhance your chosen paper.
- Cut a length of ribbon long enough to wrap around the cup twice, with extra for tying a bow.
- Center the ribbon around the wrapped Yeti cup.
- Tie a beautiful bow, ensuring the loops are even and the tails are neatly trimmed.
- Curl the ribbon ends with scissors for an extra touch of whimsy, if desired.
Pro Tip: For a baby shower, tie a soft satin ribbon and attach a tiny rattle or a cute felt animal. For a holiday, use velvet ribbon and tuck in a sprig of evergreen. These small additions make the gift incredibly personal.
Step 7: Personalize with Thoughtful Embellishments
This final touch transforms a wrapped gift into a cherished memory. Embellishments speak volumes, showing the recipient how much you care. This is where your creativity truly shines, making the gift unique.
- Attach a handwritten gift tag with a heartfelt message.
- Add a small ornament, a dried flower, or a mini succulent for a touch of nature.
- Consider a wax seal for a vintage, elegant feel, especially for a special anniversary.
- Tuck a small, flat gift card or a piece of confetti inside the bow for a delightful surprise.
Step 8: Present with Joy and Anticipation
The moment of giving is just as important as the wrapping itself. Present your beautifully wrapped Yeti cup with a warm smile and genuine excitement. Your enthusiasm is contagious and will make the recipient feel truly special.
Hand over your thoughtfully prepared gift, allowing the recipient to admire your handiwork.
Share a few words about why you chose the gift or the specific wrapping details.
Watch their face light up as they anticipate the wonderful surprise inside!
Common Mistakes to Avoid
Using Too Little Paper
Attempting to wrap a Yeti cup with paper that’s too small often results in torn paper, exposed edges, and a rushed, untidy appearance. This leads to frustration and a less-than-perfect presentation. Always err on the side of having a bit more paper than you think you’ll need; you can always trim the excess.
Ignoring the Ends
Many people focus only on the body of the cup and neglect the ends, leaving them haphazardly crumpled or poorly taped. This instantly detracts from an otherwise well-wrapped gift. Taking the time to create neat, symmetrical folds on both ends is crucial for a polished, professional finish that truly impresses.
Over-Taping or Under-Taping
Using too much visible tape creates an amateurish look, while too little tape results in the paper coming undone. The key is strategic, often invisible, taping. Utilize double-sided tape whenever possible for clean seams, and use small, discreet pieces of regular tape only where absolutely necessary to secure folds.
Forgetting the Personal Touch
A common mistake is treating wrapping as a mere chore rather than an extension of the gift itself. Neglecting a gift tag, a thoughtful ribbon choice, or a small embellishment misses an opportunity to make the gift truly memorable. Remember, the wrapping is part of the experience, reflecting the care you put into the present.
Troubleshooting
Wrinkled Wrapping Paper
If your wrapping paper keeps wrinkling as you wrap, it’s often due to not pulling the paper taut enough or trying to wrap too quickly. Gently unwrap the section, smooth the paper flat, and reapply while maintaining consistent tension. Using a ruler or a flat hand to smooth as you go can also help.
Uneven End Folds
Achieving perfectly symmetrical end folds can be tricky. If your folds look uneven, gently undo them and start again, focusing on creating sharp creases from the center outwards. You can use the edge of a credit card or a bone folder to get crisp lines, ensuring each segment of the fold is equal before taping.
Ribbon Slips Off
If your ribbon keeps sliding down the smooth sides of the Yeti cup, it might not be tied tightly enough or the cup’s taper is making it difficult. Try adding a tiny, discreet dot of hot glue or a piece of double-sided tape under the ribbon where it crosses itself at the back of the cup. This will anchor it securely without being visible.
Key Takeaways
- Preparation is paramount: Gather all your materials and prepare the Yeti cup with tissue paper for a smooth process.
- Measure precisely: Accurate paper cutting ensures a clean, professional finish and prevents waste.
- Master the cylindrical wrap: Utilize tautness and double-sided tape for an invisible, sleek seam.
- Perfect your end folds: Symmetrical, crisp folds elevate the entire presentation of your gift.
- Embellish thoughtfully: Ribbons, bows, and personalized touches transform a simple wrap into a memorable experience.
- Present with joy: Your enthusiasm in giving makes the beautifully wrapped gift even more special.
Frequently Asked Questions
Can I use fabric instead of paper?
Absolutely! Fabric wrapping, known as Furoshiki, is an eco-friendly and beautiful alternative. Choose a square scarf or a piece of fabric that complements the cup and the occasion. There are many tutorials online for various Furoshiki styles perfect for cylindrical items.
How do I wrap a Yeti with a handle?
Wrapping a Yeti with a handle requires a slight modification. Instead of a tight cylindrical wrap, you might need to use a “basket” style wrap where the paper extends above the handle, or create a small cutout for the handle to poke through, then gather and tie the paper above it. Alternatively, place the cup in a gift bag for simplicity.
What if I don’t have double-sided tape?
If you don’t have double-sided tape, you can still achieve a clean look. Use small pieces of regular clear tape and strategically place them on the inside of the paper where seams overlap, or along the back of the gift where they are less visible. You can also use a decorative sticker or a dab of glue for a creative alternative.
How can I make the gift feel more luxurious?
To add a touch of luxury, choose high-quality, textured wrapping paper like metallic foil or heavy matte stock. Incorporate velvet or satin ribbons, and consider adding a small, elegant charm or a sprig of fresh eucalyptus. A handwritten tag on thick cardstock also elevates the perceived value.
Our Top Recommended Finds
- High-Quality Double-Sided Tape: Essential for seamless, professional-looking gift wraps.
- Sharp Craft Scissors: A good pair of scissors makes clean cuts and prevents frayed paper edges.
- Assorted Satin Ribbon Set: Offers a variety of colors and widths to match any gift or occasion beautifully.
Crafting Joy, One Gift at a Time
You now possess the secrets to transforming a simple Yeti cup into a gift that truly sparkles. Imagine the delight on their face as they receive such a thoughtfully presented treasure. This isn’t just about wrapping; it’s about creating an experience, celebrating moments, and spreading joy.
Why not start planning your next special occasion today? Gather your supplies, choose a theme, and let your creativity flow. You’re not just giving a gift; you’re crafting a memory, one beautifully wrapped package at a time.