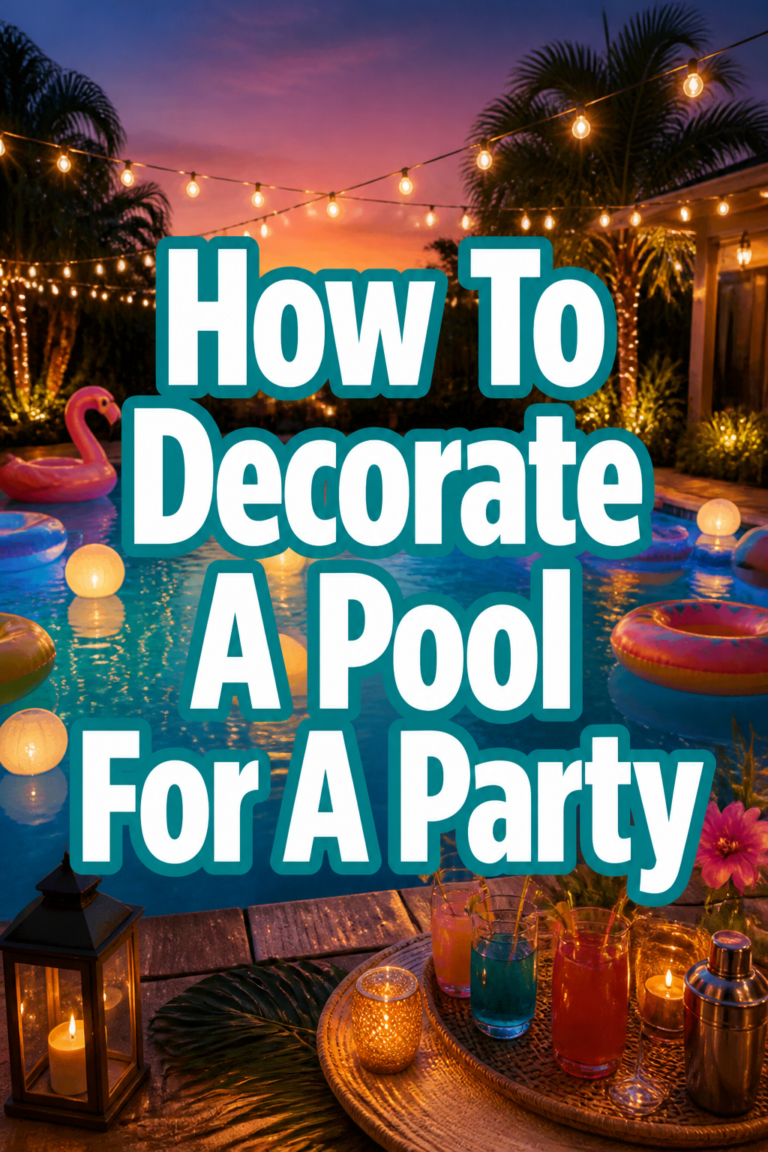
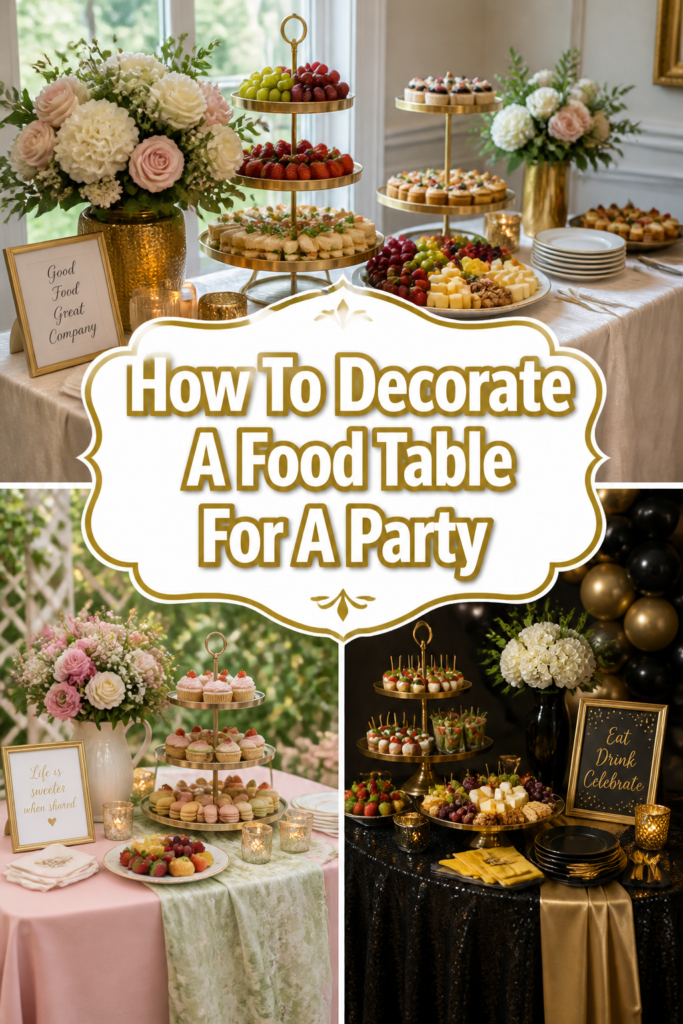
How To Decorate A Food Table For A Party
📋 The Event Planner's Essential Toolkit
Whether you're throwing a massive birthday bash or an intimate baby shower, the right tools make execution effortless. These are the 5 essential items that professional event coordinators and DIY party hosts consistently rely on to pull off flawless celebrations without the stress.
🎈 Electric Dual-Nozzle Balloon Pump
The absolute lifeline for creating those trending balloon arches and garlands that everyone loves. This dual-nozzle pump lets you inflate hundreds of balloons in a fraction of the time, saving your lungs and transforming hours of prep work into minutes.
🛡️ Command Clear Party Hooks & Strips
The secret to magazine-worthy venue decorations without losing your security deposit. Professional planners stock up on these clear, damage-free hooks to hang banners, string lights, and paper lanterns securely on walls and ceilings, removing cleanly when the party is over.
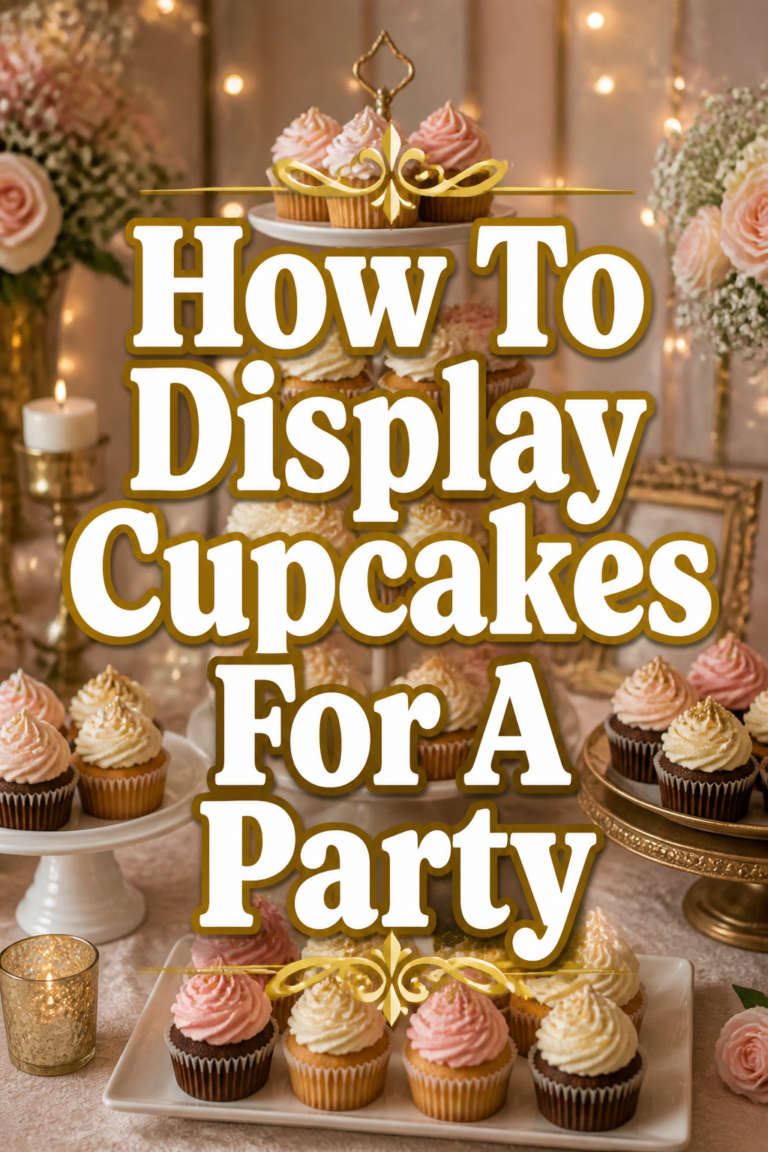
🧁 Wilton Tiered Cupcake & Dessert Stand
The easiest way to make a simple dessert table look professionally catered. This customizable, multi-tier display stand gives crucial height and dimension to your treats, effortlessly elevating the presentation of cupcakes, cookies, or appetizers at any gathering.
🚂 Heavy-Duty Collapsible Utility Wagon
The unsung hero of off-site parties, park birthdays, and trunk-or-treats. This rugged folding wagon hauls folding chairs, coolers, and mountains of decor from your car to the venue in one trip, completely eliminating the exhausting pre-party back-and-forth hauling.
📓 Clever Fox Event Planner Organizer
The ultimate command center for keeping your sanity intact while hosting. Dedicated sections for guest lists, budget tracking, vendor contacts, and day-of timelines ensure that not a single crucial detail falls through the cracks before the big day.
✨ How To Decorate A Food Table For A Party
There’s a special magic in gathering loved ones around a beautiful spread.
It’s more than just food; it’s about creating unforgettable memories and setting a joyful scene.
Having styled countless tables for celebrations big and small, I’ve learned the secrets to making every food display not just delicious, but truly dazzling.
Quick Overview
Transform your party food table from simple to spectacular with these creative and practical steps.
You’ll learn how to craft a cohesive theme, use smart layering, and add those charming details that make guests gasp.
- Time needed: 2-4 hours (depending on complexity and DIY elements)
- Difficulty: Beginner to Intermediate
- What you’ll need: Tablecloths, serving dishes, risers, decorative elements, lighting, and, of course, delicious food!
Step-by-Step Instructions
Step 1: Define Your Theme & Color Palette
Every unforgettable party table starts with a clear vision. What’s the occasion?
Are you celebrating a whimsical baby shower, a vibrant birthday, or a cozy holiday gathering?
Let this inspire your theme, whether it’s “Enchanted Garden,” “Boho Chic,” “Winter Wonderland,” or a classic “Elegant Brunch.”
Once your theme is set, choose a complementary color palette. Think about 2-3 main colors and an accent color that will guide all your decor choices.
For a baby shower, soft pastels like mint, peach, and gold are always lovely. For a holiday, deep reds, forest greens, and metallic accents create warmth.
Step 2: Plan Your Layout & Flow
Before placing a single dish, visualize the table’s flow. Consider how guests will move around it and access the food.
Sketching a simple diagram can be incredibly helpful for larger parties.
Designate a focal point, perhaps a magnificent cake or a stunning centerpiece, and arrange other dishes around it.
Group similar items together, like all the desserts on one end and savory bites on the other.
Pro Tip: Think about the order of consumption. Appetizers and drinks often go first, followed by main dishes, and then desserts. Guide your guests effortlessly.
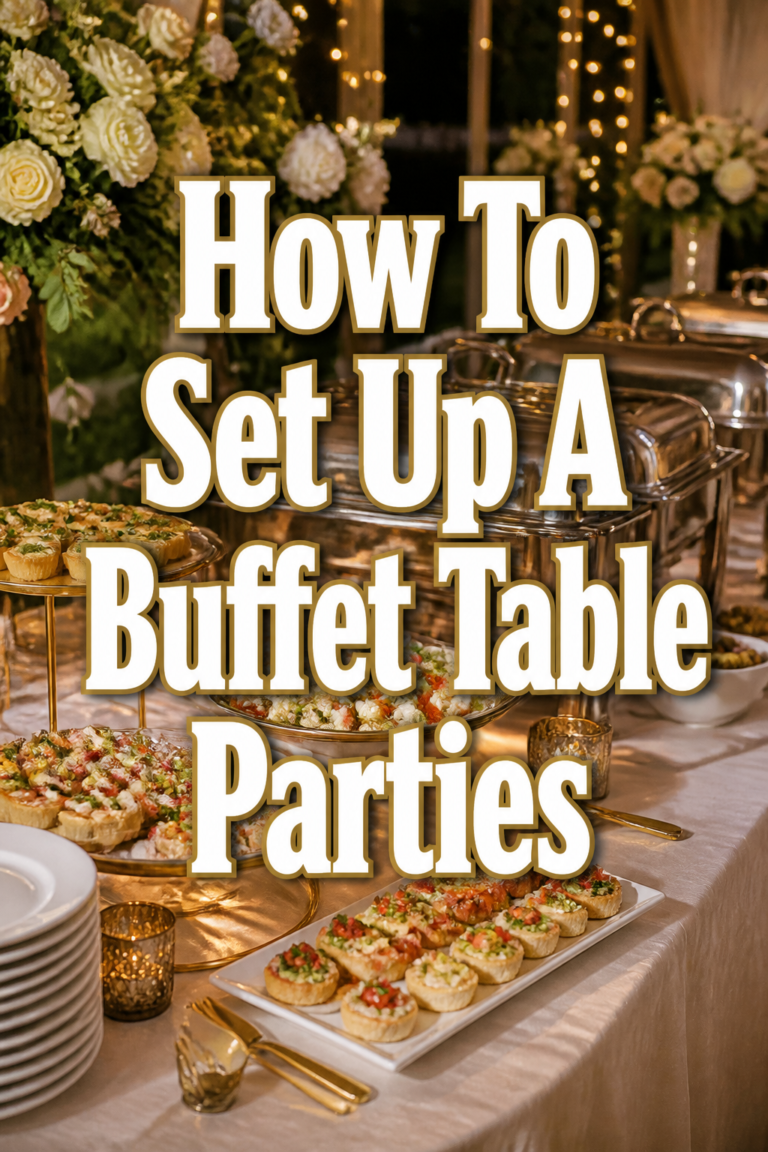
Step 3: Choose Your Table Linens & Backdrop
The foundation of any beautiful food table is the linen. A crisp tablecloth instantly elevates the look.
Don’t be afraid to layer different textures; a plain base cloth with a textured runner or an overlay adds depth.
Consider your backdrop too, especially if the table is against a wall. A simple fabric drape, fairy lights, balloons, or a themed banner can transform the entire scene.
For a birthday, a balloon arch in your color palette creates a festive and photo-worthy background. For a holiday, a garland of evergreen and twinkle lights is perfect.
Step 4: Select Serving Ware & Risers
Your serving dishes are part of the decor. Mix and match different heights, shapes, and materials for visual interest.
Use cake stands, tiered trays, and sturdy boxes covered in fabric to create varying levels.
This adds dimension and allows more food to be displayed without feeling cluttered.
Choose platters and bowls that complement your theme and color scheme. Clear glass, white porcelain, or rustic wood can all work depending on your chosen aesthetic.
Incorporate elegant cake stands for desserts, and use clear glass bowls for vibrant salads.
Step 5: Incorporate Decorations & Ambiance
This is where your theme truly comes to life! Think beyond just food.
Add decorative elements like fresh flowers, greenery, candles (battery-operated for safety), or themed props.
For a “Boho Chic” birthday, think macrame runners, dried pampas grass, and terracotta pots. For a baby shower, tiny baby shoes or blocks can be sweet accents.
Add small vases with flowers, scatter confetti or petals, and place themed figurines or signs.
Consider small DIY touches like painted mason jars filled with utensils or handmade banners.
Step 6: Arrange Your Food Artfully
Even simple dishes can look gourmet with thoughtful presentation. Think about color, texture, and negative space.
Arrange food in appealing patterns, ensuring each item is easily accessible.
Garnish dishes with fresh herbs, citrus slices, or edible flowers to add a professional touch.
Create symmetry with identical dishes placed on either side, or embrace asymmetry for a more dynamic look.
Slice fruits and vegetables into interesting shapes, and layer ingredients for visual appeal.
Step 7: Add Finishing Touches & Personalization
These small details make a big impact and show your guests you’ve thought of everything.
Consider place cards for dishes, especially if you have dietary restrictions or want to label specific items.
Personalized napkins, custom drink stirrers, or small party favors placed near the food table add a charming touch.
Place decorative signage, like “Eat Me” or “Cheers,” to guide guests and add whimsy.
Small, thoughtful details like these really elevate the guest experience and make the table feel unique.
Step 8: Consider Lighting & Photography
Good lighting is crucial for both ambiance and those coveted Pinterest-worthy photos.
Natural light is always best, so position your table near a window if possible.
In the evening, supplement with fairy lights, strategically placed lamps, or LED candles to create a warm, inviting glow.
Ensure there are no harsh shadows and that every beautiful detail is well-lit.
Capture photos from different angles, focusing on the overall spread and close-ups of your favorite details.
Common Mistakes to Avoid
Overcrowding the Table
A common pitfall is trying to fit too much onto one table. This makes it look messy and difficult for guests to navigate.
Instead, prioritize your most visually appealing dishes and use risers to create space. Consider a separate drink station or dessert bar if you have many items.
Ignoring Height and Dimension
A flat table looks uninspired. Failing to incorporate varying heights makes the display dull and less functional.
Always use cake stands, tiered trays, and covered boxes to create different levels. This adds visual interest and allows for more items to be displayed elegantly.
Forgetting Practicality
While aesthetics are important, functionality cannot be overlooked. Forgetting serving utensils, napkins, or trash cans nearby can disrupt the guest experience.
Ensure every dish has a serving tool, plates are easily accessible, and there’s a designated spot for used items. Think about traffic flow and ease of access.
Disregarding the Background
Many hosts focus solely on the table itself and forget the area behind it. A cluttered or bland background can detract from even the most beautifully decorated table.
Always consider what’s behind your table. Add a simple backdrop, a festive banner, or move distracting items out of view to create a cohesive and appealing scene.
Troubleshooting
Limited Budget
Don’t despair if your budget is tight! Creativity is your best friend. Focus on DIY elements and repurposing items you already own.
Use fabric scraps for runners, forage for natural elements like leaves and branches, or print free themed graphics online. White platters are inexpensive and versatile.
Small Table Space
If your table is tiny, go vertical! Maximize space by using tiered stands, multi-level risers, and tall narrow vases.
Prioritize smaller, bite-sized foods that take up less real estate. Consider using a rolling cart or a small side table for drinks or napkins to free up main table space.
Food Looks Unappetizing
Sometimes, even delicious food doesn’t photograph well or look appealing on the table. Focus on fresh garnishes and thoughtful arrangement.
Brighten up dishes with fresh herbs, colorful fruits, or a sprinkle of paprika. Use clean, simple serving dishes that let the food shine, and ensure everything looks fresh before guests arrive.
Key Takeaways
- Start with a strong theme and color palette to guide all your decor choices.
- Create visual interest with varying heights and textures using risers, linens, and diverse serving ware.
- Don’t forget the backdrop; it completes the entire look and enhances photo opportunities.
- Present food artfully with garnishes and thoughtful arrangement to make it irresistible.
- Add personalized touches and practical elements like labels and serving utensils for a seamless guest experience.
- Good lighting is essential for both ambiance and capturing beautiful memories.
Frequently Asked Questions
How much food should I prepare?
A good rule of thumb is to estimate 3-5 appetizers per person for a cocktail party, or 1-2 main dishes and sides for a sit-down meal. Always consider the length of your party and time of day. It’s better to have a little extra than to run out!
What are some budget-friendly decoration ideas?
DIY is your best friend! Use fresh flowers from your garden or grocery store, repurpose jars and bottles into vases, and print free printables for signage. Balloons, fairy lights, and fabric scraps can create a huge impact without breaking the bank.
How can I keep food fresh outdoors?
For outdoor parties, use covered dishes to protect food from insects and elements. Place serving dishes on trays filled with ice to keep cold items chilled. For hot food, chafing dishes or slow cookers on a “warm” setting work wonders.
Should I label the food items?
Absolutely, especially if you have guests with allergies or dietary preferences, or if you’re serving unique dishes. Simple, elegant labels elevate the table and help guests make informed choices. Handwritten cards or small printed tags work beautifully.
Our Top Recommended Finds
- Assorted Cake Stands & Serving Risers: Essential for creating height and visual appeal, transforming a flat table into a dynamic display.
- White Porcelain Platters & Bowls: Versatile and timeless, they make any food look elegant and blend seamlessly with any theme.
- Battery-Operated Fairy Lights: Perfect for adding a magical glow and ambiance without the hassle of cords or open flames, especially for evening events.
Your Table Awaits Its Moment
Now that you’re armed with these creative insights and practical steps, it’s time to bring your party vision to life!
Imagine the smiles, the laughter, and the “oohs and aahs” as your guests admire the beautiful table you’ve crafted.
Don’t wait for a special occasion; every gathering is an opportunity to create something wonderful. Start planning your next memorable celebration today!