🎪 How To Set Up A Booth Vendor Events
📋 The Event Planner's Essential Toolkit
Whether you're throwing a massive birthday bash or an intimate baby shower, the right tools make execution effortless. These are the 5 essential items that professional event coordinators and DIY party hosts consistently rely on to pull off flawless celebrations without the stress.
🎈 Electric Dual-Nozzle Balloon Pump
The absolute lifeline for creating those trending balloon arches and garlands that everyone loves. This dual-nozzle pump lets you inflate hundreds of balloons in a fraction of the time, saving your lungs and transforming hours of prep work into minutes.
🛡️ Command Clear Party Hooks & Strips
The secret to magazine-worthy venue decorations without losing your security deposit. Professional planners stock up on these clear, damage-free hooks to hang banners, string lights, and paper lanterns securely on walls and ceilings, removing cleanly when the party is over.
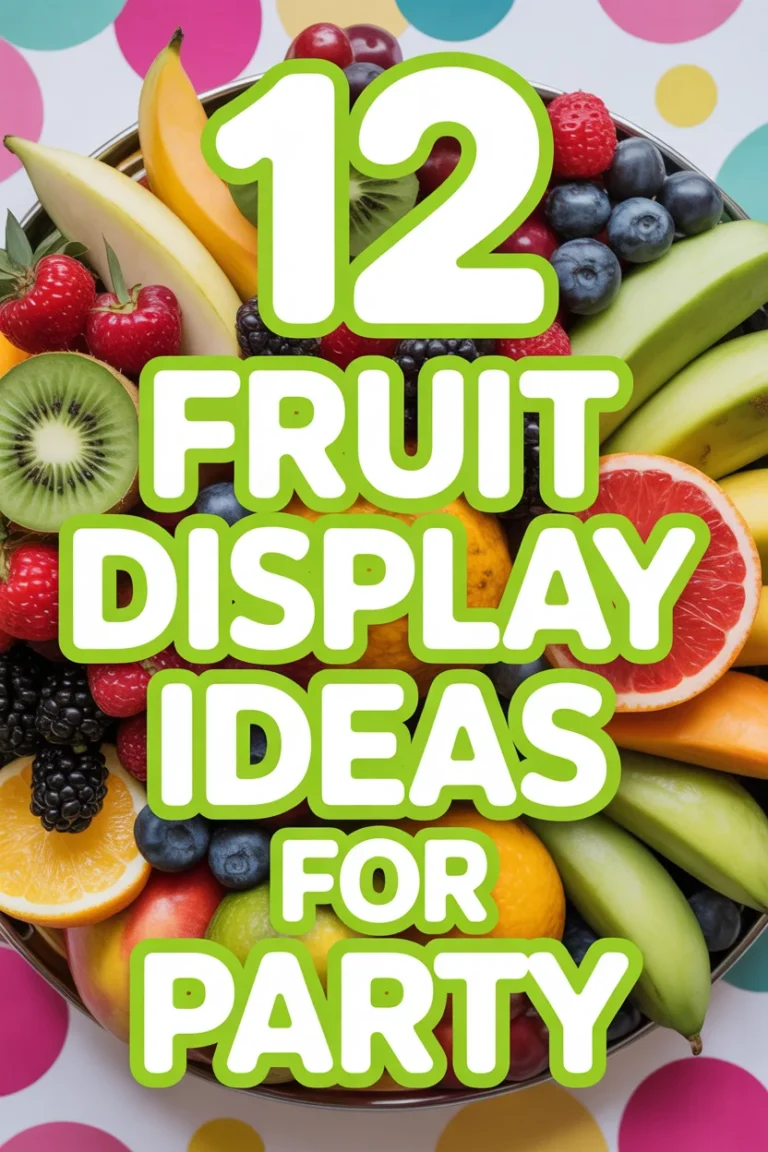
🧁 Wilton Tiered Cupcake & Dessert Stand
The easiest way to make a simple dessert table look professionally catered. This customizable, multi-tier display stand gives crucial height and dimension to your treats, effortlessly elevating the presentation of cupcakes, cookies, or appetizers at any gathering.
🚂 Heavy-Duty Collapsible Utility Wagon
The unsung hero of off-site parties, park birthdays, and trunk-or-treats. This rugged folding wagon hauls folding chairs, coolers, and mountains of decor from your car to the venue in one trip, completely eliminating the exhausting pre-party back-and-forth hauling.
📓 Clever Fox Event Planner Organizer
The ultimate command center for keeping your sanity intact while hosting. Dedicated sections for guest lists, budget tracking, vendor contacts, and day-of timelines ensure that not a single crucial detail falls through the cracks before the big day.
I remember standing in my driveway years ago, surrounded by boxes of handmade candles and a very wobbly folding table.
That first event taught me that a successful booth is so much more than just a place to sell products.
It is a tiny, temporary boutique where you get to share your heart and your creativity with every person who walks by.
Since that nervous first morning, I have spent years perfecting the art of the “Pinterest-perfect” booth that actually drives sales.
I want to help you skip the trial and error so you can walk into your next event feeling like a seasoned pro.

Quick Overview
Preparing for a vendor event is a journey that starts weeks before you actually pack the car.
This guide will walk you through the visual styling, the practical logistics, and the tiny details that make customers stop and stare.
- Time needed: 2-4 weeks of planning and 2 hours for setup
- Difficulty: Intermediate
- What you’ll need: Tables, linens, branding signage, display risers, lighting, and a positive attitude
Step-by-Step Instructions
Step 1: Define Your Visual Story
Before you buy a single shelf, decide what “vibe” you want your booth to project to the world.
Think of your booth as a physical version of your favorite mood board or Pinterest layout.
Choose a color palette that complements your products without overwhelming them, such as soft creams, sage greens, or dusty roses.
Gather textures like linen, reclaimed wood, or velvet to add depth and a tactile feel to your display space.
Pro Tip: Create a “mock-up” of your table at home using masking tape on the floor to mark out your exact booth dimensions.
Step 2: Plan Your Layout for Flow
The way people move through your space determines how long they stay and how much they see.
Avoid the “barricade” style where you sit behind a long table, as this creates a physical wall between you and your guests.
Create an inviting “U” shape or an “L” shape that allows customers to step inside your booth and feel surrounded by your brand.
Place your “hero” product at eye level right at the front to act as a visual hook for people walking down the aisle.
Leave enough room for a stroller or a wheelchair to pass through comfortably, ensuring your space is inclusive for everyone.
Step 3: Build Vertical Interest with Height
A flat table is a missed opportunity because the human eye naturally looks for variation and movement.
You want to draw the eye upward from the table surface to the very top of your tent or display wall.
Use wooden crates or vintage suitcases to lift your products off the table and create different levels of discovery.
Invest in tiered shelving that allows you to display more items in a smaller footprint without looking cluttered.
Hang lightweight items or decorative garlands from the top frame of your tent to utilize every inch of your vertical space.
Step 4: Curate Your Product Groupings
Instead of lining items up like soldiers, try to tell a story through “vignettes” or small themed clusters.
This approach helps customers visualize how your products will look in their own homes or as gifts for loved ones.
Group items by occasion, such as a “Baby’s First Birthday” corner or a “Cozy Winter Morning” shelf.
Add non-merchandise props like a small vase of dried flowers, a stack of old books, or a decorative clock to finish the look.
Keep your best-sellers in multiple spots so that even if the booth gets crowded, everyone has a chance to see them.
Step 5: Master the Art of Signage
Your signs should do the talking for you when you are busy helping another customer or processing a payment.
Clear, beautiful signage makes people feel more comfortable because they don’t have to ask for prices or basic information.
Use consistent fonts and colors that match your overall brand aesthetic for a professional, polished appearance.
Include a “Start Here” sign or a small “About the Maker” plaque to give your brand a face and a story.
Make prices visible using small chalkboards, elegant cardstock, or even handwritten tags tied with twine for a DIY touch.
Pro Tip: Place a large, high-contrast sign with your business name at the very top of your booth so it can be seen from across the room.
Step 6: Layer in Lighting and Ambience
Events can often have harsh overhead lighting or be tucked away in dim corners, so you must bring your own glow.
Lighting is the secret ingredient that makes products look expensive and high-quality.
Wrap warm fairy lights around your displays or tuck them into glass jars for a whimsical, celebratory feel.
Use battery-operated spotlights to highlight specific items or collections that you really want to stand out.
Consider a subtle scent, like a light linen spray or a battery-powered diffuser, to engage the customer’s senses the moment they arrive.
Step 7: Prepare Your Practical Success Kit
The most beautiful booth in the world won’t help you if you can’t make change or if your phone dies halfway through the day.
Being organized behind the scenes allows you to stay calm, focused, and friendly for the entire duration of the event.
Pack a “survival bag” with scissors, extra tape, safety pins, a portable phone charger, and plenty of pens.
Organize your checkout area with a dedicated spot for bags, tissue paper, and business cards to make the final transaction feel like a gift.
Keep plenty of water and quick snacks hidden away so you can maintain your energy without leaving your booth unattended.
Common Mistakes to Avoid
Hiding Behind the Counter
Many vendors make the mistake of sitting in a chair and looking at their phones while waiting for customers to approach.
This behavior can make you seem unapproachable or uninterested in the people visiting your shop.
Try to stand as much as possible, or use a tall stool that keeps you at eye level with the people walking by.
Overcrowding Your Display
It is tempting to put every single item you have ever made out on the table at once.
However, too much “stuff” can lead to visual fatigue, making it hard for customers to focus on any one item.
Keep extra stock tucked under the table and replenish your displays as items sell to keep the look fresh and intentional.
Ignoring the Tablecloth
A wrinkled or stained tablecloth can instantly bring down the quality of your entire brand presentation.
Standard plastic tables are often unattractive, so a floor-length linen is essential for hiding your storage boxes and extra inventory.
Make sure your linens are steamed or ironed, and choose a fabric that doesn’t easily show dust or pet hair.
Troubleshooting
Low Foot Traffic to Your Corner
If you find that people are walking past your booth without stopping, you may need a “visual disruptor.”
Try moving a colorful sign or a large, eye-catching item slightly into the walkway to catch the light and the eye.
You can also start a small DIY demonstration or live craft to pique curiosity and give people a reason to pause.
Technical Payment Issues
Technology is wonderful until the Wi-Fi drops or your card reader decides to stop working in the middle of a rush.
Always have a backup plan, such as a secondary payment app on your phone or a simple cash box with plenty of small bills.
Keep a physical sign nearby that lists your Venmo or PayPal handles as an easy alternative for your tech-savvy customers.
Unpredictable Weather Changes
Outdoor events can go from sunny to windy in a matter of seconds, which can be a nightmare for lightweight displays.
Always use heavy-duty tent weights and secure your signs with clips or heavy decorative weights like pretty stones.
Keep a roll of clear plastic sheeting under your table so you can quickly cover your products if a sudden rain shower begins.
Key Takeaways
- Use height and varied levels to create a dynamic visual experience that draws people in from a distance.
- Prioritize branding and clear signage so customers know exactly what you sell and how much it costs.
- Avoid the “barrier” of a front-facing table by creating an open, walkable layout for your guests.
- Layer in lighting and textures to give your booth a high-end, boutique feel that stands out in a crowded hall.
- Stay engaged and approachable by standing up and greeting everyone who enters your space.
- Always have a backup plan for payments and weather to keep your event running smoothly.
Frequently Asked Questions
How much inventory should I bring to my first event?
A good rule of thumb is to bring enough stock to cover your booth fee at least five to ten times over.
It is better to have a few extra boxes in the car than to have an empty-looking booth by lunchtime.
Should I offer a freebie or a giveaway at my booth?
Small “low-stakes” interactions like a candy bowl or a sticker station can be a great icebreaker for shy customers.
A giveaway entry in exchange for an email sign-up is also a fantastic way to build your community long after the event ends.
What is the best way to package items for customers?
Think of your packaging as a moving billboard that other people will see as they walk around the event.
Using a pretty bag with a piece of colorful tissue paper and a branded sticker makes the purchase feel like a special treat.
How do I handle slow periods during the day?
Use the quiet moments to tidy your displays, take photos for your social media, or network with the vendors around you.
The vendor community is incredibly supportive, and your neighbors might become your best source of advice and inspiration.
Our Top Recommended Finds
- Spandex Table Covers: These fit snugly over folding tables and reach the floor, creating a clean look that won’t blow around in the wind.
- Collapsible Wooden Crates: These are perfect for adding height during the show and then folding flat for easy transport back to your car.
- Portable Power Station: A small battery bank allows you to run fairy lights and charge your phone all day without needing an outlet.
Create Your Dream Display Today
Setting up a booth is a chance to step out from behind the screen and connect with your community in a meaningful way.
Every small detail you add, from the velvet ribbon to the handwritten note, tells your customers that you care about their experience.
Don’t be afraid to experiment with different themes, whether it’s a whimsical garden party for a spring market or a cozy cabin vibe for the holidays.
The most important thing is to let your personality shine through every corner of your display.
Now that you have the tools and the inspiration, it is time to start gathering your supplies and prepping for your best event yet.
Go out there and turn those dreams into a beautiful reality that people will remember long after the curtains close.