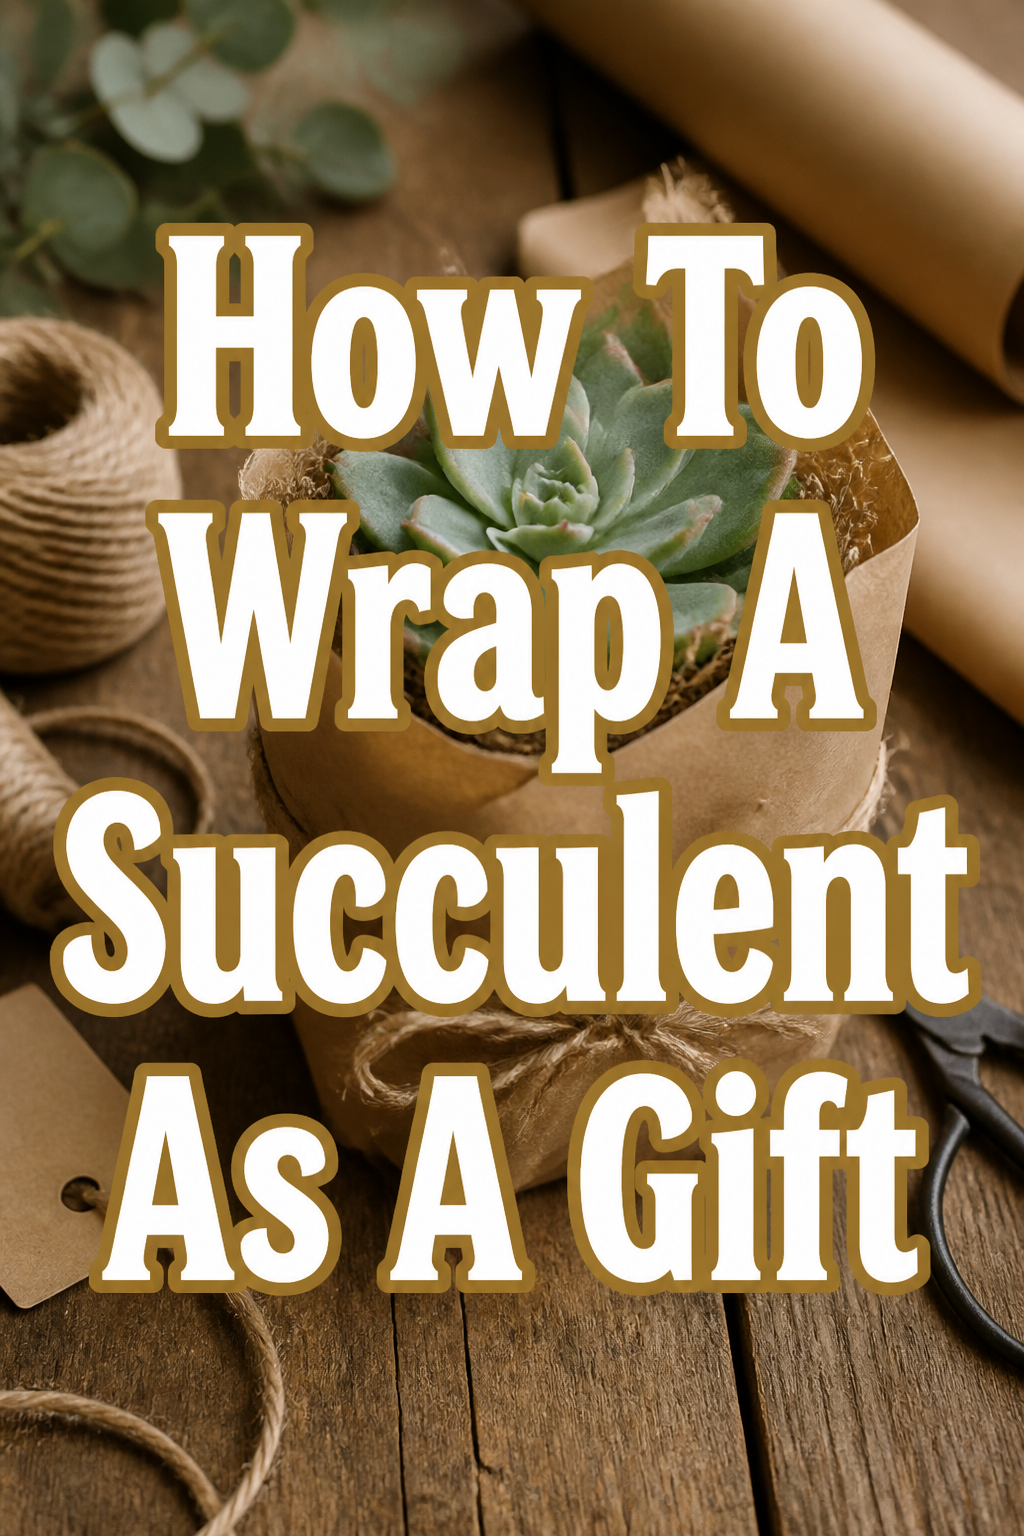
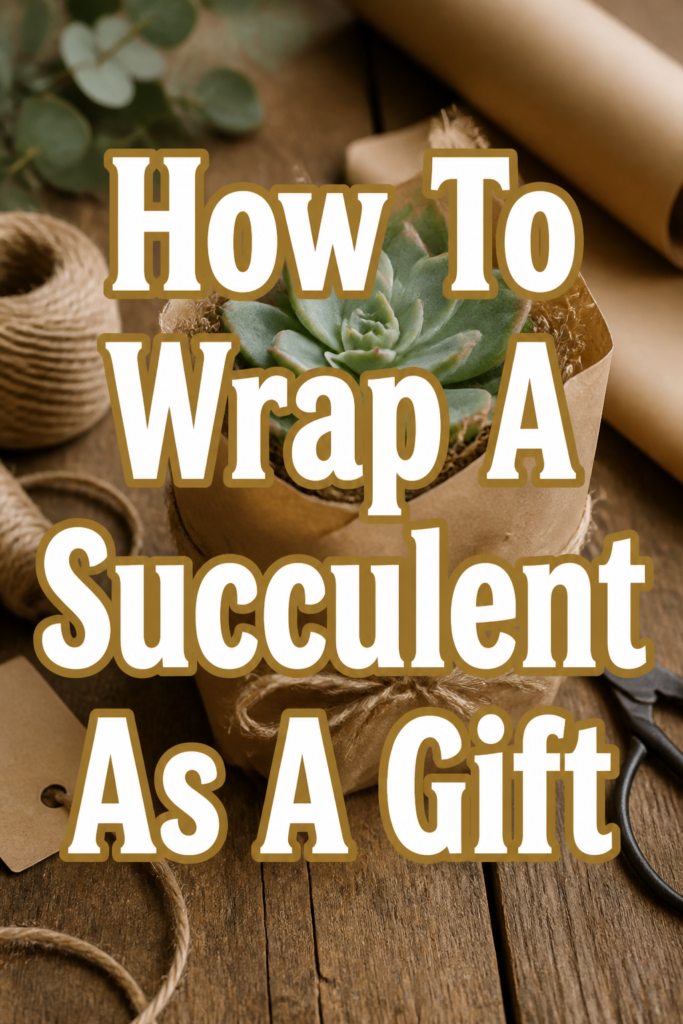
🌱 How To Wrap A Succulent As A Gift
📋 The Event Planner's Essential Toolkit
Whether you're throwing a massive birthday bash or an intimate baby shower, the right tools make execution effortless. These are the 5 essential items that professional event coordinators and DIY party hosts consistently rely on to pull off flawless celebrations without the stress.
🎈 Electric Dual-Nozzle Balloon Pump
The absolute lifeline for creating those trending balloon arches and garlands that everyone loves. This dual-nozzle pump lets you inflate hundreds of balloons in a fraction of the time, saving your lungs and transforming hours of prep work into minutes.
🛡️ Command Clear Party Hooks & Strips
The secret to magazine-worthy venue decorations without losing your security deposit. Professional planners stock up on these clear, damage-free hooks to hang banners, string lights, and paper lanterns securely on walls and ceilings, removing cleanly when the party is over.
🧁 Wilton Tiered Cupcake & Dessert Stand
The easiest way to make a simple dessert table look professionally catered. This customizable, multi-tier display stand gives crucial height and dimension to your treats, effortlessly elevating the presentation of cupcakes, cookies, or appetizers at any gathering.
🚂 Heavy-Duty Collapsible Utility Wagon
The unsung hero of off-site parties, park birthdays, and trunk-or-treats. This rugged folding wagon hauls folding chairs, coolers, and mountains of decor from your car to the venue in one trip, completely eliminating the exhausting pre-party back-and-forth hauling.
📓 Clever Fox Event Planner Organizer
The ultimate command center for keeping your sanity intact while hosting. Dedicated sections for guest lists, budget tracking, vendor contacts, and day-of timelines ensure that not a single crucial detail falls through the cracks before the big day.
There’s something truly special about giving a living gift, a tiny piece of nature that thrives and grows with love.
I’ve personally shared countless succulent gifts, from charming baby shower favors to elegant birthday tokens, always delighting recipients with their beauty and thoughtful presentation.
This guide shares my favorite tricks to make your succulent gifts absolutely unforgettable, turning simple plants into Pinterest-worthy treasures.
Quick Overview
You’re about to transform a lovely succulent into a beautifully presented gift, perfect for any celebration.
Imagine the joy on your loved one’s face as they unwrap this thoughtful, living present.
- Time needed: 15-30 minutes per succulent, depending on complexity
- Difficulty: Beginner
- What you’ll need: Succulent, pot, wrapping paper, ribbon, scissors, tape, optional embellishments
Step-by-Step Instructions
Step 1: Choose Your Perfect Succulent and Pot
Start with a healthy, vibrant succulent. Look for firm leaves and no signs of pests or disease.
Consider the recipient’s style and the occasion. A small Echeveria in a minimalist ceramic pot is chic for a modern birthday gift.
For a whimsical baby shower favor, perhaps a tiny Haworthia in a pastel-painted terra cotta pot or a cute thrifted teacup.
Terracotta pots offer a rustic charm, while glazed ceramics provide a more polished, sophisticated look. You can even upcycle small glass jars or tin cans for an eco-friendly touch.
The pot is part of the gift’s story. Make sure it has drainage holes to keep your succulent happy.
Pro Tip: For party favors, buy succulents in bulk from a local nursery. They often offer discounts and a wider variety of small, gift-ready plants.
Step 2: Prepare the Pot and Soil
Ensure your chosen pot is clean and dry. If you’re repotting, gently remove the succulent from its nursery container.
Use a well-draining succulent or cactus mix. This prevents root rot, which is crucial for these desert beauties.
Place a small amount of soil in the bottom of the new pot, then center your succulent. Fill around the roots, leaving about half an inch of space from the rim.
Lightly pat the soil down, but don’t compact it too tightly. A happy succulent is a healthy succulent, ready for its grand debut.
Step 3: Add a Drainage Buffer (Optional but Recommended)
Succulents hate sitting in water. If your chosen pot lacks a drainage hole, this step is vital.
Place a layer of small pebbles or activated charcoal at the very bottom of the pot before adding soil. This creates a reservoir for excess water.
This buffer helps protect the roots from moisture, giving your gift a longer, healthier life. It’s a small detail that shows immense care.
Step 4: Choose Your Wrapping Material
This is where your creativity truly shines! Think about the celebration’s theme and color palette.
Kraft paper offers a rustic, earthy feel, perfect for a garden-themed bridal brunch or a cozy fall holiday gift. It’s also incredibly versatile for stamping or hand-lettering.
Vellum paper provides an elegant, translucent effect, beautiful for a sophisticated birthday or an anniversary celebration. It lets a hint of the plant show through, adding intrigue.
Patterned tissue paper can add a pop of color and festivity, ideal for a vibrant baby shower or a whimsical kids’ party. Choose patterns that complement the succulent’s natural hues.
Fabric scraps, like linen or burlap, create a charming, reusable wrap. Imagine these at a rustic wedding or a bohemian-themed gathering.
Pro Tip: For a cohesive party aesthetic, choose wrapping paper that matches your event’s invitations or tablecloths. It ties everything together beautifully.
Step 5: Cut and Position the Wrapping Material
Lay your chosen wrapping material flat. Place the potted succulent in the center.
Measure and cut the material so it’s large enough to gather around the pot and extend a few inches above the plant itself.
For a standard 4-inch pot, a square of wrapping material about 12-15 inches across is usually a good starting point.
You want enough material to create a lovely, flowing presentation, not a tight, restrictive bundle.
Step 6: Gather and Secure the Wrap
Gently bring the edges of the wrapping material upwards, around the pot and succulent.
Gather the material loosely at the “neck” of the plant, just above the pot’s rim. Create a soft, organic shape.
Use a piece of clear tape to temporarily secure the gathered material. This frees up your hands for the next step.
Ensure the succulent itself isn’t squashed or damaged during this process. The goal is to highlight its beauty, not hide it.
Step 7: Tie with Ribbon or Twine
Now for the decorative flourish! Choose a ribbon, twine, or string that enhances your chosen wrap and occasion.
Natural jute twine or raffia complements kraft paper and burlap beautifully, perfect for a farmhouse-style gift or a rustic holiday decor item.
Satin or silk ribbon in a coordinating color adds a touch of luxury and elegance, ideal for a formal dinner party favor or a milestone birthday.
Wrap the ribbon or twine around the gathered material, just above the tape. Tie it securely in a bow or a simple knot.
Trim the ends of the ribbon or twine to your desired length. A little curl or a neat trim makes a big difference in presentation.
Step 8: Add Personalized Touches and Embellishments
This is where your gift truly becomes unique and memorable. Think about tiny details that tell a story.
Attach a small, handwritten gift tag with a sweet message. “Thank you for helping us grow!” for a baby shower, or “May your year be full of sunshine!” for a birthday.
Tuck in a sprig of dried lavender, eucalyptus, or a tiny feather for a bohemian vibe. These natural elements add texture and scent.
For a holiday gift, add a mini ornament or a tiny pinecone. Imagine these as charming secret Santa gifts or hostess presents.
Consider a small charm or a personalized sticker with the recipient’s initial. These thoughtful touches elevate the gift from pretty to truly special.
Step 9: Include Care Instructions
Help your recipient keep their new plant thriving by including simple care instructions. This shows you care about the long-term enjoyment of their gift.
A small card detailing “Water when soil is dry, lots of bright light” is perfect. You can even design a cute, printable care card to match your wrapping.
This thoughtful addition ensures the succulent continues to bring joy long after the celebration. It’s a practical touch that enhances the gift’s value.
Imagine these little cards at each place setting at a brunch, guiding guests on how to nurture their beautiful favor.
Common Mistakes to Avoid
Overwatering the Succulent Before Wrapping
Giving your succulent a big drink just before wrapping it can lead to soggy soil and potential root rot, especially if it’s sitting in the wrap for a while.
Always ensure the soil is dry or only slightly damp before wrapping. A dry succulent is a happy succulent, much more resilient to temporary enclosure.
This prevents water from seeping into your beautiful wrapping paper, keeping everything crisp and clean for presentation.
Using Opaque Wrapping That Hides the Plant
While some opaque papers are lovely, completely obscuring the succulent can diminish its appeal. The plant itself is the star of the show.
Aim for wrapping that either allows a peek of the plant or is gathered low enough to showcase the succulent’s form. Vellum or sheer fabrics work wonderfully for this.
The gift should hint at the beauty within, building anticipation before the full reveal.
Tying Too Tightly Around the Plant
A tight grip around the succulent’s stem or leaves can cause damage, bruising, or even break delicate parts. The goal is to support the wrapping, not constrict the plant.
Ensure there’s enough space for the succulent to breathe. The wrap should be gathered gently, allowing the plant to stand tall and proud.
Use a light hand when securing your ribbon or twine, making sure it holds the paper but doesn’t pinch the plant.
Forgetting Drainage Considerations
Many decorative pots lack drainage holes, which is a death sentence for succulents if not addressed. Ignoring this crucial detail can quickly lead to a sad, dying plant.
Always confirm the pot has proper drainage, or add a layer of pebbles and charcoal if it doesn’t. This simple step is vital for the plant’s long-term health.
Including care instructions that specifically mention watering frequency and avoiding standing water reinforces this important point for the recipient.
Troubleshooting
Succulent Leaves Look Droopy After Wrapping
If your succulent looks a little sad or droopy, it might be stressed from the wrapping process or lack of light if it was wrapped for a long time.
Carefully unwrap the succulent as soon as possible. Place it in a spot with bright, indirect light.
Resist the urge to water immediately; wait a day or two to see if it perks up. Succulents are remarkably resilient and often recover quickly.
Wrapping Paper Tears Easily
Thin or cheap wrapping paper can tear when gathered, especially if the pot is heavy or oddly shaped. This can be frustrating when you’re aiming for perfection.
Consider using a double layer of paper for added strength, or switch to a more durable material like kraft paper, fabric, or thicker cardstock.
Also, ensure your cuts are clean and you’re not pulling too aggressively when gathering the material around the pot.
Ribbon Slips Off
A slippery ribbon can slide down the gathered paper, ruining the neat presentation you worked so hard to achieve.
Before tying the ribbon, use a small piece of clear tape to secure the gathered paper bundle. This creates a stable base for your ribbon.
You can also choose ribbons with more texture, like grosgrain or velvet, which tend to hold knots better than slick satin.
Key Takeaways
- Choose a healthy succulent and a suitable pot with good drainage.
- Select wrapping materials that complement the occasion and your personal style.
- Gather the wrapping gently, ensuring the succulent is not constricted or damaged.
- Add personalized touches like gift tags, dried flowers, or charms for a unique flair.
- Always include simple care instructions to help the recipient nurture their living gift.
- Prioritize the succulent’s health by avoiding overwatering before wrapping and ensuring proper drainage.
Frequently Asked Questions
How far in advance can I wrap a succulent gift?
It’s best to wrap your succulent gift no more than 24-48 hours before you plan to give it. This ensures the plant gets enough light and air, keeping it fresh and vibrant for the recipient.
What if the pot doesn’t have a drainage hole?
If your pot lacks a drainage hole, place a layer of small pebbles or activated charcoal at the bottom before adding soil. This creates a crucial buffer zone for excess water, protecting the succulent’s roots from rot.
Can I use fresh flowers as embellishments?
Absolutely! A tiny fresh bloom or a sprig of greenery can be a stunning addition. Just be mindful that fresh elements will wilt, so attach them shortly before gifting for the best appearance.
What’s the best way to transport wrapped succulents?
Place your wrapped succulents in a sturdy box, ensuring they are snug enough not to tip over but not so tightly packed that they get squashed. You can use tissue paper or crumpled newspaper to fill any gaps.
Our Top Recommended Finds
- Chic Ceramic Planter Set: Perfect for creating a cohesive look for party favors or a sophisticated gift. Their clean lines elevate any succulent.
- Assorted Kraft Paper Rolls: Offers endless possibilities for rustic, personalized wrapping. Easy to stamp, draw on, or layer for unique textures.
- Natural Jute Twine & Satin Ribbon Pack: Provides options for both earthy and elegant finishes, allowing you to match any celebration’s theme.
Ignite Your Creative Spark and Share the Green Joy
Now that you’re equipped with all the secrets to wrapping a succulent as a gift, imagine the possibilities for your next celebration!
Picture these charming, living treasures adorning your tables at a “Boho Blooms” bridal shower, each guest taking home a piece of the magic.
Envision a collection of personalized succulent gifts, each nestled in its unique wrap, ready to surprise loved ones on birthdays, anniversaries, or even as thoughtful ‘just because’ gestures.
This simple act of gifting a plant, beautifully presented, speaks volumes. It’s an invitation to nurture, to grow, and to remember a special moment.
So, gather your materials, let your imagination bloom, and start creating these delightful, green gifts today. Your next event is waiting to be celebrated with a touch of living beauty!