🎨 How To Make Your Vendor Booth Stand Out
📋 The Event Planner's Essential Toolkit
Whether you're throwing a massive birthday bash or an intimate baby shower, the right tools make execution effortless. These are the 5 essential items that professional event coordinators and DIY party hosts consistently rely on to pull off flawless celebrations without the stress.
🎈 Electric Dual-Nozzle Balloon Pump
The absolute lifeline for creating those trending balloon arches and garlands that everyone loves. This dual-nozzle pump lets you inflate hundreds of balloons in a fraction of the time, saving your lungs and transforming hours of prep work into minutes.
🛡️ Command Clear Party Hooks & Strips
The secret to magazine-worthy venue decorations without losing your security deposit. Professional planners stock up on these clear, damage-free hooks to hang banners, string lights, and paper lanterns securely on walls and ceilings, removing cleanly when the party is over.
🧁 Wilton Tiered Cupcake & Dessert Stand
The easiest way to make a simple dessert table look professionally catered. This customizable, multi-tier display stand gives crucial height and dimension to your treats, effortlessly elevating the presentation of cupcakes, cookies, or appetizers at any gathering.
🚂 Heavy-Duty Collapsible Utility Wagon
The unsung hero of off-site parties, park birthdays, and trunk-or-treats. This rugged folding wagon hauls folding chairs, coolers, and mountains of decor from your car to the venue in one trip, completely eliminating the exhausting pre-party back-and-forth hauling.
📓 Clever Fox Event Planner Organizer
The ultimate command center for keeping your sanity intact while hosting. Dedicated sections for guest lists, budget tracking, vendor contacts, and day-of timelines ensure that not a single crucial detail falls through the cracks before the big day.
I remember standing behind my very first craft fair table, watching people walk right past my hard work without a second glance.
It was a humbling moment that taught me that having a great product is only half the battle in a crowded market.
Since that day, I have spent years perfecting the art of the “boutique” booth experience to ensure every visitor feels like they are stepping into a tiny, magical world.
Quick Overview
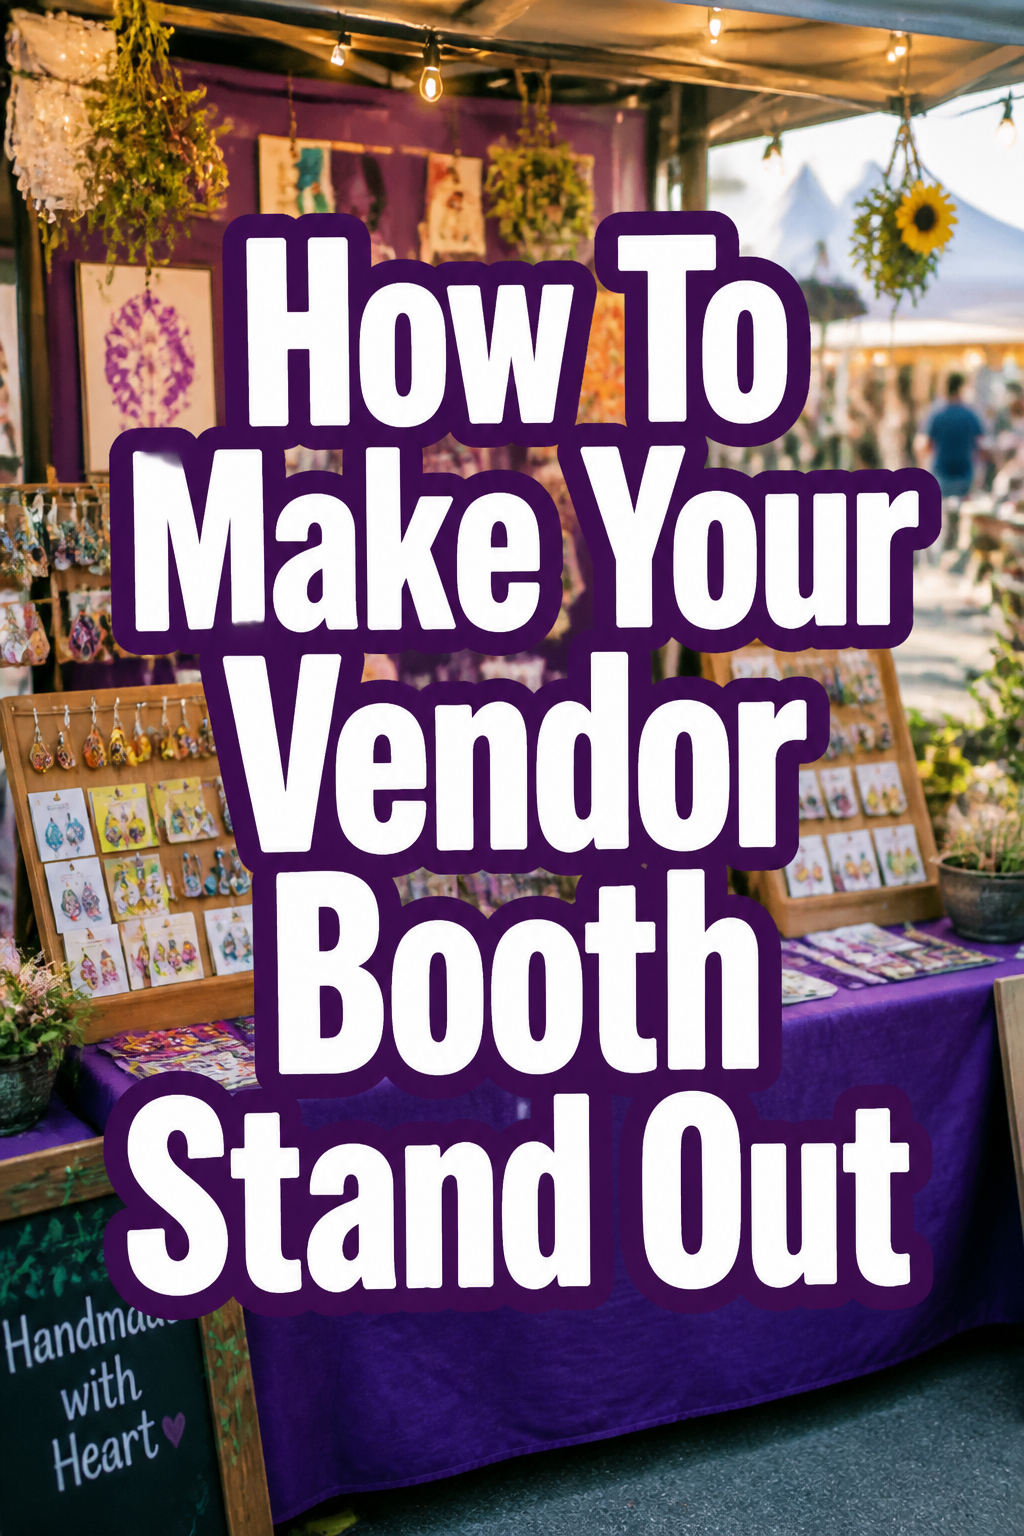
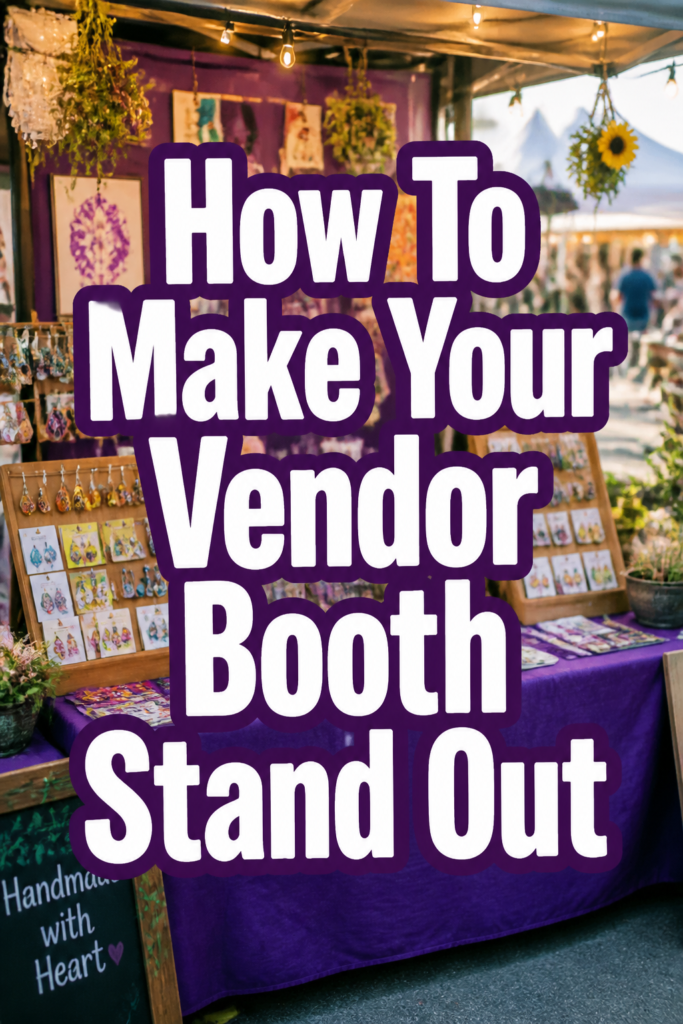
This guide will help you transform a standard folding table into a high-end shopping destination that captures hearts and sales.
- Time needed: 4-6 hours of planning and 2 hours for setup
- Difficulty: Intermediate
- What you’ll need: Vertical displays, cohesive linens, professional signage, lighting, and decorative accents
Step-by-Step Instructions
Step 1: Choose a Dreamy Theme
Start by picking a visual story that aligns with the “vibe” of your brand and the specific event you are attending.
If you are at a spring baby shower market, think about soft pastels, eucalyptus greenery, and natural wood textures.
For a holiday bazaar, you might lean into “Moody Forest” with deep evergreens, velvet ribbons, and warm gold accents.
Consistency is your best friend when it comes to making your booth look professional and expensive.
Pick a palette of three main colors and stick to them for your tablecloths, price tags, and even your outfit.
Pro Tip: Create a Pinterest board for your booth “mood” before you buy a single prop to ensure everything coordinates perfectly.
Step 2: Build Height and Dimension
Flat tables are forgettable because they don’t catch the eye from a distance or create visual interest.
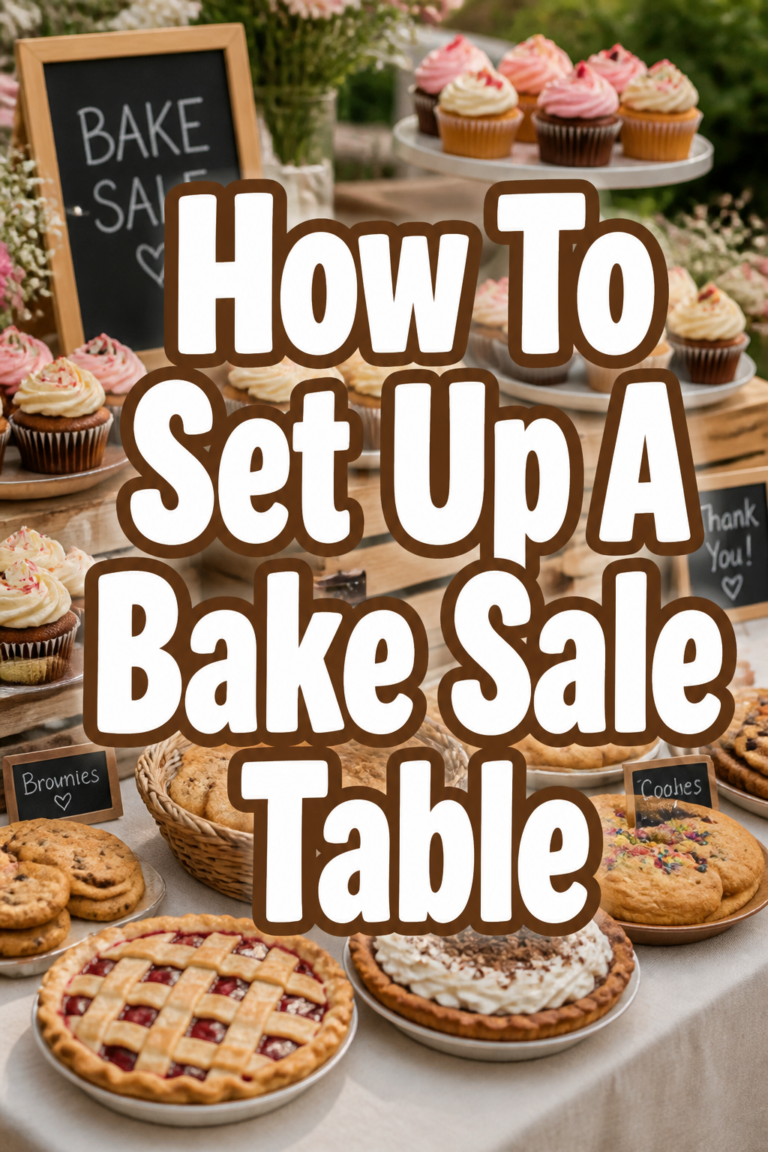
Elevate your products by using wooden crates, vintage suitcases, or tiered cupcake stands to lead the eye upward.
Try placing your tallest items at the back corners and gradually stepping down to smaller items at the front edge.
This creates a “stadium seating” effect that allows customers to see your entire inventory at a single glance.
Utilize the space under your table by using extra-long linens that hide your storage bins and extra stock.
A clean, floor-length tablecloth in a high-quality fabric like linen or heavy cotton instantly makes your setup look more established.
Step 3: Layer Your Textures
Texture adds a sense of luxury and “touchability” to your booth that makes people want to linger longer.
Drape a cheesecloth runner over a solid tablecloth for a soft, romantic look that works beautifully for weddings or baby showers.
Incorporate natural elements like dried lavender sprigs, moss stones, or driftwood to ground your display in nature.
If your brand is more modern and bold, consider using acrylic risers paired with metallic accents for a sleek, polished finish.
Mix materials like ceramic, glass, and fabric to create a rich visual landscape that feels curated rather than cluttered.
Every surface is an opportunity to reinforce your brand’s personality through the materials you choose to display.
Step 4: Master the Art of Lighting
Most indoor event spaces have harsh or dim overhead lighting that can make even the best products look dull.
Bring your own light sources to create a warm, inviting glow that draws people in like a cozy living room.
Battery-operated fairy lights tucked into glass jars or woven through greenery add a touch of whimsy and sparkle.
Small clip-on spotlights can be hidden behind displays to highlight your “hero” products and make them pop.
Consider using a warm-toned neon sign with your brand name to act as both a light source and a modern focal point.
Lighting is the secret ingredient that makes your booth look high-end and “Pinterest-worthy” in photos.
Pro Tip: Always bring extra batteries and an extension cord, as power outlets can be unpredictable at many venues.
Step 5: Create a “Selfie-Ready” Backdrop
In the age of social media, your booth should serve as a beautiful background for your customers’ photos.
Design a vertical backdrop using a simple PVC frame covered in floral garlands, streamers, or a custom fabric print.
A balloon arch in your brand colors is a fantastic way to attract attention from across the room and celebrate the event.
Make sure your brand name or social media handle is visible at eye level within this “photo zone.”
Encourage shoppers to take a photo and tag you by offering a small discount or a free sticker for their post.
This turns every customer into a mini-ambassador for your brand while they are still at the event.
Step 6: Curate Irresistible Gift Bundles
Many shoppers are looking for a quick solution for birthdays, holidays, or “just because” gifts.
Group related items together in beautiful baskets or clear cellophane bags tied with a luxurious ribbon.
For example, pair a hand-poured candle with a box of fancy matches and a small vial of bath salts for a “Spa Night” kit.
Include a small “To/From” tag on the bundle so it is literally ready to be handed to the recipient.
Price these bundles clearly so customers don’t have to do the math to see the value they are getting.
Gift sets often have a higher perceived value and help increase your average sale per customer.
Step 7: Design Signage That Tells a Story
Your signs should do more than just list prices; they should communicate the “why” behind your products.
Use beautiful frames or small wooden easels to hold signs that explain your process or the materials you use.
Instead of just “Soap – $8,” try “Handcrafted Oat & Honey Soap: Soothing Care for Sensitive Skin – $8.”
Hand-lettered chalkboards add a personal, DIY touch, while printed acrylic signs feel modern and professional.
Ensure your font is large enough to be read from three feet away so shoppers can browse comfortably.
Clear, attractive pricing removes the “awkwardness” of asking and makes the buying process much smoother.
Step 8: Engage All Five Senses
A truly memorable booth experience goes beyond just what the customer sees.
Scent is a powerful memory trigger, so consider using a subtle room spray or a reed diffuser that matches your theme.
Play soft, upbeat acoustic music at a low volume to create a pleasant atmosphere that masks the noise of the crowd.
Offer a small bowl of high-quality wrapped chocolates or mints to provide a literal taste of your hospitality.
Encourage people to touch your products by placing “Sample” items in easy-to-reach locations.
When you engage multiple senses, you create a deeper emotional connection between the shopper and your brand.
Step 9: Host a Mini “Make-and-Take” Station
Interactive elements are the ultimate way to get people to stop and spend time at your booth.
Set up a small corner where customers can customize a product, such as choosing their own ribbon for a gift box.
If you sell stationery, let them try out a wax seal or stamp a personalized “Thank You” card.
These small moments of creativity make the shopping experience feel like a fun activity rather than just a transaction.
Keep the activity simple and quick so it doesn’t create a bottleneck in your booth flow.
Even a 30-second interaction can turn a casual browser into a loyal fan of your work.
Step 10: Perfect Your Hostess Presence
You are the most important part of your booth’s “decor,” so your energy should be warm and welcoming.
Stand at the side or front of your table rather than sitting behind it, which can create a physical barrier between you and the customer.
Wear something that coordinates with your booth’s color palette to look like a cohesive part of the display.
Greet everyone with a genuine smile and a “Happy [Event Name]!” rather than just asking if they need help.
Keep your phone tucked away so you are fully present and ready to share the story of your creations.
Your passion and excitement are contagious and will make people want to support your small business.
Common Mistakes to Avoid
The “Wall of Products” Trap
Packing every single item you own onto the table creates visual clutter that overwhelms the brain.
When there is too much to look at, the eye doesn’t know where to land, and customers often walk away to avoid the stress.
Focus on a curated selection of your best work and keep your back-stock hidden away for restocking as items sell.
Sitting and Scrolling
Nothing kills a sale faster than a vendor who is slumped in a chair looking at their phone.
This sends a signal that you are unavailable or uninterested in talking to your potential customers.
Even if it is a slow hour, stay active by tidying your displays or chatting with neighboring vendors to keep your energy high.
Ignoring the “Thre-Second Rule”
A passerby should be able to tell exactly what you sell and what your brand is about within three seconds.
If your booth is a mix of unrelated crafts without a clear focal point, people will be confused and keep walking.
Ensure your main signage and “hero” products are front and center to communicate your message instantly.
Troubleshooting
Low Foot Traffic in Your Corner
If you find yourself in a “dead zone” of the venue, use movement and height to catch eyes from further away.
Tie a few high-quality balloons to your display or use a taller-than-average sign to peak over the crowd.
You can also step out in front of your booth to hand out small business cards or samples to draw people toward your space.
Unexpected Windy Weather
Outdoor markets can be tricky, and a sudden gust of wind can send your beautiful display flying.
Always use heavy-duty tablecloth clips and weighted bases for any vertical signs or backdrops.
Use museum putty or “sticky tack” to secure smaller items to your risers so they don’t tip over easily.
Technical Payment Glitches
Relying solely on one digital payment method can lead to lost sales if the Wi-Fi goes down.
Always have a backup plan, such as a different card reader or a printed QR code for Venmo and PayPal.
Keep a small “float” of physical cash in a secure pouch so you can always make change for customers who prefer traditional payments.
Key Takeaways
- Height is essential: Use risers and crates to create a multi-level display that catches the eye.
- Cohesion is king: Stick to a tight color palette and theme to make your booth look professional.
- Lighting transforms: Use fairy lights and spotlights to create a warm, high-end atmosphere.
- Be a hostess: Stand up, smile, and engage with shoppers to build a personal connection.
- Solve their problems: Offer pre-made gift bundles to make shopping easy for your customers.
Frequently Asked Questions
How much should I spend on my booth display?
You don’t need a huge budget to look great; many of the best props can be found at thrift stores or DIYed.
Focus your spending on high-quality basics like a good tablecloth and professional signage first.
What should I do if my booth space is very small?
In a small space, verticality is your best friend to maximize every square inch of your footprint.
Use slim, tall shelving units and keep your table clutter-free by only showing one of each item.
How do I handle pricing without making my booth look messy?
Avoid neon “sale” stickers and opt for elegant, uniform price tags that match your branding.
A single framed “Menu of Services” or price list is often cleaner than individual tags on every small item.
Our Top Recommended Finds
- Collapsible Wooden Crates: These provide instant height and are easy to transport and store between events.
- Battery-Operated LED Spotlights: Perfect for highlighting specific products without needing a power outlet.
- Custom Branded Table Runner: A simple way to add your logo to any setup without buying a fully custom tablecloth.
Celebrate Your Brand Story Today
Creating a standout vendor booth is about more than just selling products; it is about inviting people into your creative world.
Take one small step this week by sketching out a new layout or picking a fresh color palette for your next event.
Whether you are preparing for a holiday market or a local birthday fair, your unique touch is what will make people remember your name.
Start gathering your favorite textures and lights, and watch as your booth becomes the talk of the next celebration!