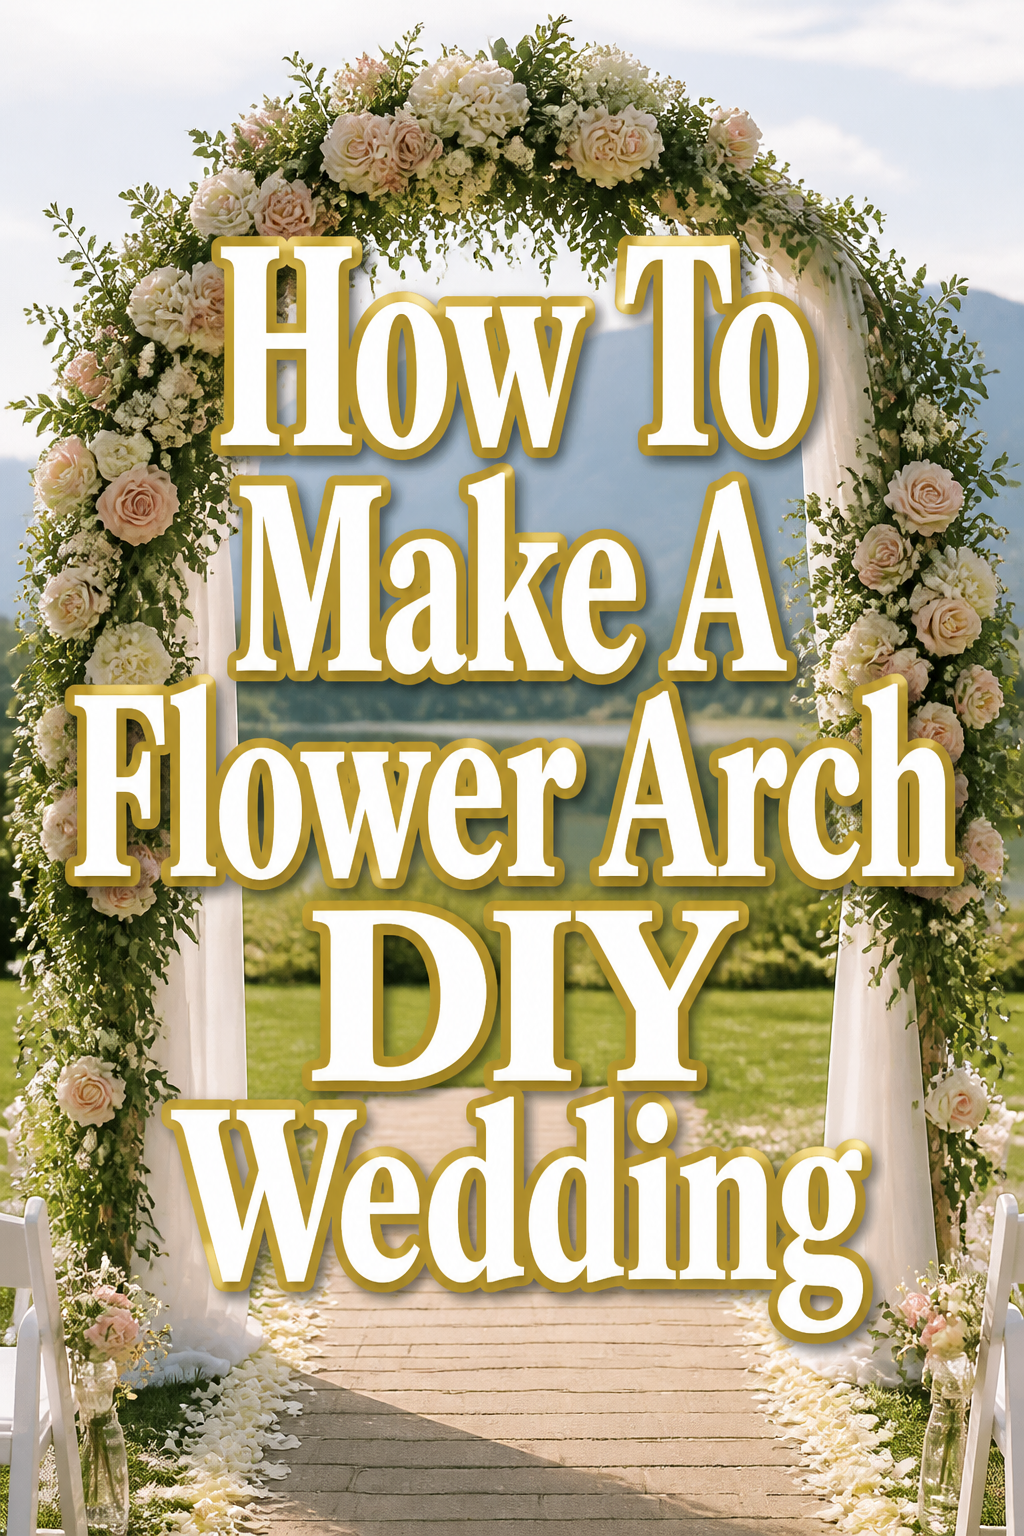
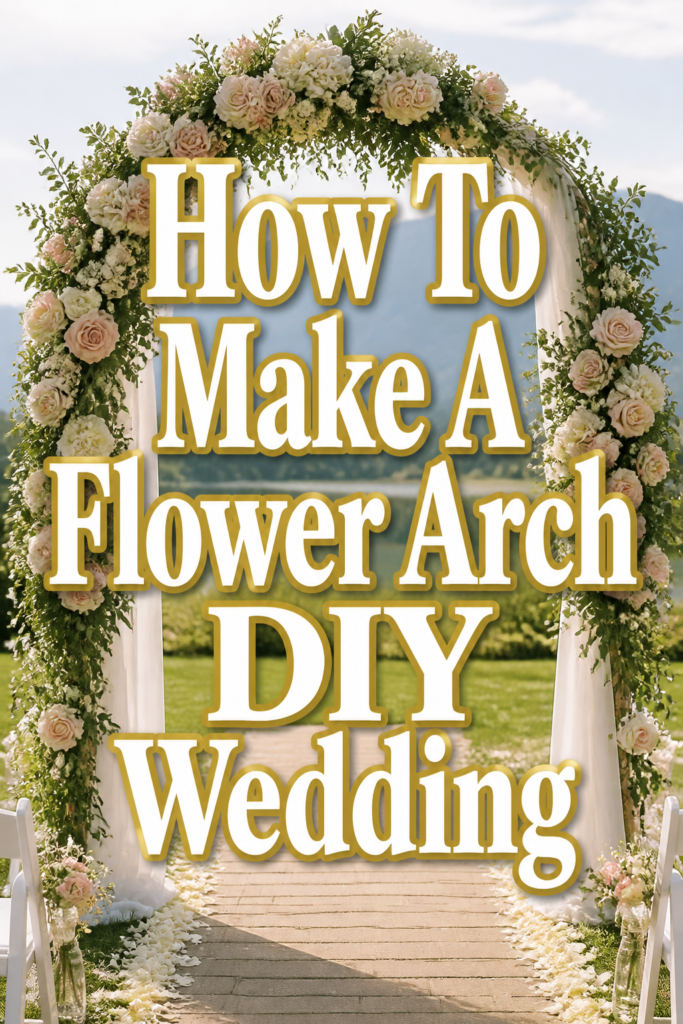
🌸 How To Make A Flower Arch DIY Wedding
📋 The Event Planner's Essential Toolkit
Whether you're throwing a massive birthday bash or an intimate baby shower, the right tools make execution effortless. These are the 5 essential items that professional event coordinators and DIY party hosts consistently rely on to pull off flawless celebrations without the stress.
🎈 Electric Dual-Nozzle Balloon Pump
The absolute lifeline for creating those trending balloon arches and garlands that everyone loves. This dual-nozzle pump lets you inflate hundreds of balloons in a fraction of the time, saving your lungs and transforming hours of prep work into minutes.
🛡️ Command Clear Party Hooks & Strips
The secret to magazine-worthy venue decorations without losing your security deposit. Professional planners stock up on these clear, damage-free hooks to hang banners, string lights, and paper lanterns securely on walls and ceilings, removing cleanly when the party is over.
🧁 Wilton Tiered Cupcake & Dessert Stand
The easiest way to make a simple dessert table look professionally catered. This customizable, multi-tier display stand gives crucial height and dimension to your treats, effortlessly elevating the presentation of cupcakes, cookies, or appetizers at any gathering.
🚂 Heavy-Duty Collapsible Utility Wagon
The unsung hero of off-site parties, park birthdays, and trunk-or-treats. This rugged folding wagon hauls folding chairs, coolers, and mountains of decor from your car to the venue in one trip, completely eliminating the exhausting pre-party back-and-forth hauling.
📓 Clever Fox Event Planner Organizer
The ultimate command center for keeping your sanity intact while hosting. Dedicated sections for guest lists, budget tracking, vendor contacts, and day-of timelines ensure that not a single crucial detail falls through the cracks before the big day.
There is something truly magical about standing under a canopy of fresh blooms as you say your vows.
I remember building my first wedding arch for a close friend’s backyard ceremony and feeling that rush of pride when the first guest gasped at the sight.
This guide comes from years of trial, error, and a deep love for creating Pinterest-worthy moments on a real-world budget.
Quick Overview
Building a floral arch is a rewarding project that serves as the crown jewel of your wedding decor.
- Time needed: 4 to 6 hours (plus prep time)
- Difficulty: Intermediate
- What you’ll need: Arch frame, floral foam cages, zip ties, heavy-duty clippers, greenery, focal flowers, and filler stems.
Step-by-Step Instructions
Step 1: Choose Your Perfect Frame
Select a sturdy base that matches your wedding theme and can support the weight of wet floral foam and heavy stems.
Wooden frames offer a rustic, bohemian vibe that works beautifully for forest or garden weddings.
Metal hoops or rectangular frames provide a clean, modern look that highlights the flowers rather than the structure.
Pro Tip: If you are planning an outdoor ceremony, opt for a frame with extra-long stakes or heavy weighted feet to prevent wind from toppling your masterpiece.
Consider the height of the couple and the officiant when choosing your frame size.
You want plenty of clearance so the flowers frame your faces rather than hiding them in photos.
Step 2: Secure the Foundation
Anchor your arch to the ground using sandbags, bricks, or tent stakes hidden by decorative elements.
A floral arch becomes surprisingly heavy once the greenery and water-soaked foam are added.
If you are working on a hard surface like a patio, use large planters filled with gravel to hold the vertical poles.
Test the stability by giving the frame a gentle shake to ensure it won’t budge during the ceremony.
Peace of mind is the most important part of any DIY wedding project.
Step 3: Prepare the Floral Foam
Soak your floral foam cages in a tub of water treated with flower food until they are fully saturated.
Never push the foam down into the water; let it sink naturally so air pockets don’t form in the center.
Attach the wet foam cages to the frame using heavy-duty zip ties at the top and sides.
Space them out based on where you want the densest clusters of flowers to appear.
Pro Tip: Use a double-zip-tie method for extra security, crossing them in an “X” shape over the cage handle.
This ensures the heavy foam won’t slip or slide as you add more weight to it.
Step 4: Establish the Greenery Base
Insert your longest greenery branches first to define the overall shape and size of the arch.
Eucalyptus, Italian Ruscus, and Salal are fantastic choices for creating a lush, flowing movement.
Angle the stems so they point outward and slightly downward to create a natural, growing appearance.
Don’t worry about covering every inch of foam just yet; this layer is about building the skeleton.
Mix different textures of greenery to add depth and interest to the background.
Ferns can add a whimsical touch, while dark waxy leaves provide a sophisticated contrast.
Step 5: Place Your Focal Flowers
Position your largest and most expensive blooms, such as roses, peonies, or hydrangeas, into the foam.
Place them in “groupings” of three or five to create visual impact points that draw the eye.
Vary the depths of the flowers, pushing some deeper into the greenery and letting others dance on longer stems.
This creates a three-dimensional look that pops in professional photography.
Pro Tip: If you are using roses, gently peel back the outermost “guard petals” to reveal the pristine bloom underneath.
You can also lightly blow into the center of a rose to help it open up and look more full.
Step 6: Add Filler Flowers and Texture
Fill the remaining gaps with smaller blooms like spray roses, carnations, or waxflowers.
These smaller elements bridge the space between your focal flowers and the greenery base.
Incorporate unique textures like dried bunny tails, berries, or even hanging amaranthus for a touch of drama.
Step back frequently to look at the arch from a distance and check for any “dark holes” or flat spots.
The goal is a balanced distribution of color that looks beautiful from every angle.
Step 7: Final Hydration and Misting
Mist the entire arrangement with a floral finishing spray to seal in moisture and prevent wilting.
This is especially crucial if you are working in a warm climate or an indoor venue with dry air.
Check the foam one last time to ensure it is still moist, adding a little water with a narrow-spout can if needed.
Hide any visible mechanics, like zip ties or plastic edges, by tucking in small sprigs of moss or leaves.
Your arch is now ready to serve as the backdrop for one of the most important moments of your life.
Common Mistakes to Avoid
Underestimating the Flower Count
Many DIYers buy just enough flowers to cover the front of the arch, forgetting that guests see it from the sides too.
A sparse arch can look unfinished or “skinny” in wide-angle ceremony shots.
Always order 20% more flowers than you think you need to account for breakage and extra filling.
Ignoring the Weight of Water
Wet floral foam is significantly heavier than dry foam, and a fully loaded arch can weigh over fifty pounds.
Using a flimsy plastic or thin metal arch from a craft store often leads to a sagging or collapsing structure.
Invest in a professional-grade frame or reinforce a cheaper one with wooden supports.
Working Too Far in Advance
While it is tempting to get the arch done early, fresh flowers have a limited lifespan once cut and placed in foam.
Building the arch more than 24 hours before the wedding can lead to browning edges and drooping heads.
Aim to build the greenery base the day before and add the delicate focal flowers on the morning of the event.
Troubleshooting
The Arch is Wobbly on Grass
Uneven ground is the enemy of a stable wedding arch, especially when the ceremony is in a park or field.
Carry a few wooden shims or flat rocks to place under the feet of the arch to level it out.
You can also use long “U” shaped garden stakes to pin the base plates directly into the soil.
Flowers Keep Falling Out
If stems are sliding out of the foam, it usually means the stems were cut too short or the foam has been poked too many times.
Try re-cutting the stem at a sharp 45-degree angle to create more surface area for the foam to grip.
For particularly heavy flowers, use a bit of waterproof floral tape to secure the stem to the foam cage itself.
The Foam is Showing Through
Nothing ruins a Pinterest-perfect arch like a flash of bright green plastic foam in the photos.
Keep a bag of sheet moss or extra ivy leaves on hand to pin over any exposed mechanics at the very end.
Using “greening pins” or small bits of wire can help you tuck these cover-ups exactly where they need to go.
Key Takeaways
- Prioritize Stability: Always ensure your frame is anchored and weighted before adding a single flower.
- Hydration is Key: Use pre-soaked floral foam cages and finishing sprays to keep blooms fresh in the heat.
- Layer Your Design: Start with a greenery skeleton, add focal flowers, and finish with delicate textures.
- Scale Matters: Make sure the arch is tall and wide enough to comfortably frame the couple and the officiant.
- Plan Your Timing: Build the structure and greenery early, but save the most sensitive blooms for the wedding day.
- Over-Order Materials: Always have extra stems and zip ties on hand for last-minute repairs or filling gaps.
Frequently Asked Questions
Can I use silk flowers instead of fresh ones?
Yes, silk flowers are a fantastic option for destination weddings or very hot outdoor ceremonies.
High-quality “real touch” silks look incredibly convincing and allow you to build the arch weeks in advance.
You can even mix silk greenery with fresh focal flowers to save money while maintaining a natural scent.
How much does a DIY flower arch usually cost?
A DIY arch typically costs between $200 and $600 depending on the types of flowers you choose.
This is a significant saving compared to professional florist prices, which often start at $1,500 for a full arch.
Focus on seasonal blooms and bulk greenery to keep your costs on the lower end of that spectrum.
How do I transport a pre-made arch to the venue?
If possible, it is best to assemble the floral portions on-site to avoid damaging the blooms during transit.
If you must transport it, build the floral clusters in individual foam cages that can be easily zip-tied to the frame at the venue.
Keep the finished clusters in a cool, dark vehicle and avoid stacking anything on top of them.
What are the best flowers for a long-lasting arch?
Hardy flowers like carnations, orchids, chrysanthemums, and lilies tend to hold up best without a constant water source.
Roses are also quite resilient if they are properly hydrated before being placed in the foam cages.
Avoid very delicate blooms like hydrangeas or sweet peas unless you are working in a very cool environment.
Our Top Recommended Finds
- Heavy-Duty Metal Arch Frame: A reusable, collapsible frame provides the perfect foundation for any event.
- Floral Foam Cages with Backings: These cages feature built-in eyelets that make attaching them to your arch incredibly easy.
- Professional Floral Snips: High-quality clippers will save your hands from fatigue and ensure clean cuts for better water uptake.
Design Your Dream Backdrop
Now that you have the technical steps down, it is time to let your creativity shine through the colors and textures you choose.
Think about how your arch can reflect your personality, whether that means adding hanging crystals, draped velvet ribbons, or even twinkling fairy lights.
Don’t stop at weddings; this same technique can be used to create stunning backdrops for baby showers, milestone birthdays, or holiday photo booths.
Take a deep breath, grab your clippers, and start building a memory that will last a lifetime in your wedding photos.
Your guests will be amazed to learn that you created such a professional-looking masterpiece with your own two hands.